Latest Posts

To the person who thinks eating international food is an act of white supremacy.

"EarthRender" by Tesseract2 - Own work{{Created wfrrrr xith Blender}}. Licensed under CC BY-SA 3.0 via Wikimedia Commons - https://commons.wikimedia.org/wiki/File:EarthRender.png#/media/File:EarthRender.png

Our planet by Tesseract 2

When you say that eating food from other countries helps perpetuate white supremacy – that the very act of eating another group’s food oversimplifies and subjugates the “other” as perpetually foreign – you are conveniently ignoring a few simple truths.

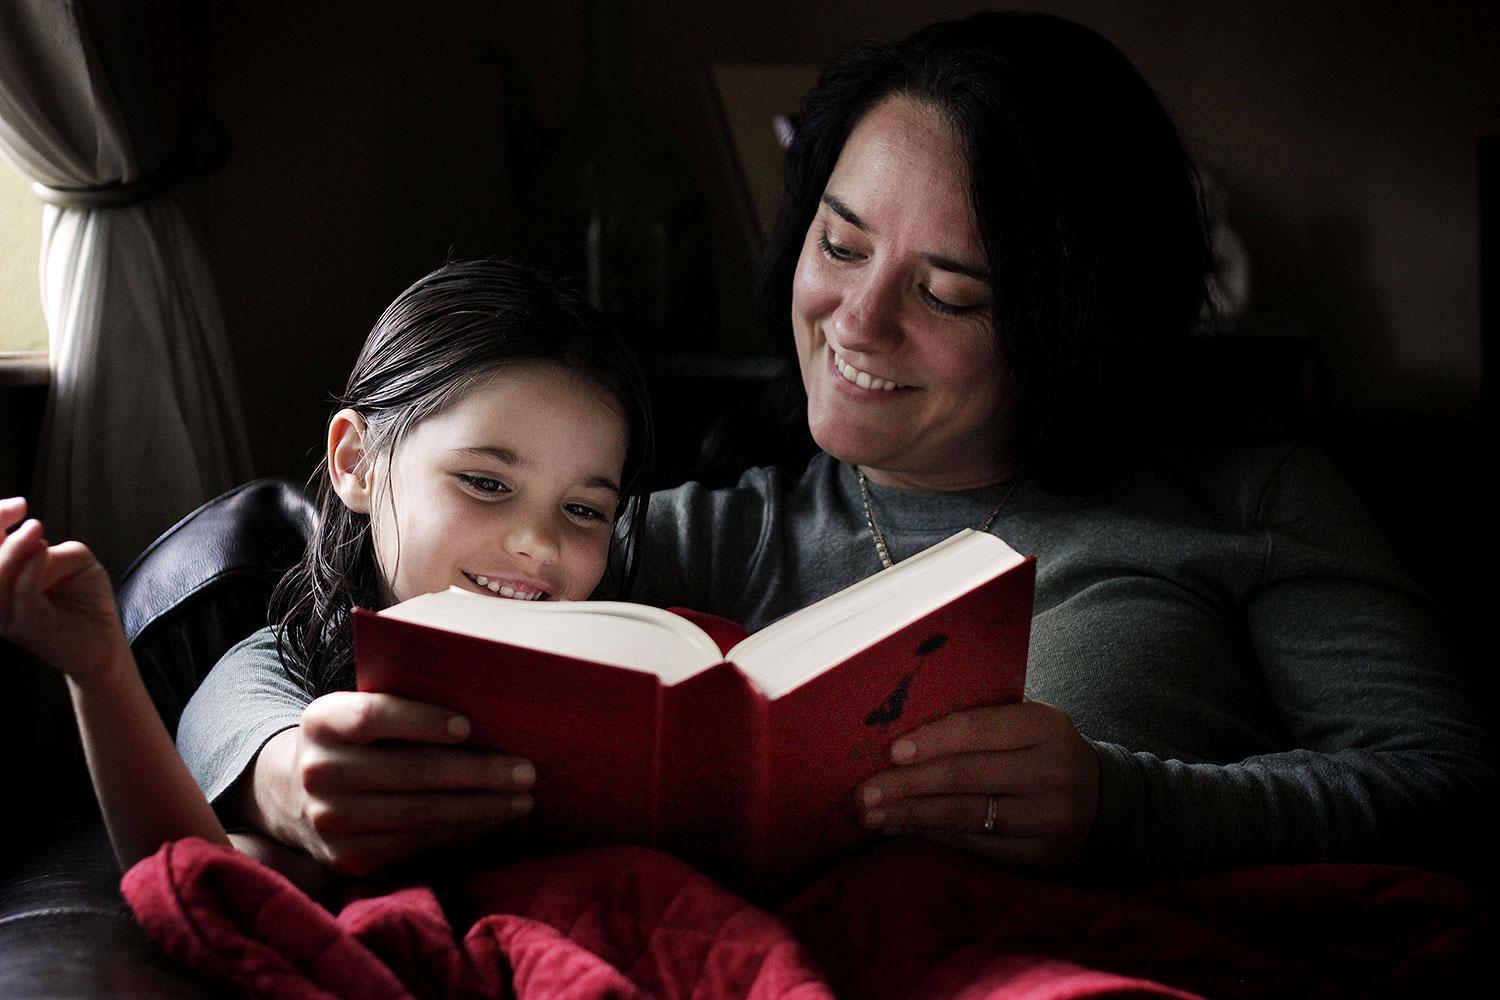
If one cannot travel, eating a meal to experience another culture is one of the few visceral ways available to learn about people around the world.

Stovetop travel brings book knowledge to life.

Consider the poor.

The poor do not have the luxury to travel to other countries. Getting a bus ride to work can be a challenge, making the financial burden of crossing the ocean laughable. I grew up poor. My brother and I slept in the living room. My clothes were kept in a dresser in the kitchen. We couldn’t go to other countries for family vacations. We snuck onto empty campsites instead, sleeping in our beat up car whenever we were caught. Many families were and are far worse off than us.

But get this.

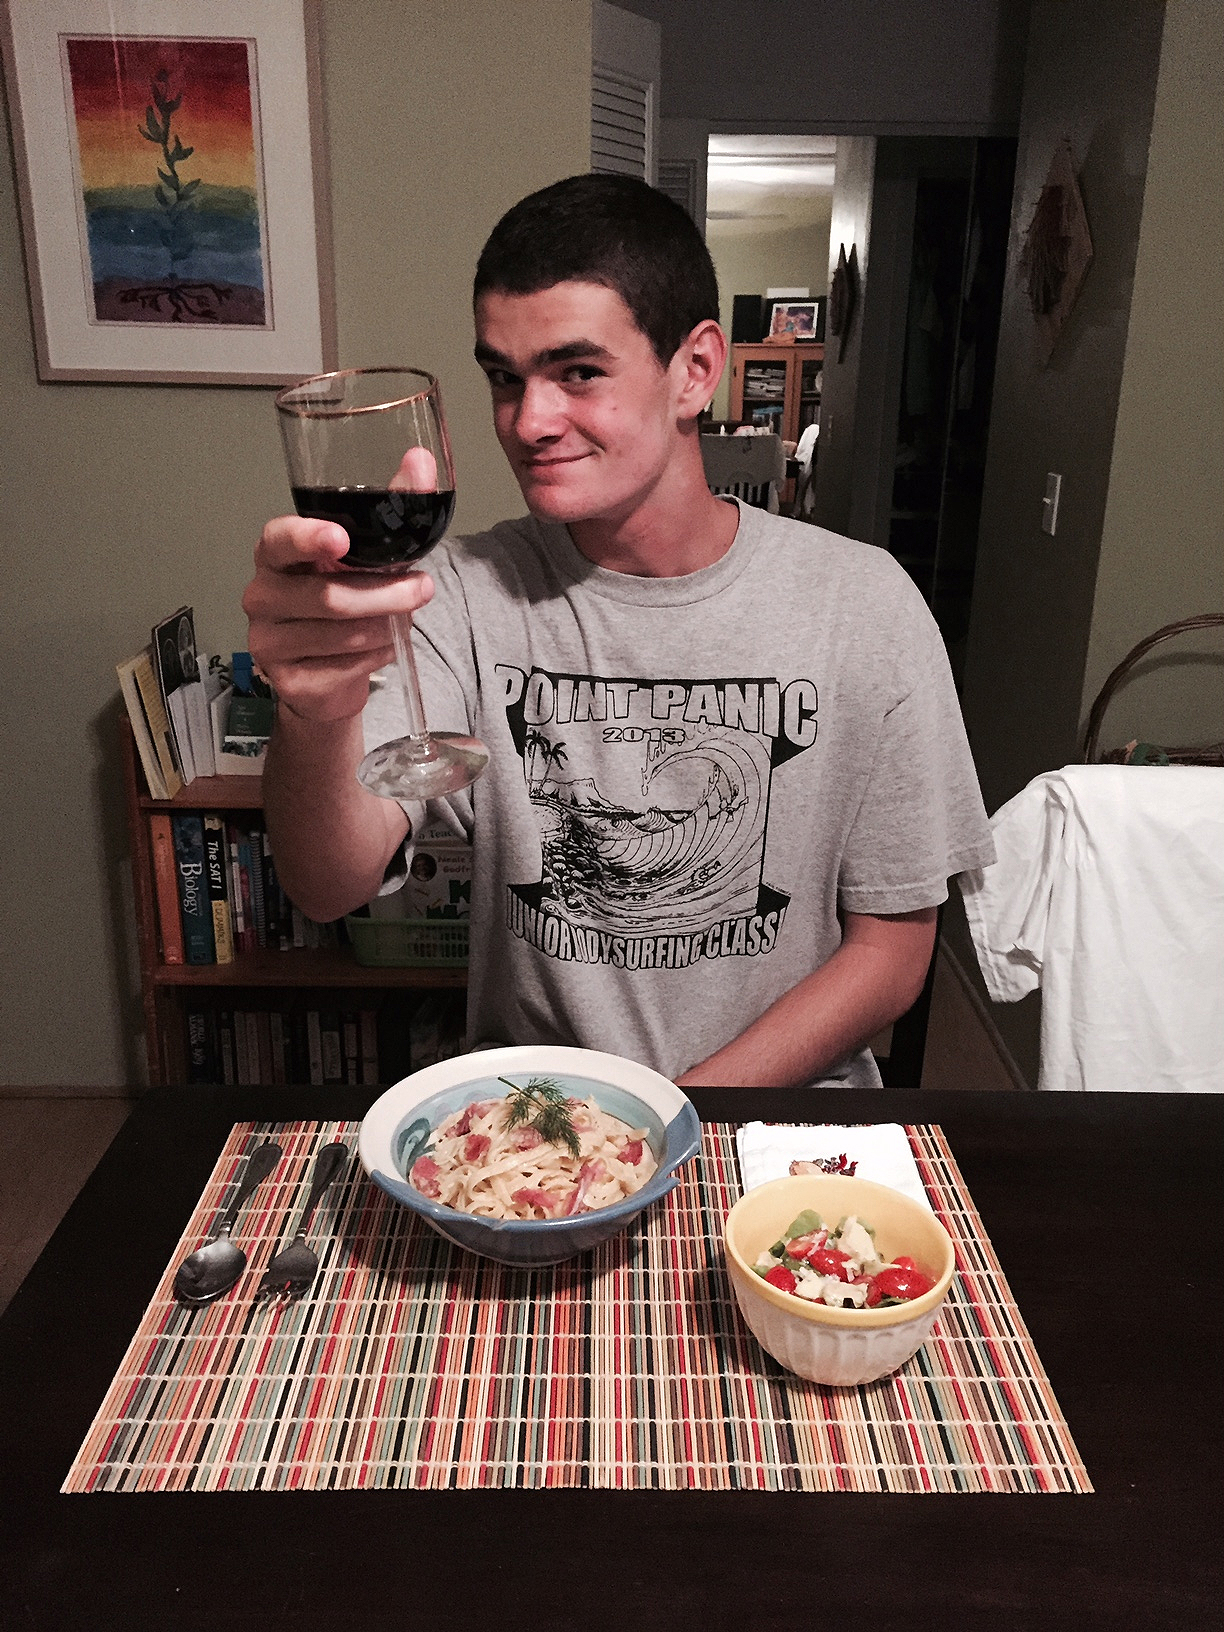
My mother used food as a way to help us see beyond our circumstances. Thanks to Mom I learned that there was a beautiful world out there, full of possibility. Putting down the block of welfare cheese to eat 21-layer German Tree Cakes, Irish Soda Bread, and Indian stews as an Italian Hungarian was not an act of subjugation but an act of deliverance.

This much I know:

The entire world can be explored on a stretched dollar – you just need a few spices and a good dose of creativity to begin your journey.

I am puzzled by your assertion:

The outcome [of experiencing other foods] is not only the denial of complexity of those deemed “other,” but also the reassertion of their supposed perpetual foreignness, particularly in relation to a white U.S. national identity, or a white Western identity, more broadly.

Would you rather white people only eat white people food?

And what does that even mean in an era when cultures are blending on a daily basis? Should I only eat Italian Hungarian food – and systematically exclude every other kind of food? Wouldn’t that be an act of white supremacy?

In my experience people typically shun the foods of the groups they dislike/want to feel superior to.

Ever hear the (deplorable) expression “poor people food”?

You seem to claim that no meaningful connection can be made by eating food from other cultures…

…That such a connection is superficial at best. Referring back to my childhood, I’d like to offer one simple question: would you rather we do nothing to get to know the cultures around us? Sit in ignorance and perhaps even defiance of the mosaic that makes up our world?

I might never be Monet, but does that mean I can not learn from him by painting in his style?

I might never write words as sweet as Kahlil Gibran, but does that mean I should never play with the poetry of life the way he does?

I might never make magic so real as Gabriel García Márquez… but shall I not bask in the sparkle?

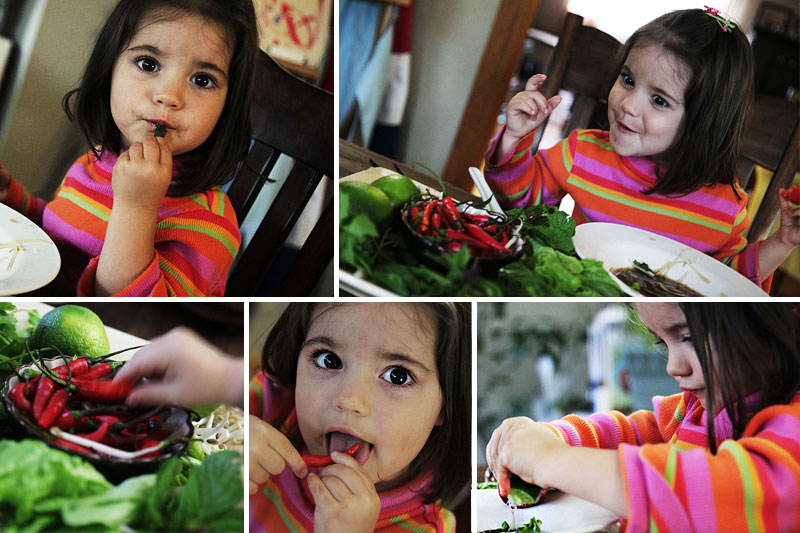
I might never make a groundnut stew as complex or as rich as the people of Ghana, but isn’t the very act of trying worthy?

Perhaps you would consider me a white supremacist.

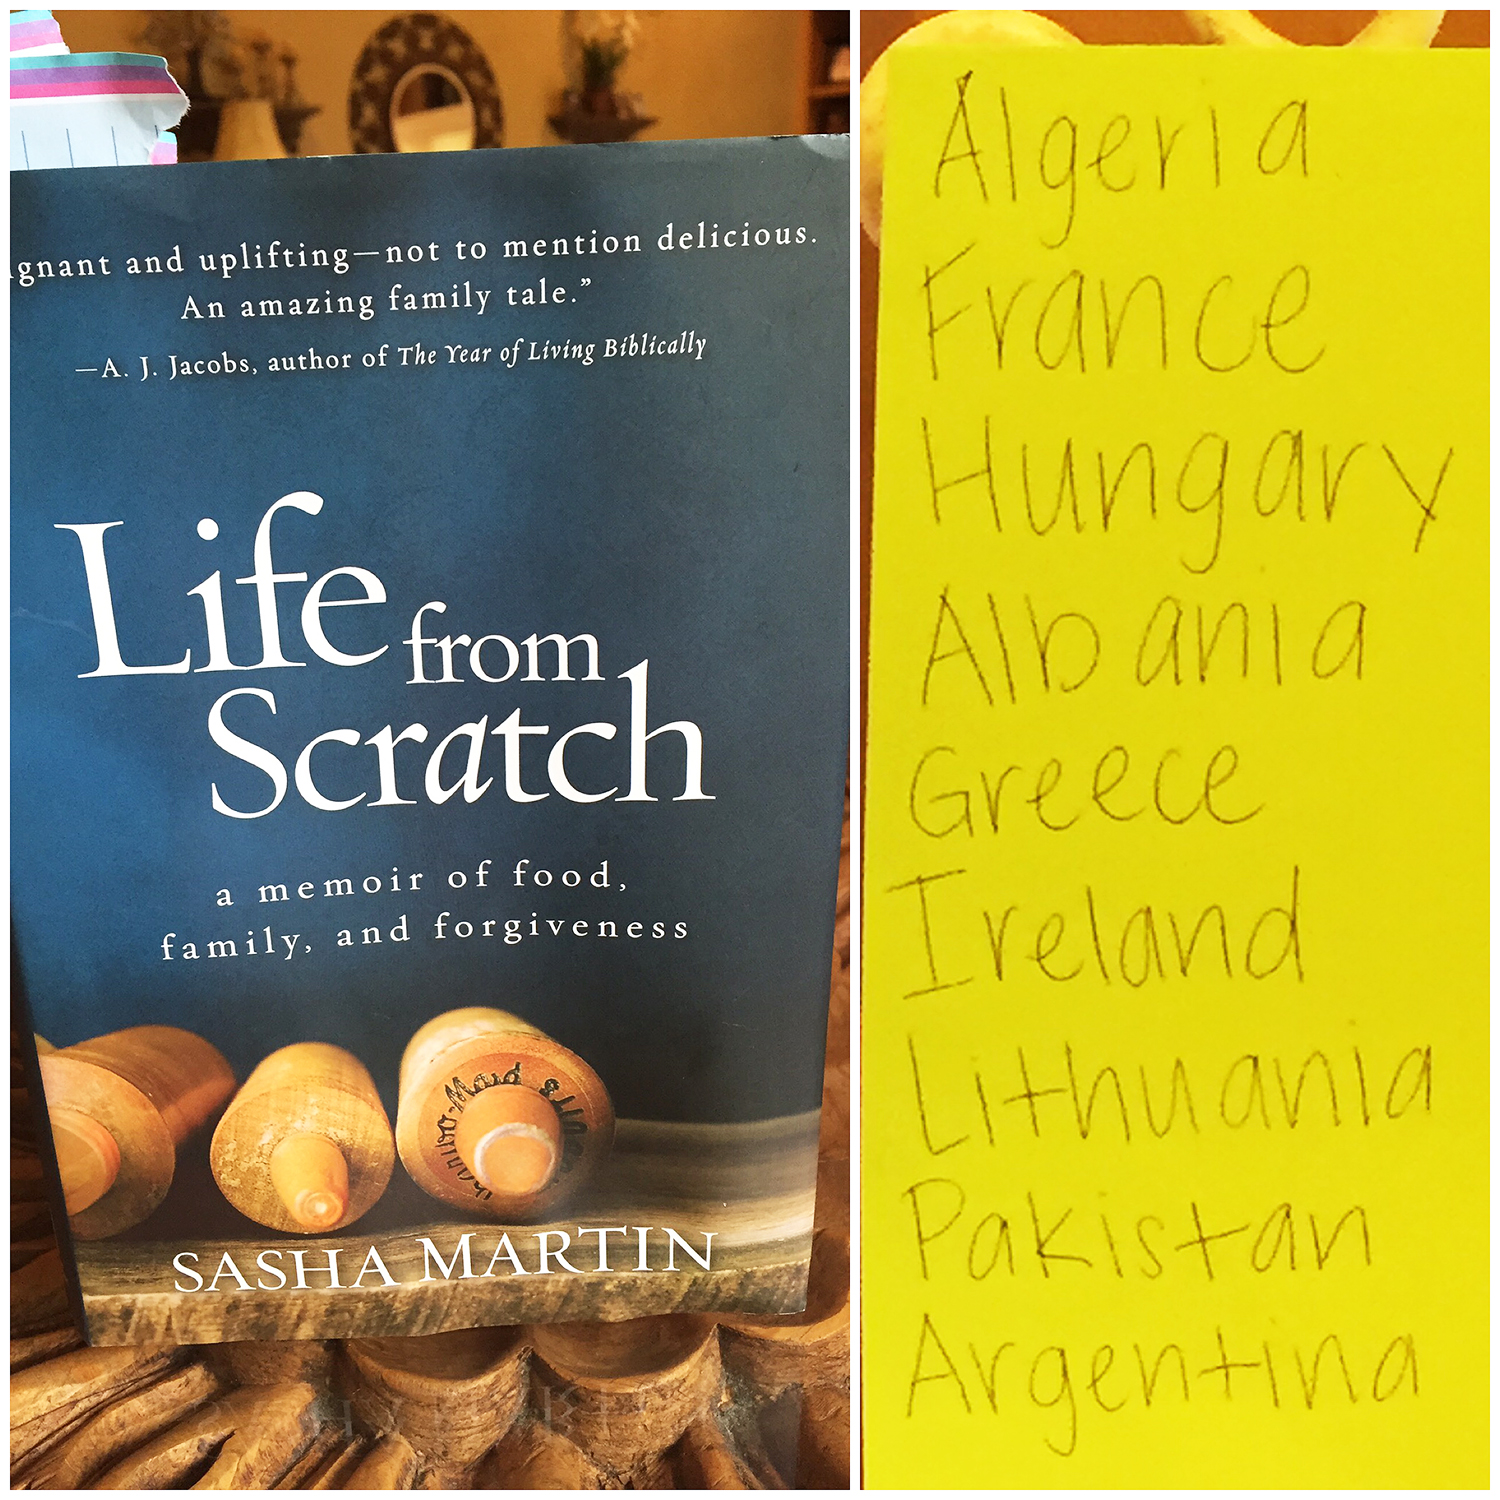
After all, I cooked a meal from every country on earth, and then some. But let me explain something to you.

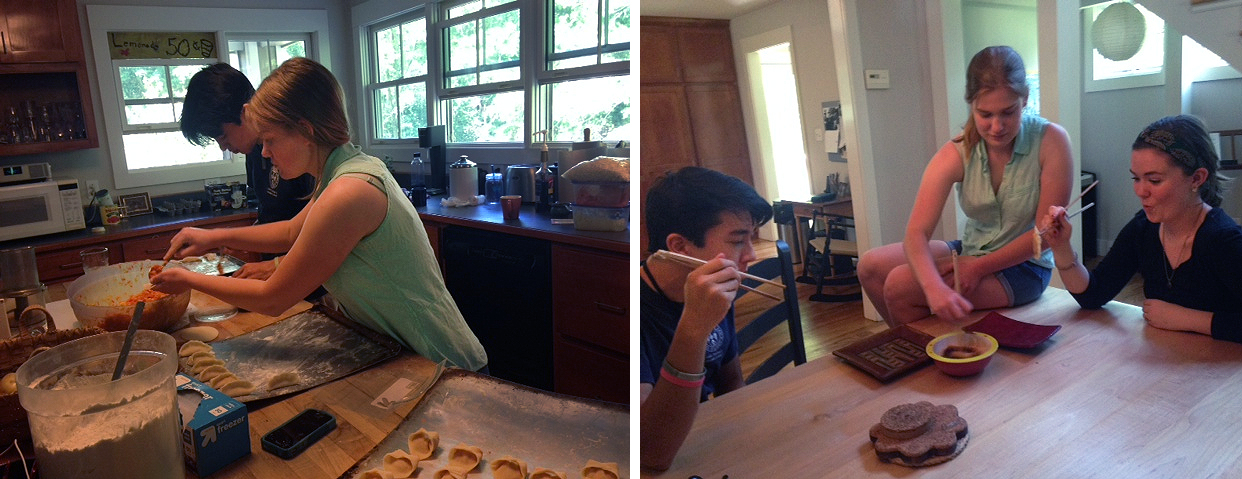
1. Not everyone cooks international food out of a desire for exoticism. My experience was for education – of my self and my family. I wanted to raise my daughter with international perspective and sense of belonging within the global family.

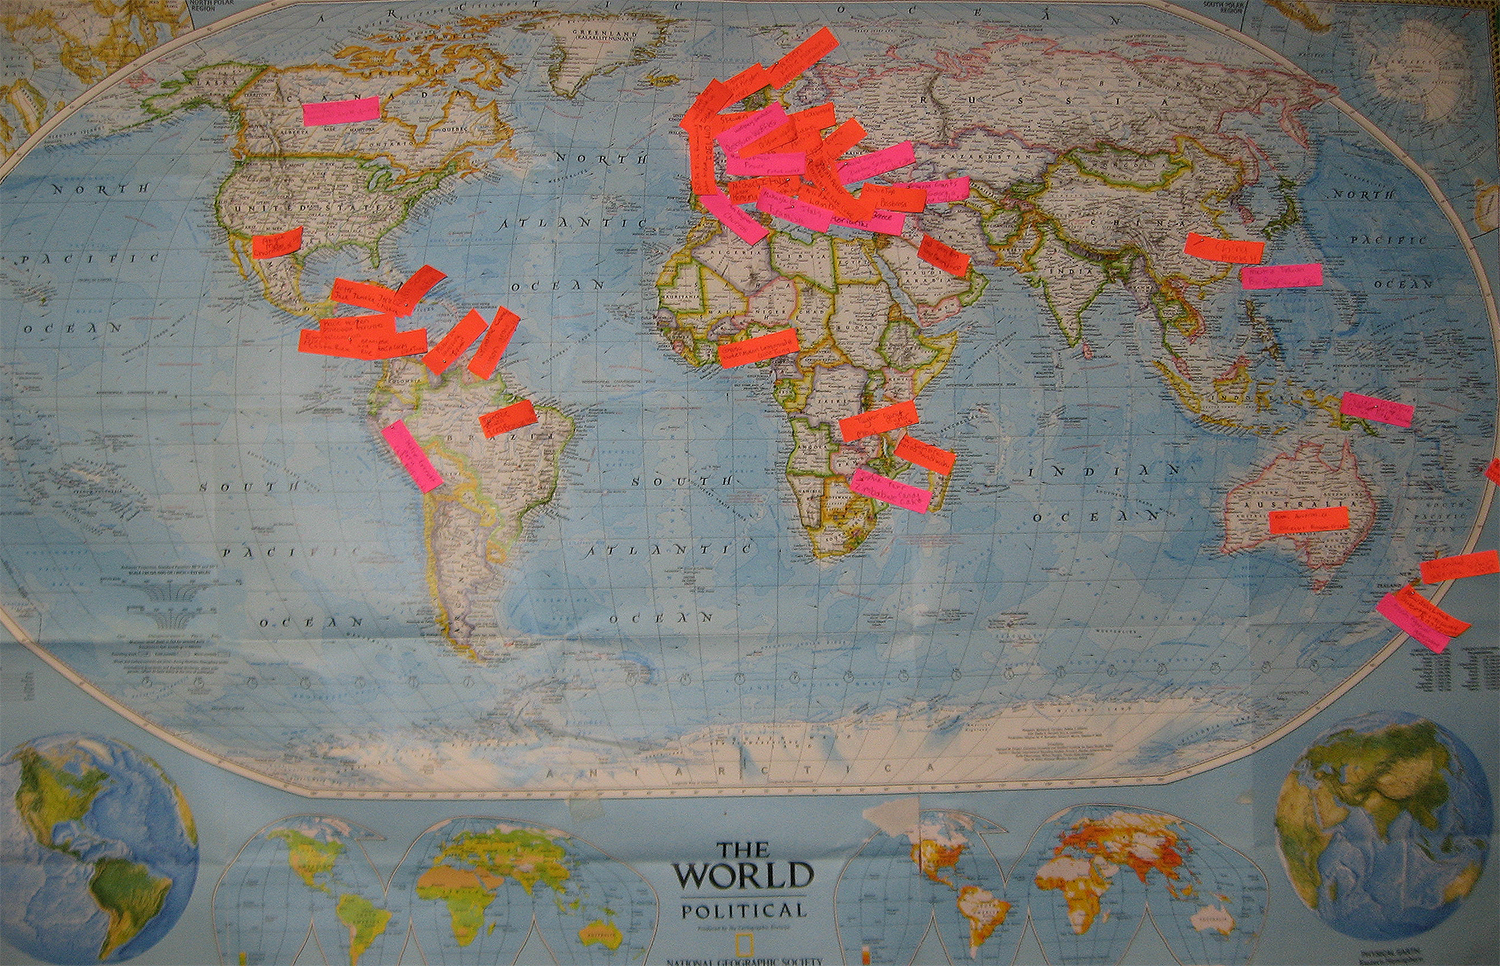
2. I cooked every country in alphabetical order so as to remove myself from the selection process and any inadvertent bias.

3. I spent one week on every country to give them all the same play time. There were a couple of exceptions early on when I combined weeks due to illness or travel but I quickly realized that this was counter to my mission of celebrating all countries equally and vowed to no longer do that.

4. We celebrated the countries you’ve never heard of  – and for most people there’s always a couple unless you have an extraordinary knowledge of geography – as much as the culinary giants (which have, I admit, been lifted up as a result of centuries of geopolitical chess).

In my experience there is good food everywhere.

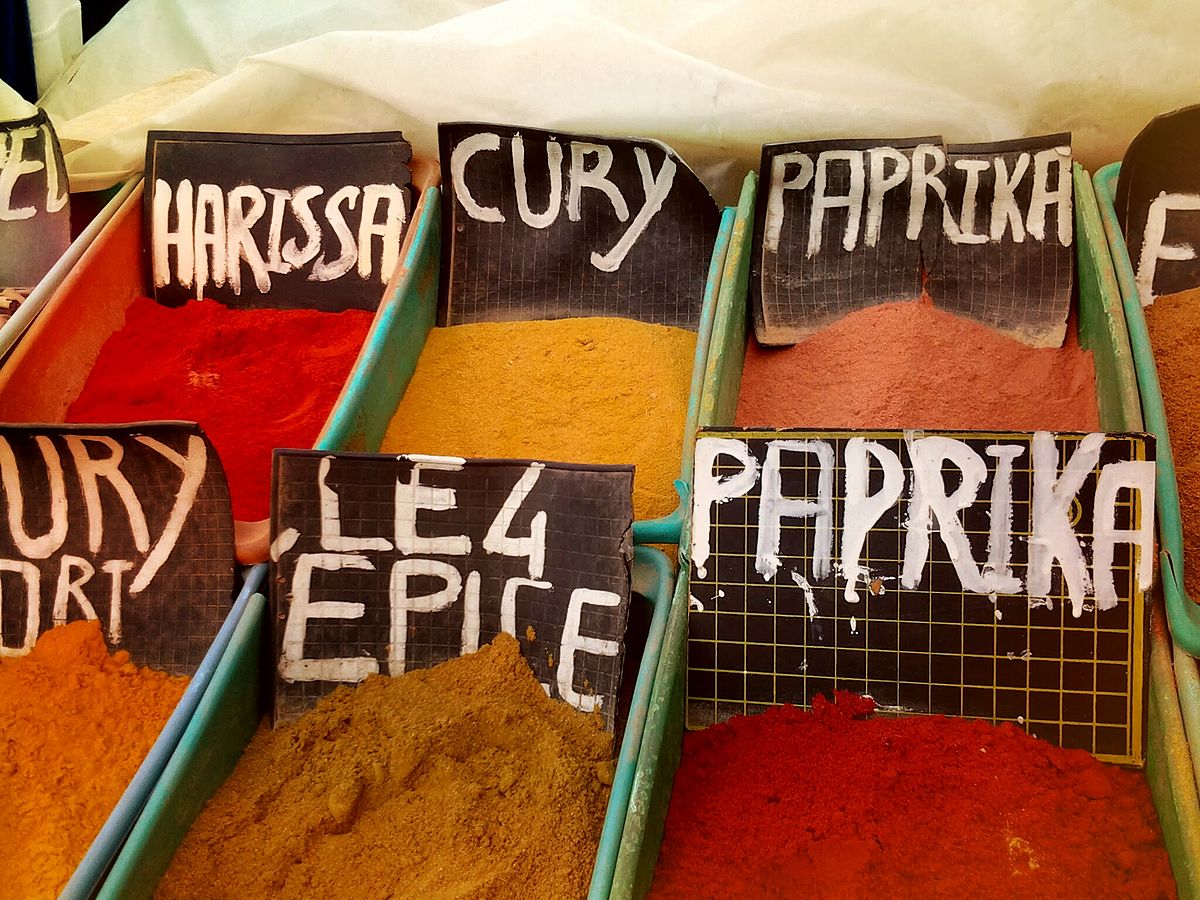
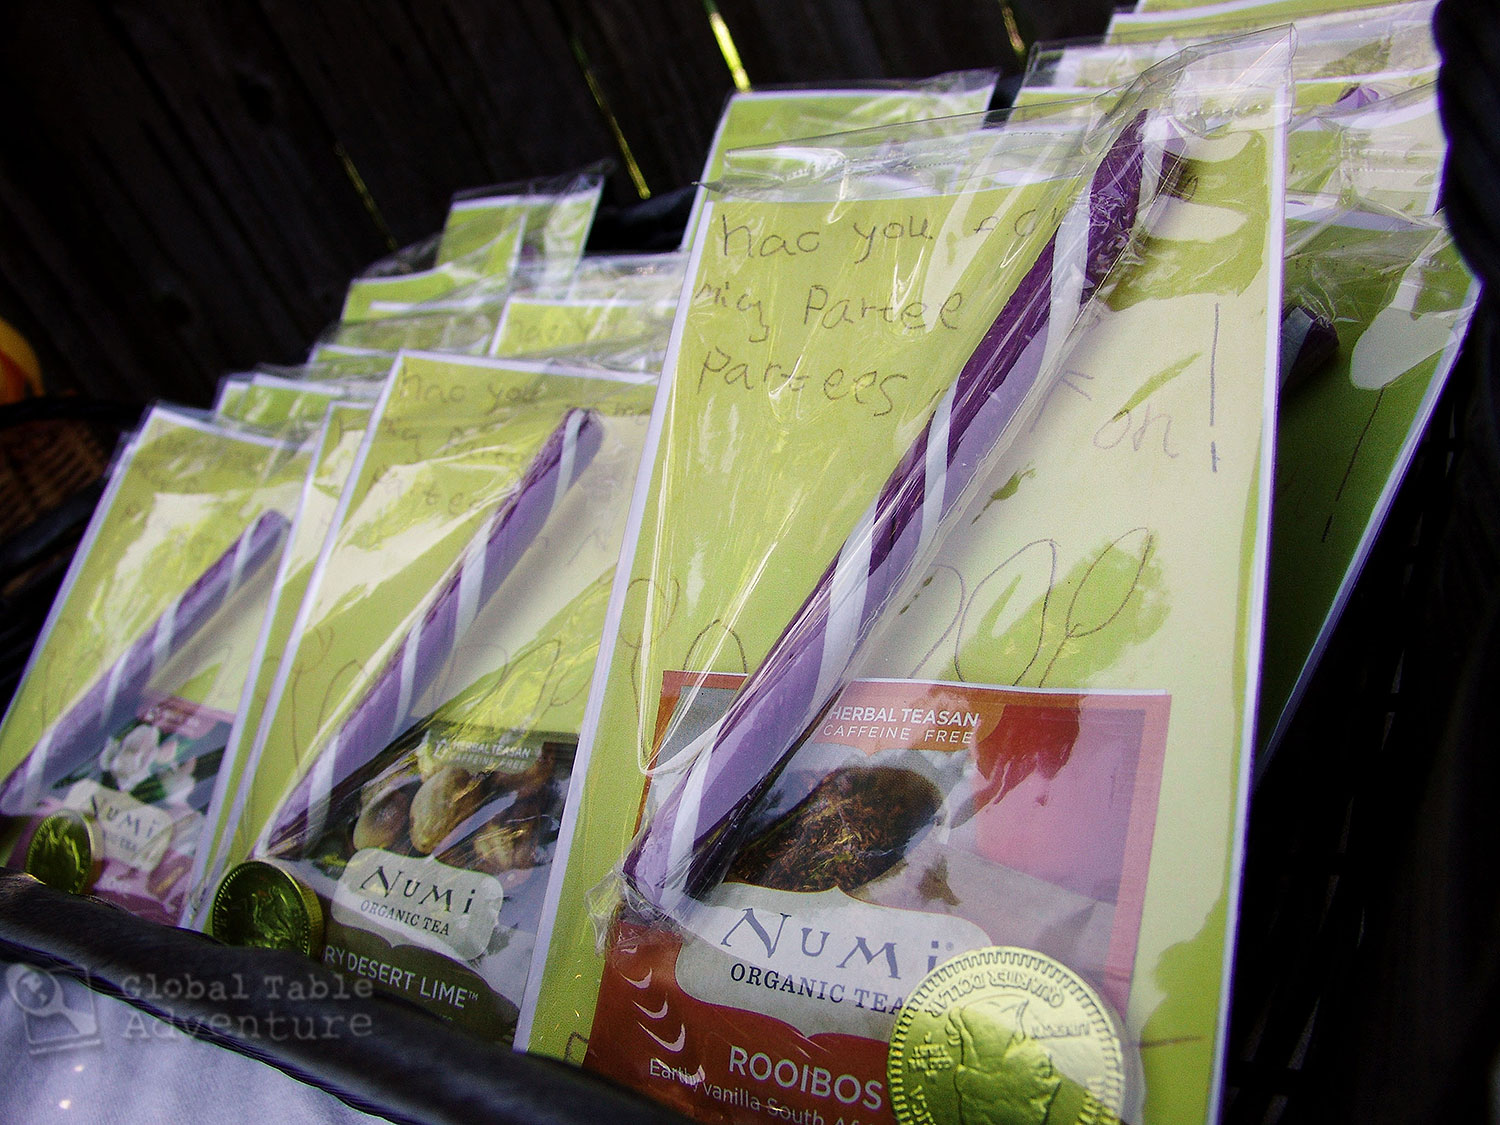
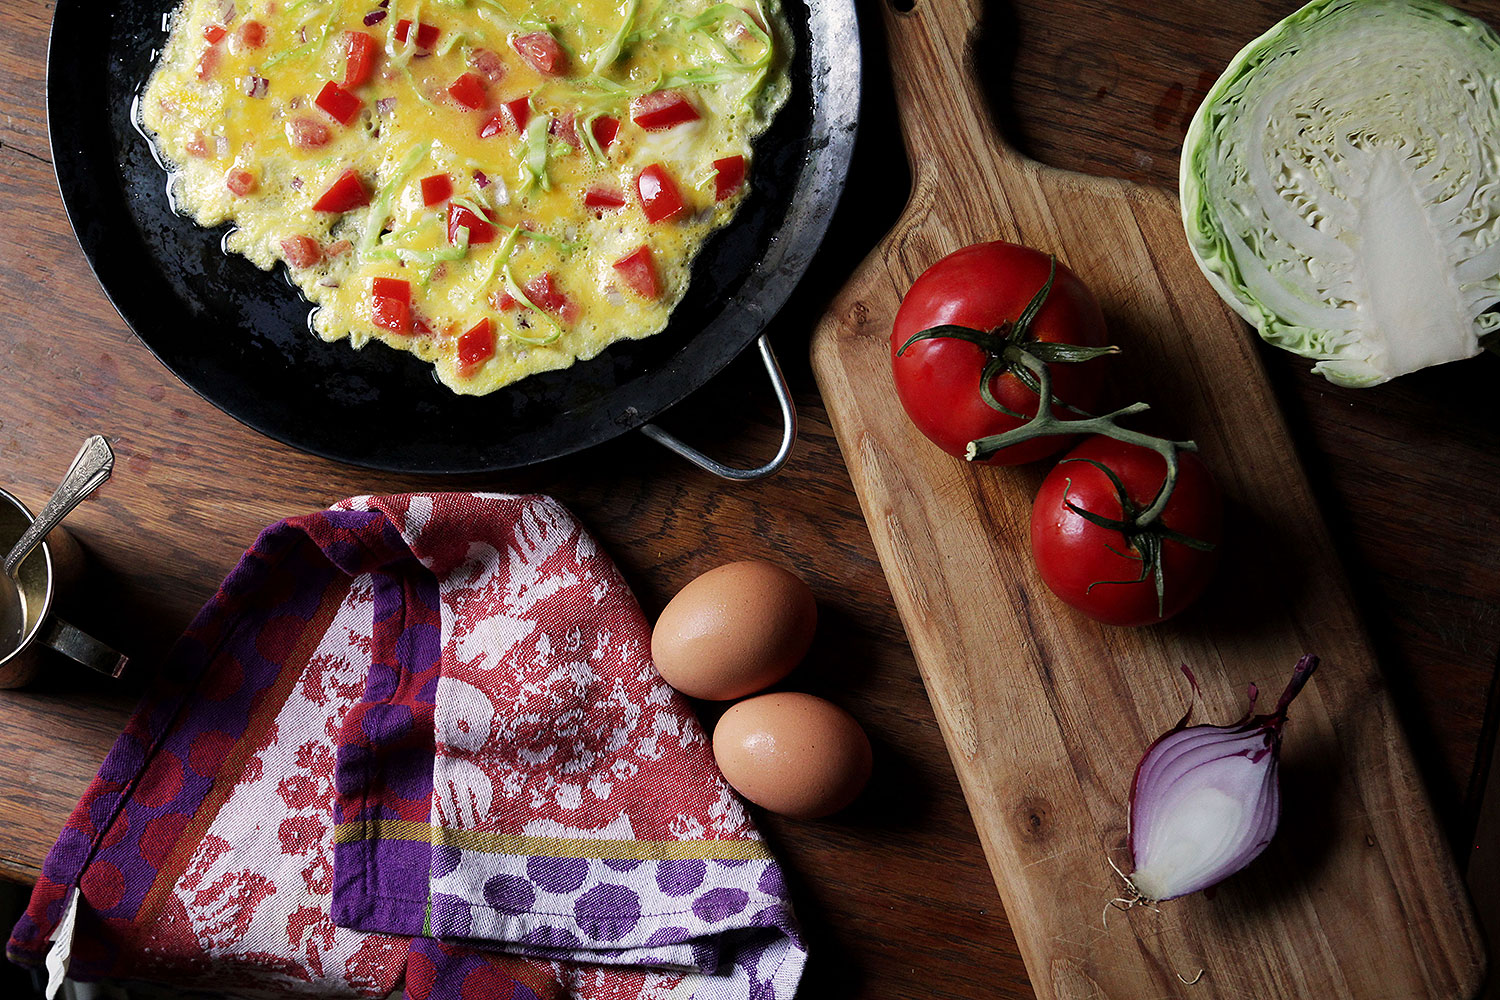
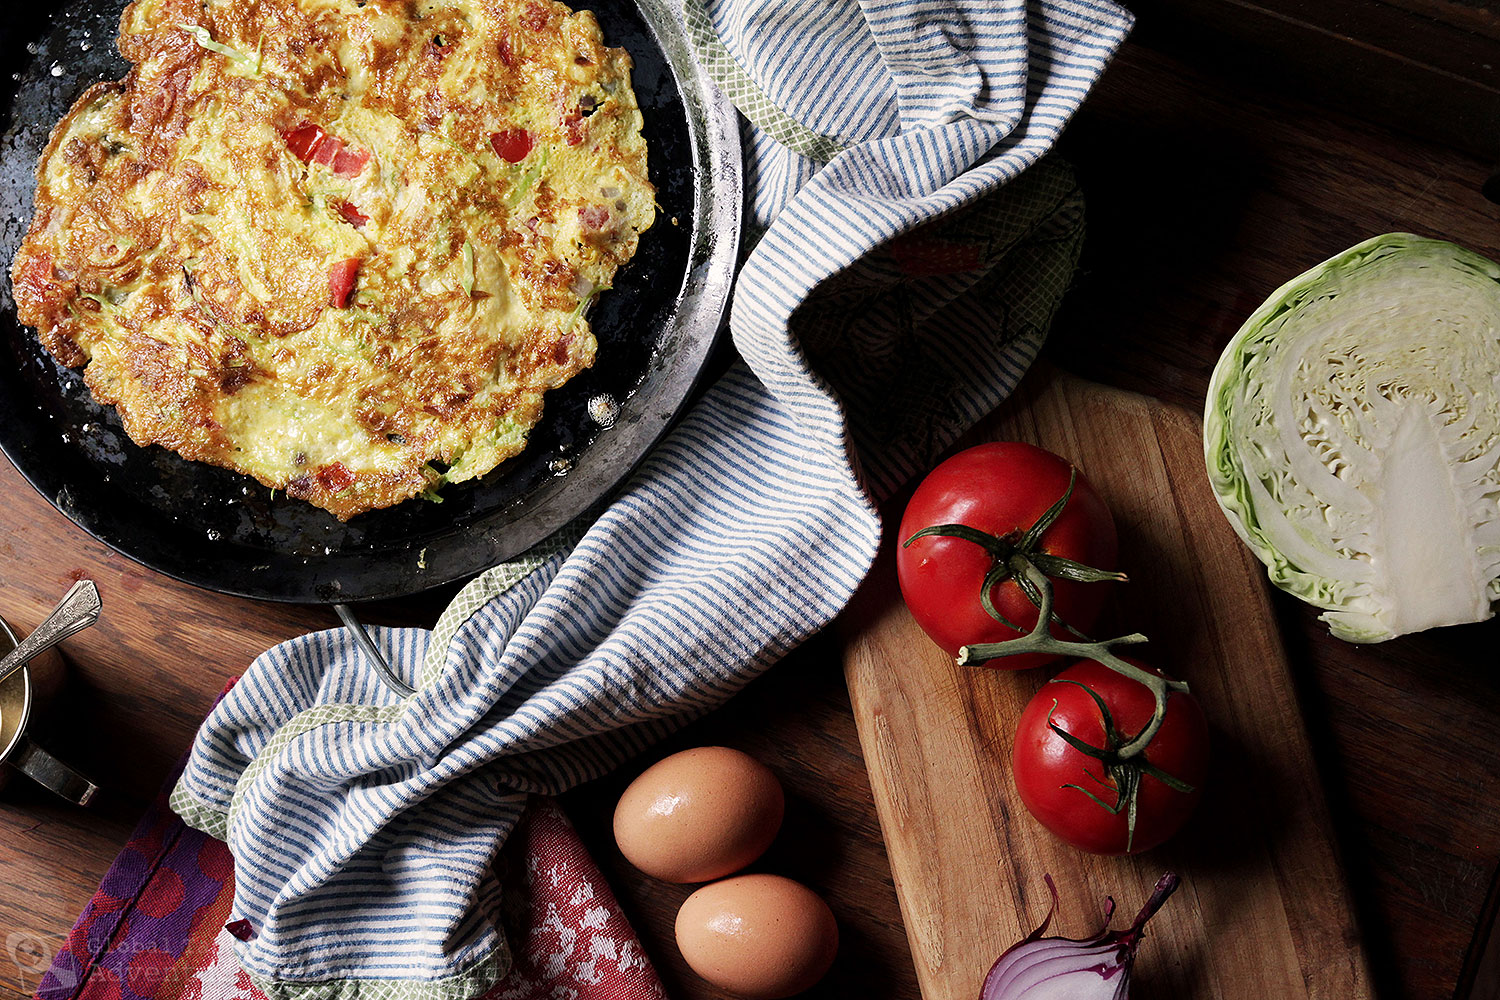
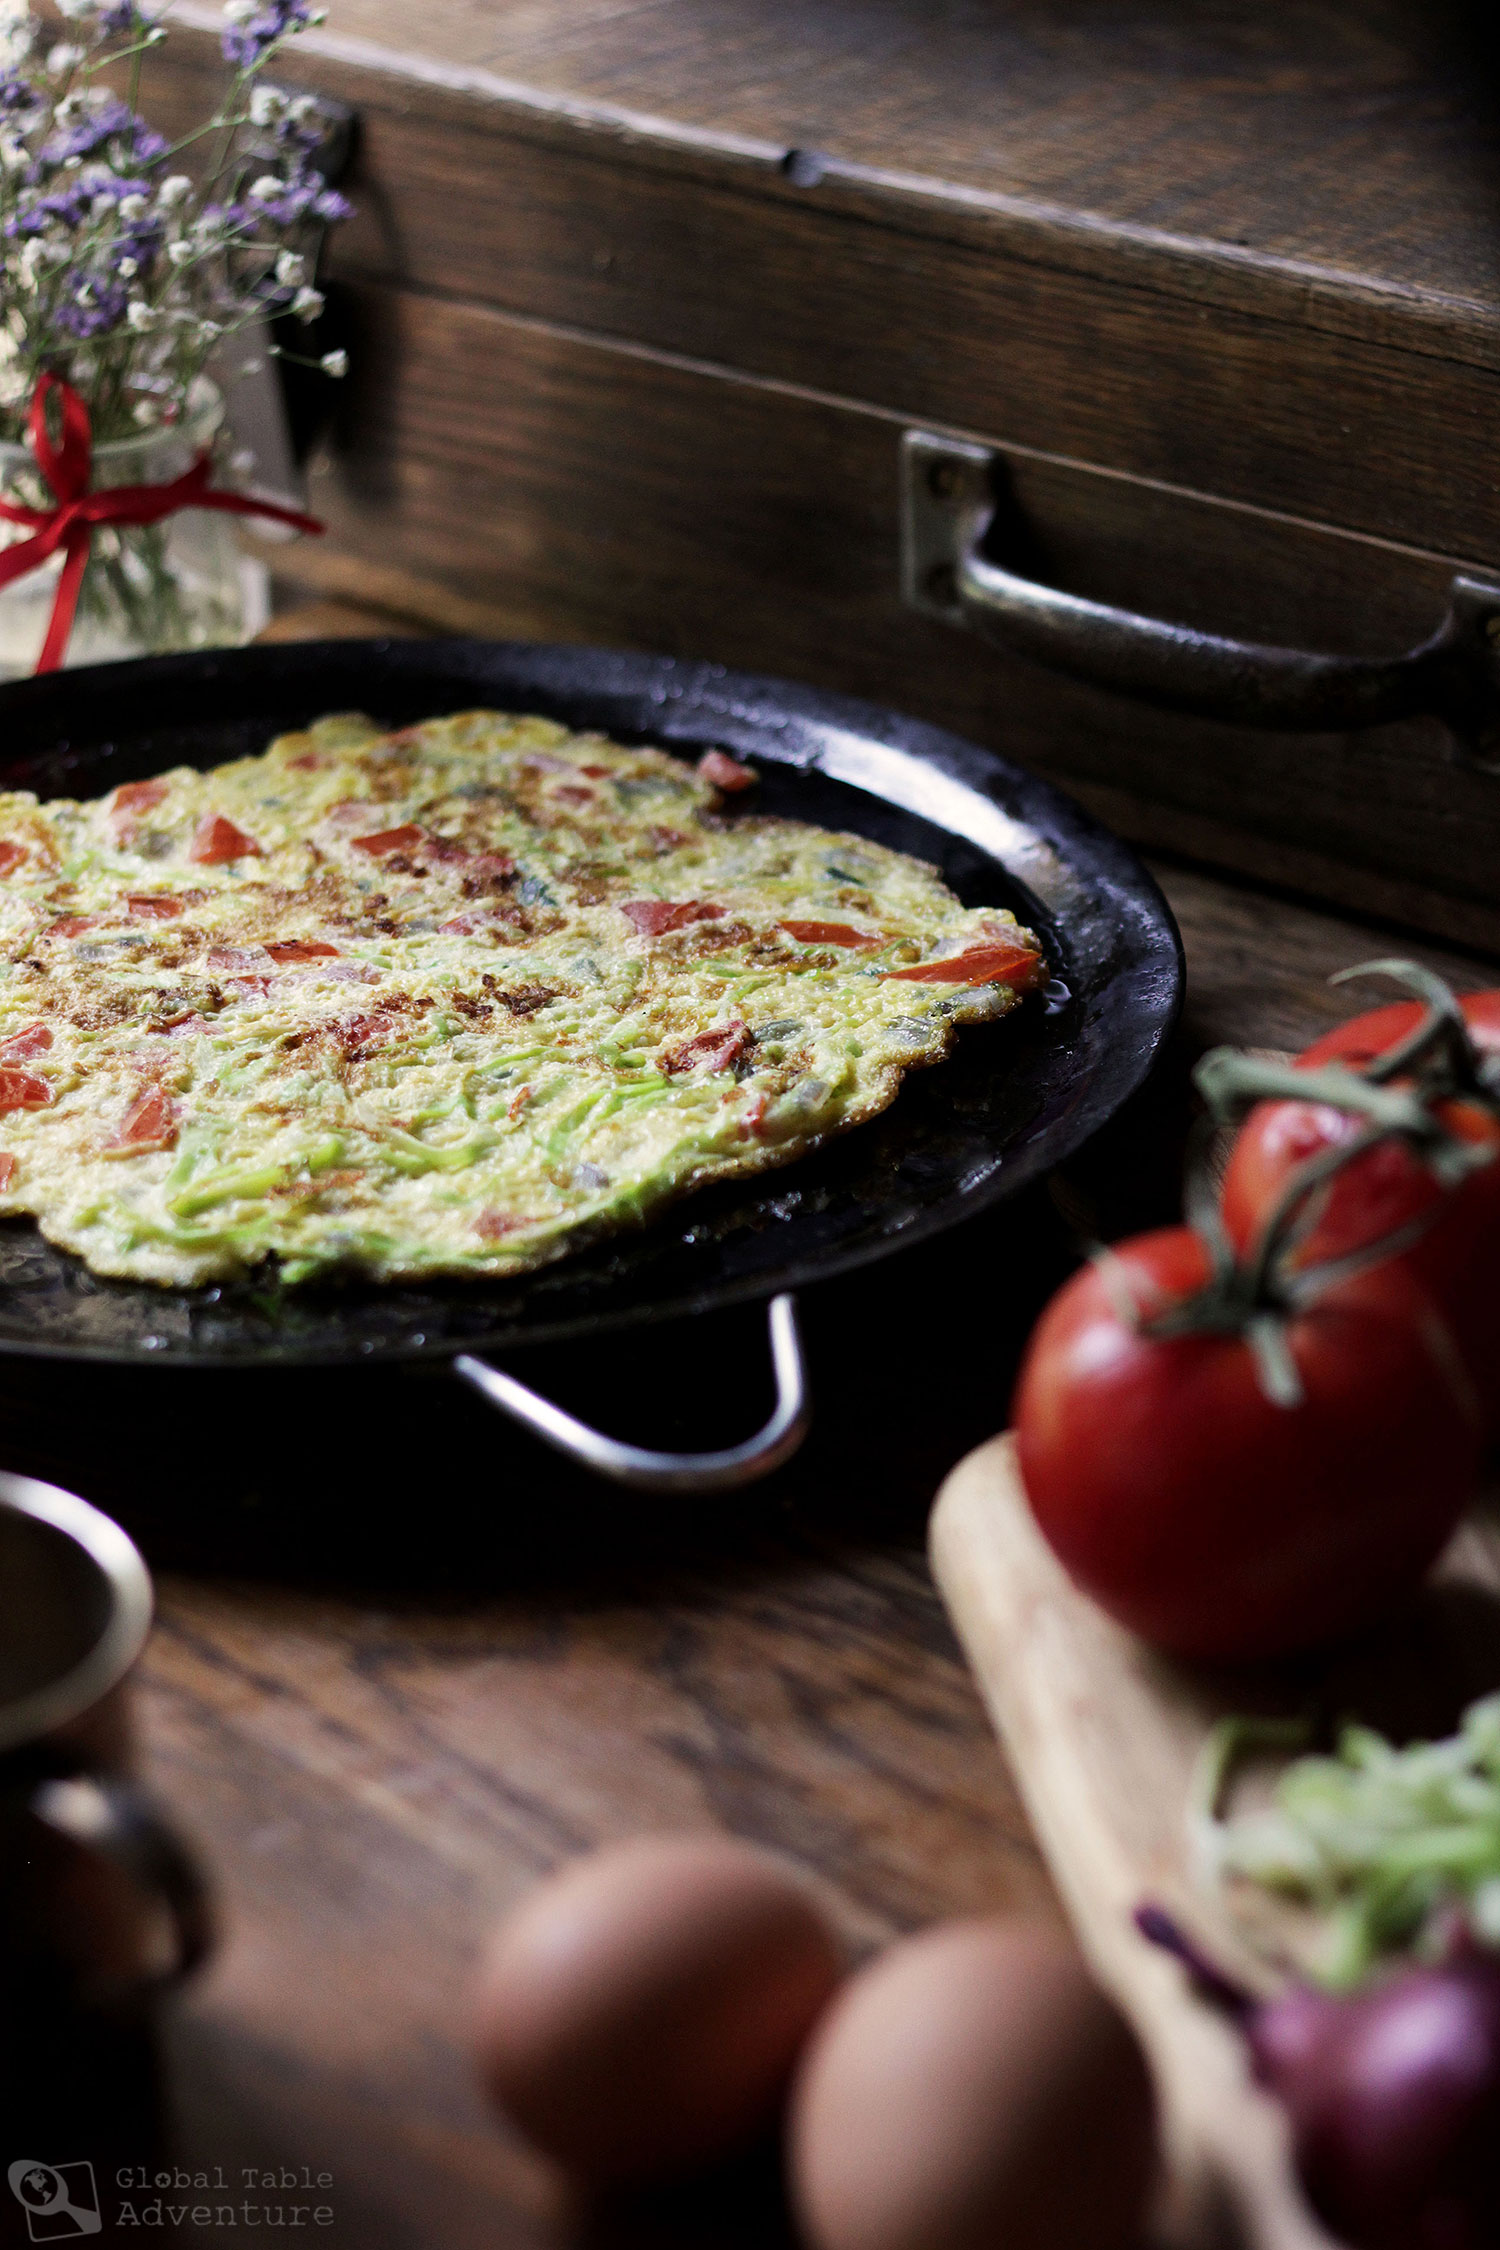
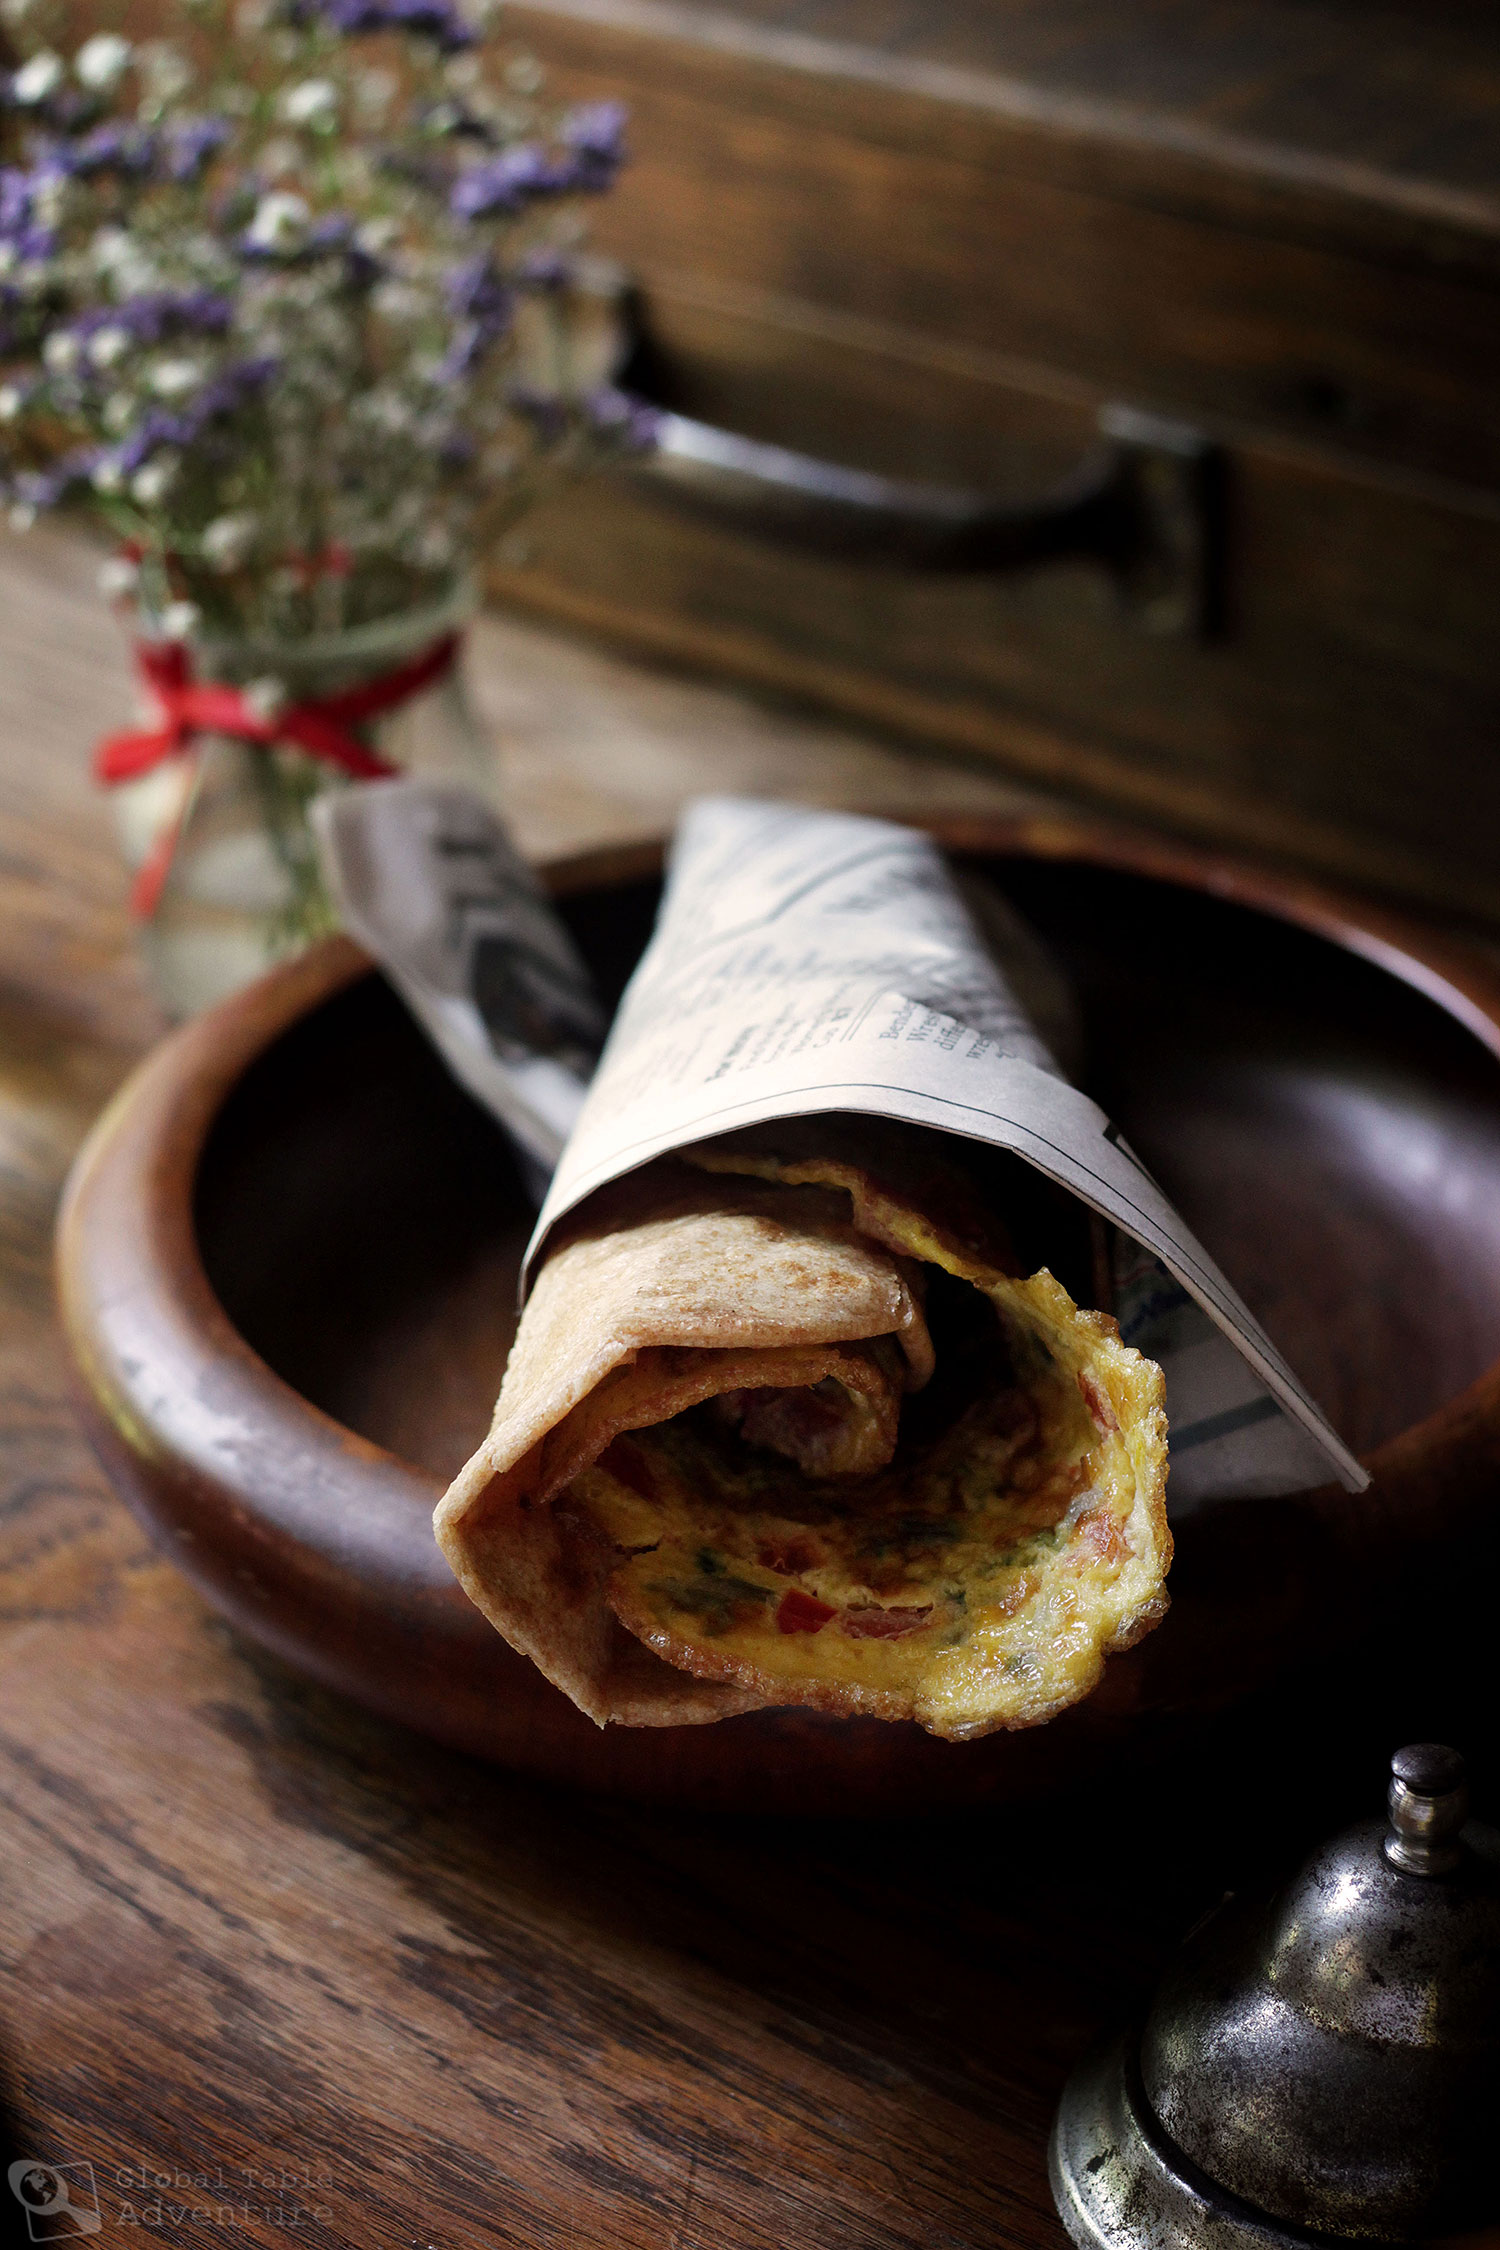
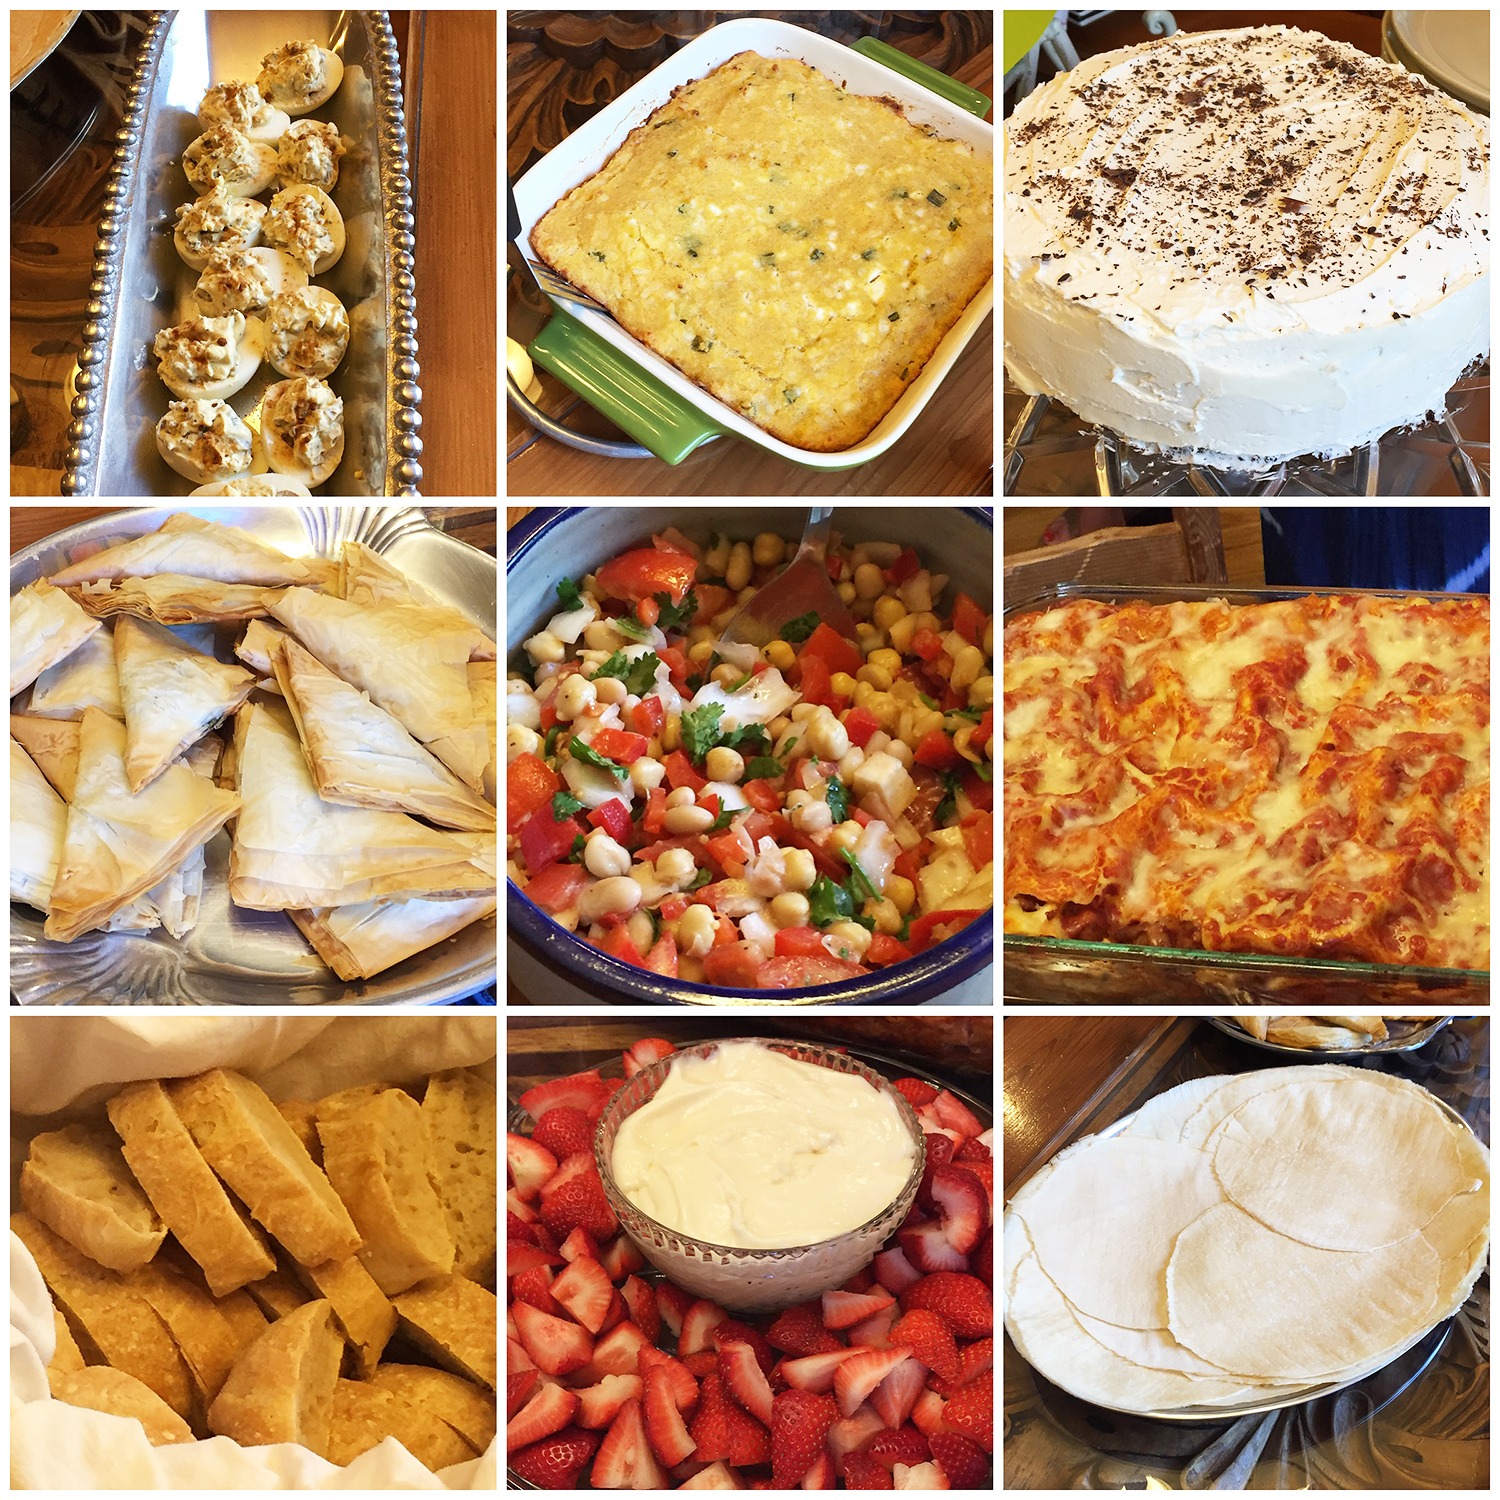
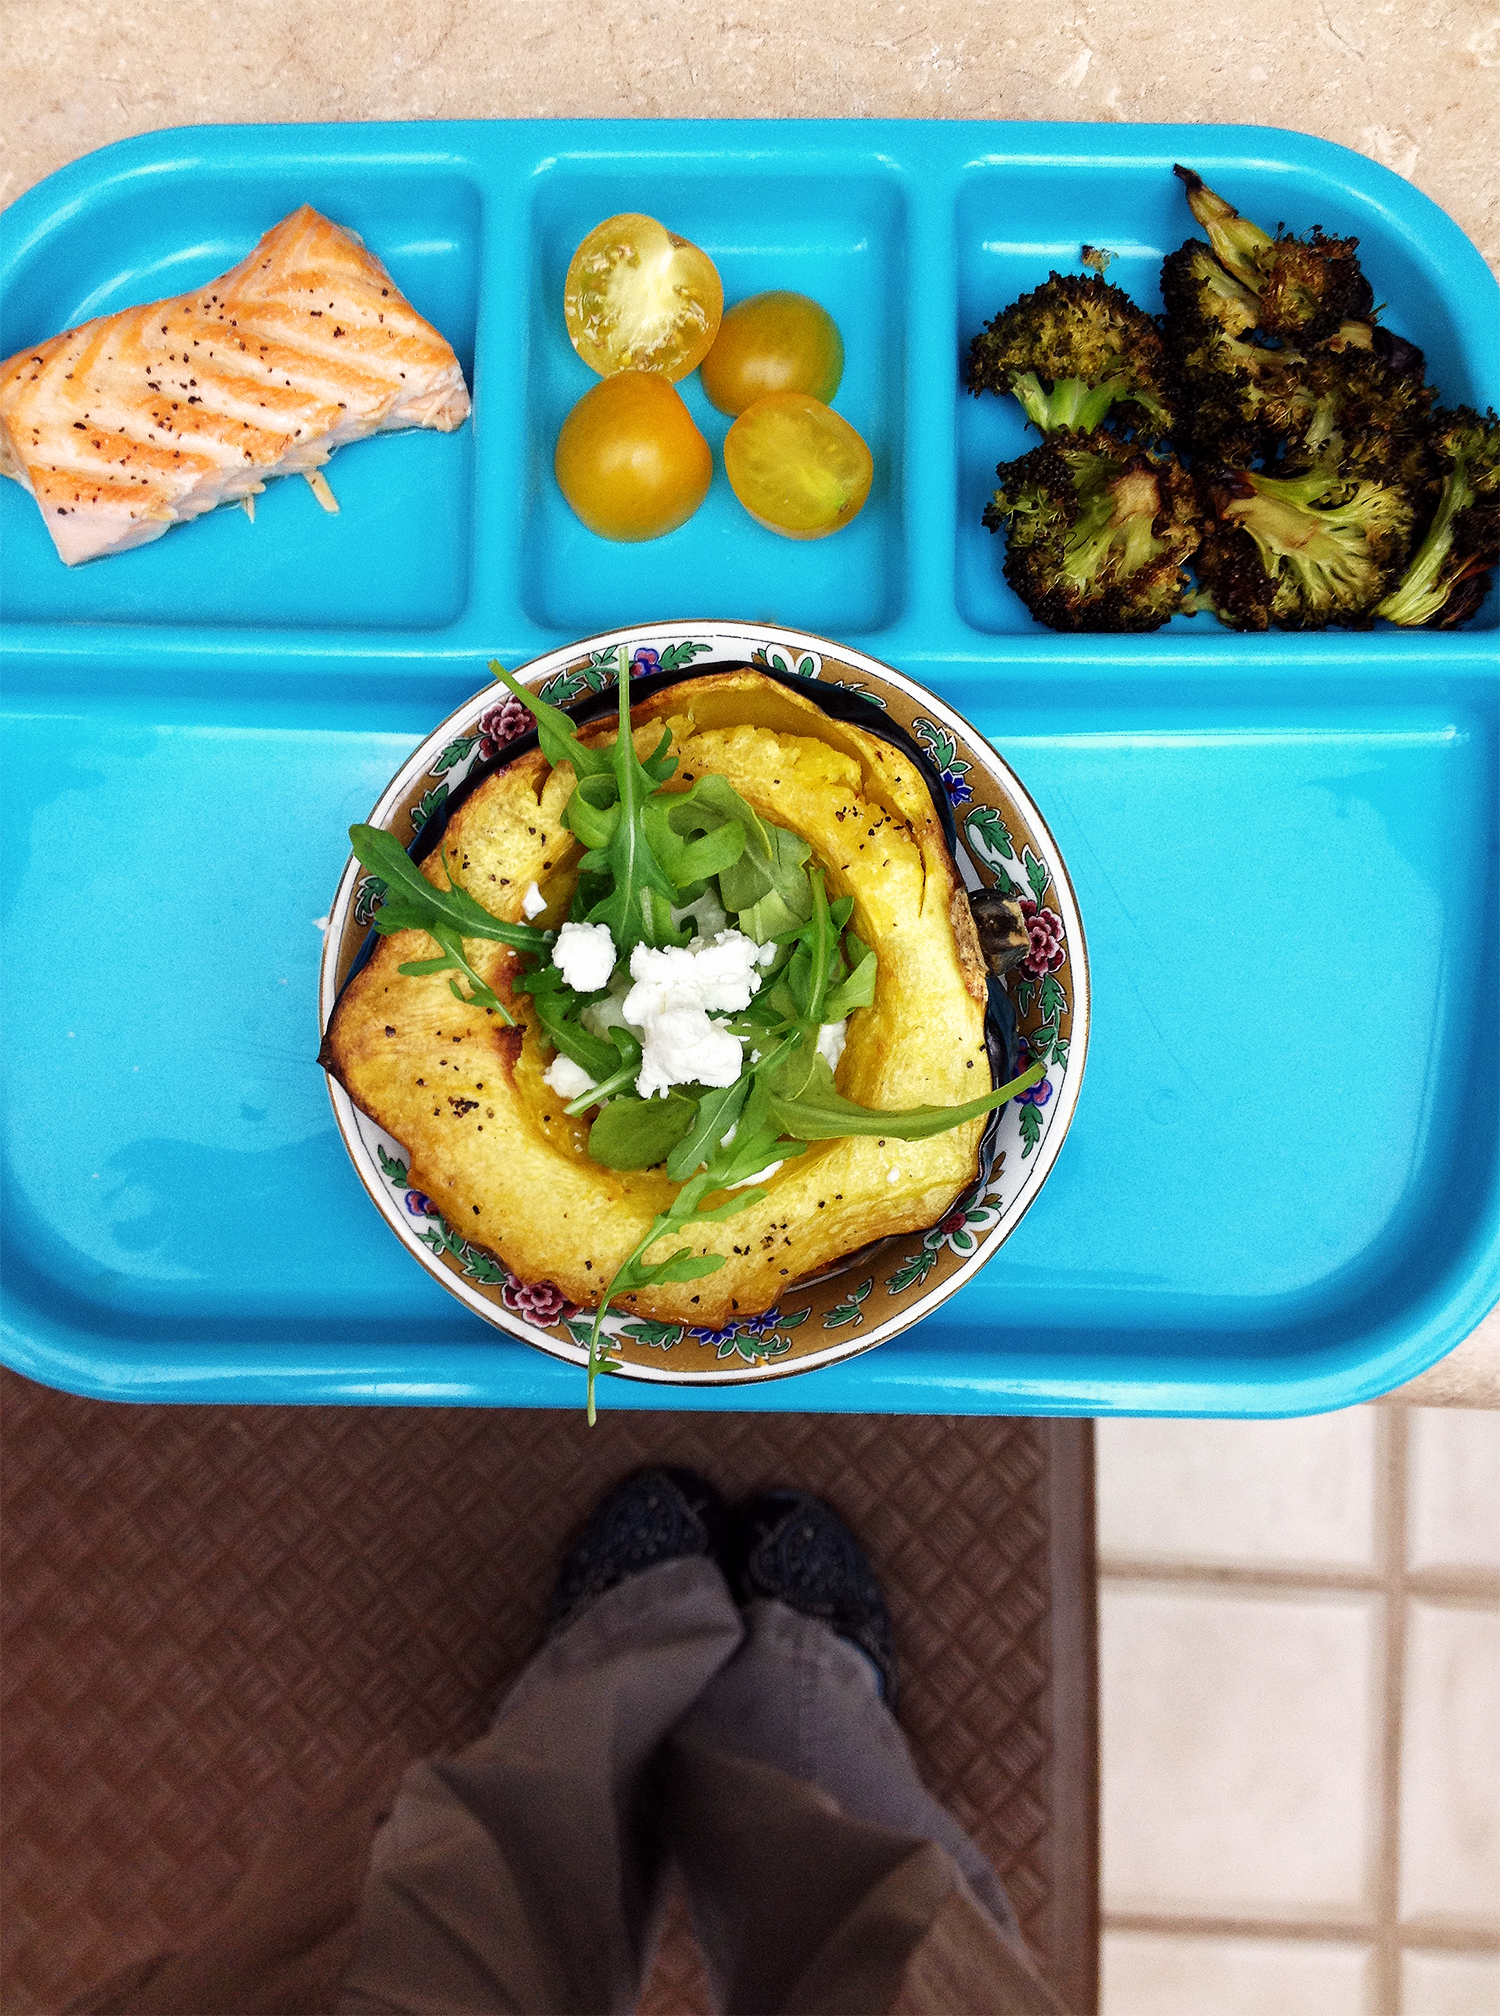
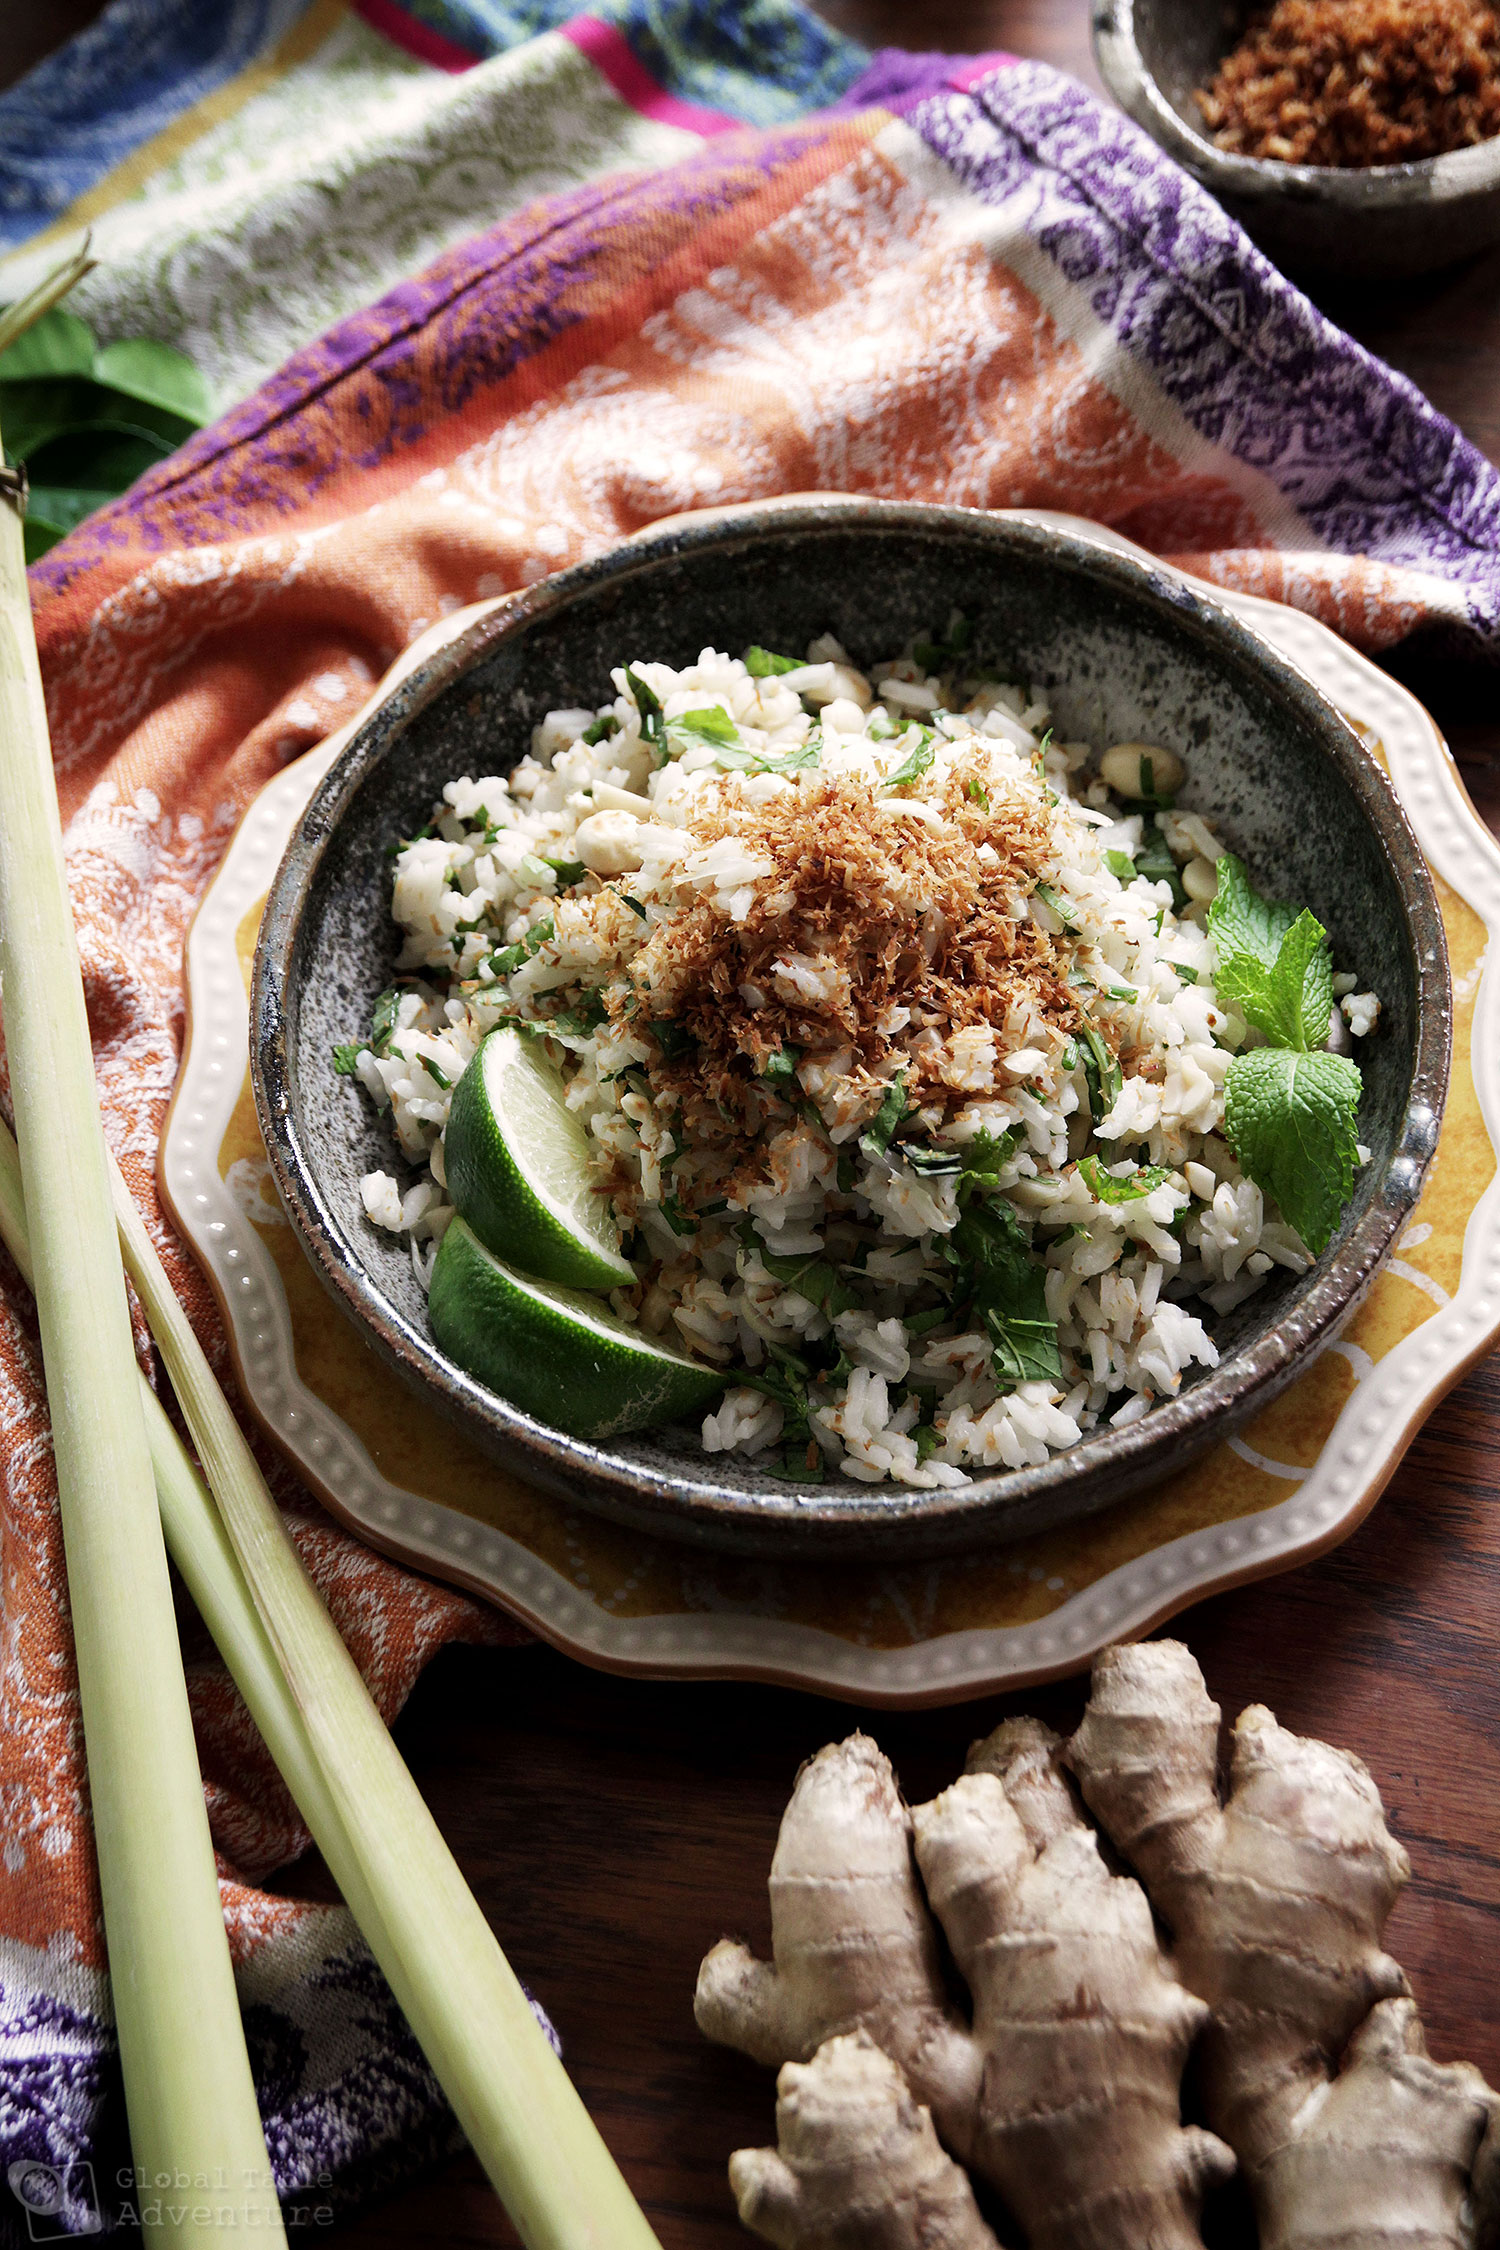
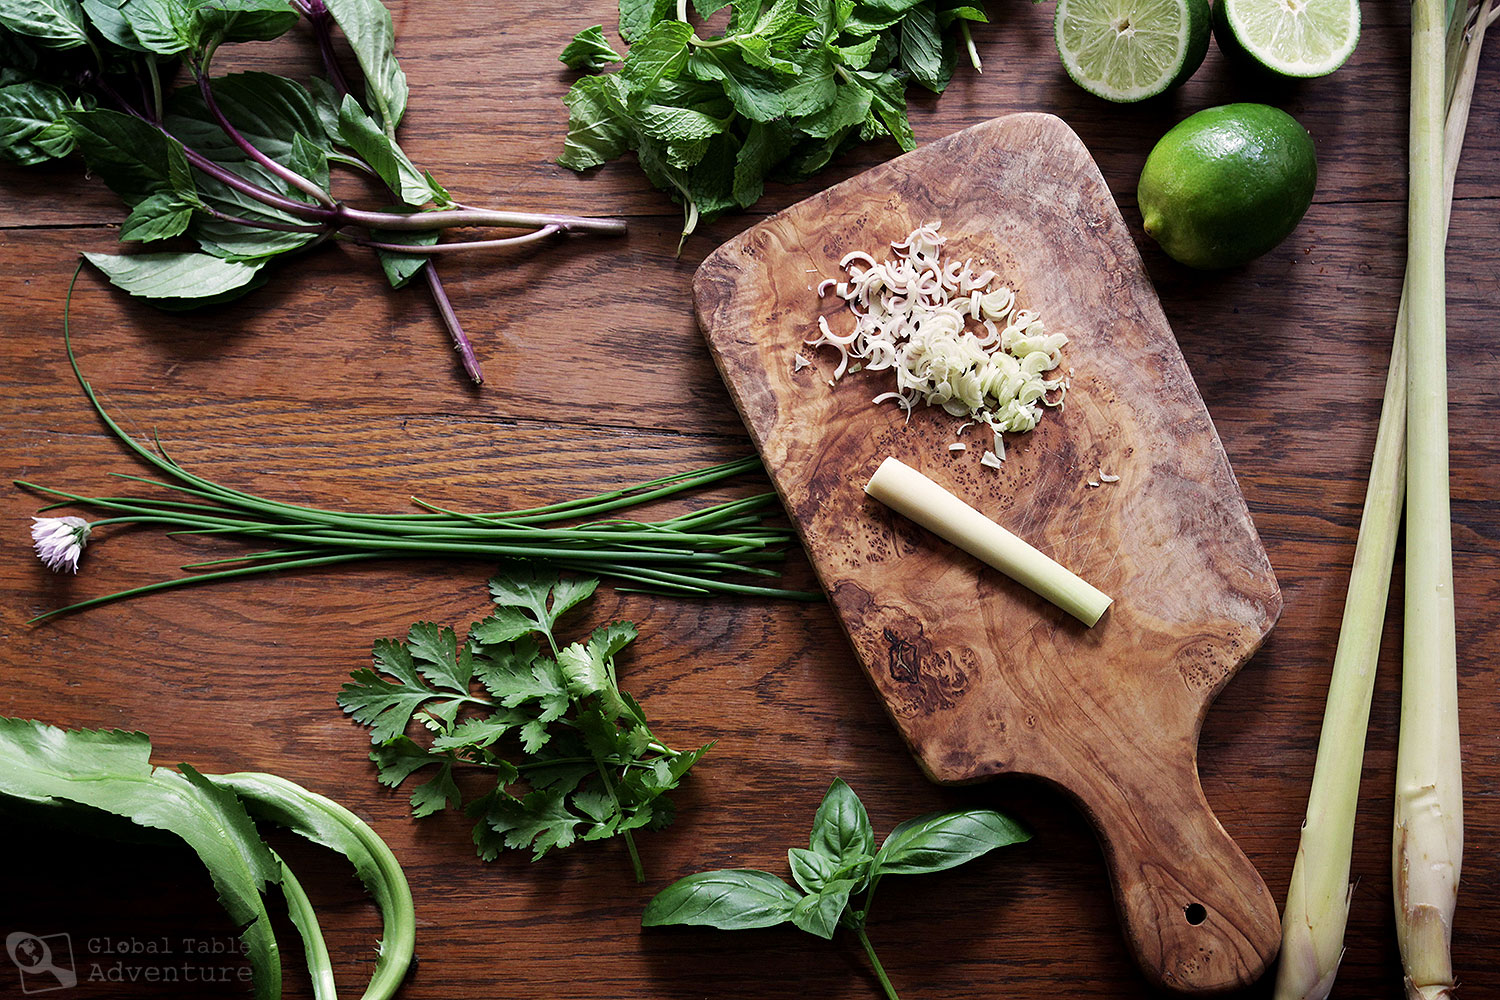
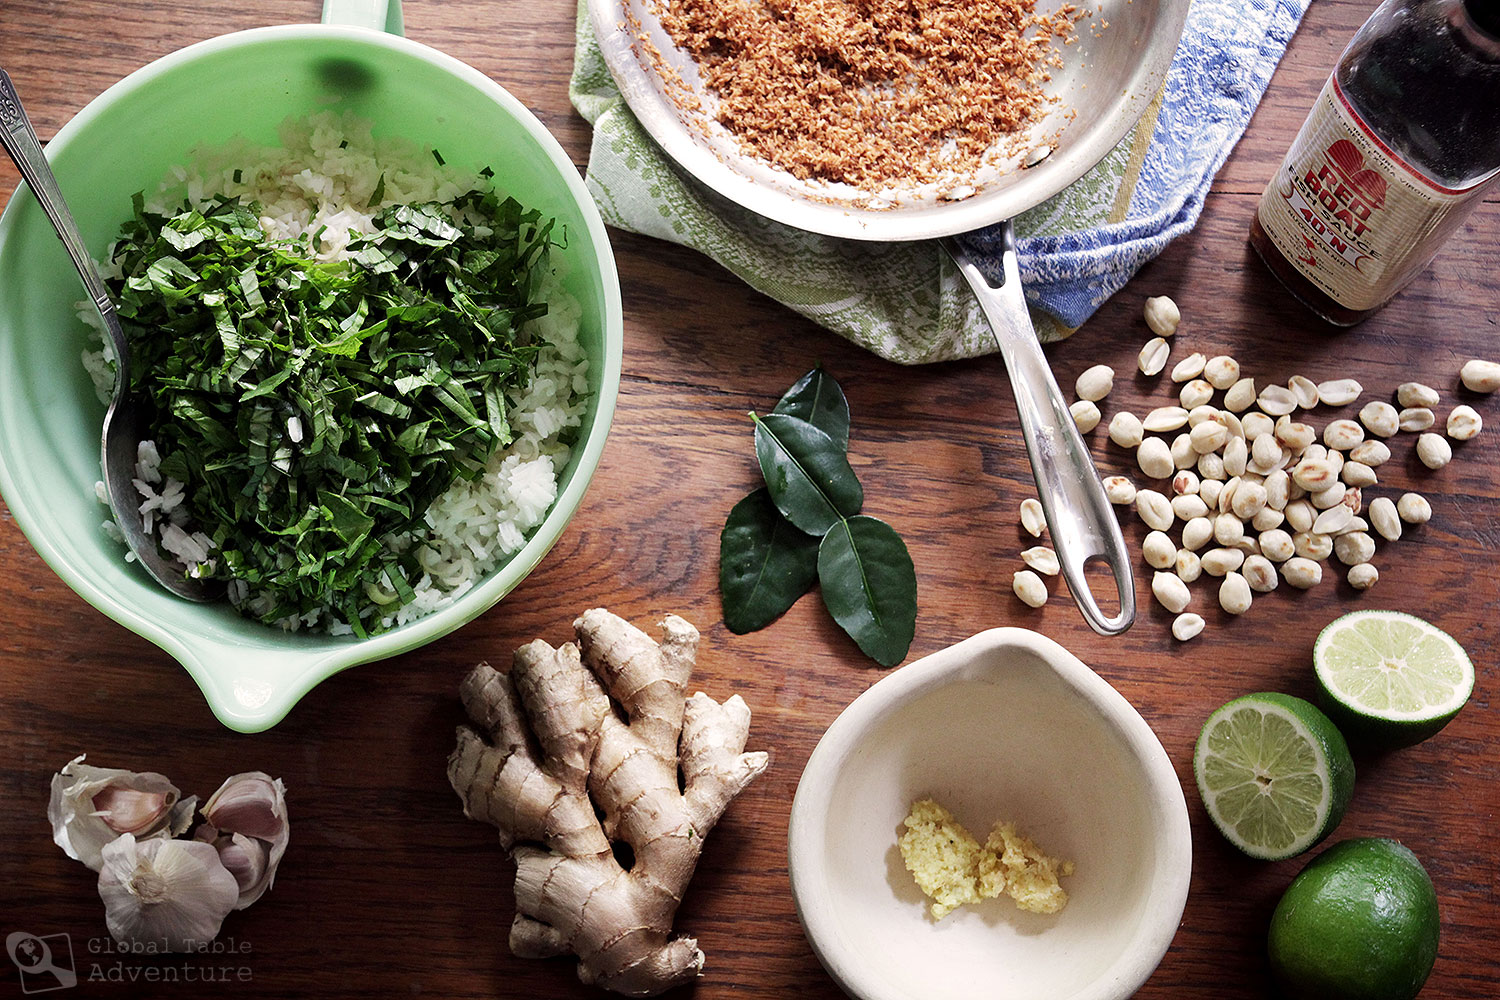
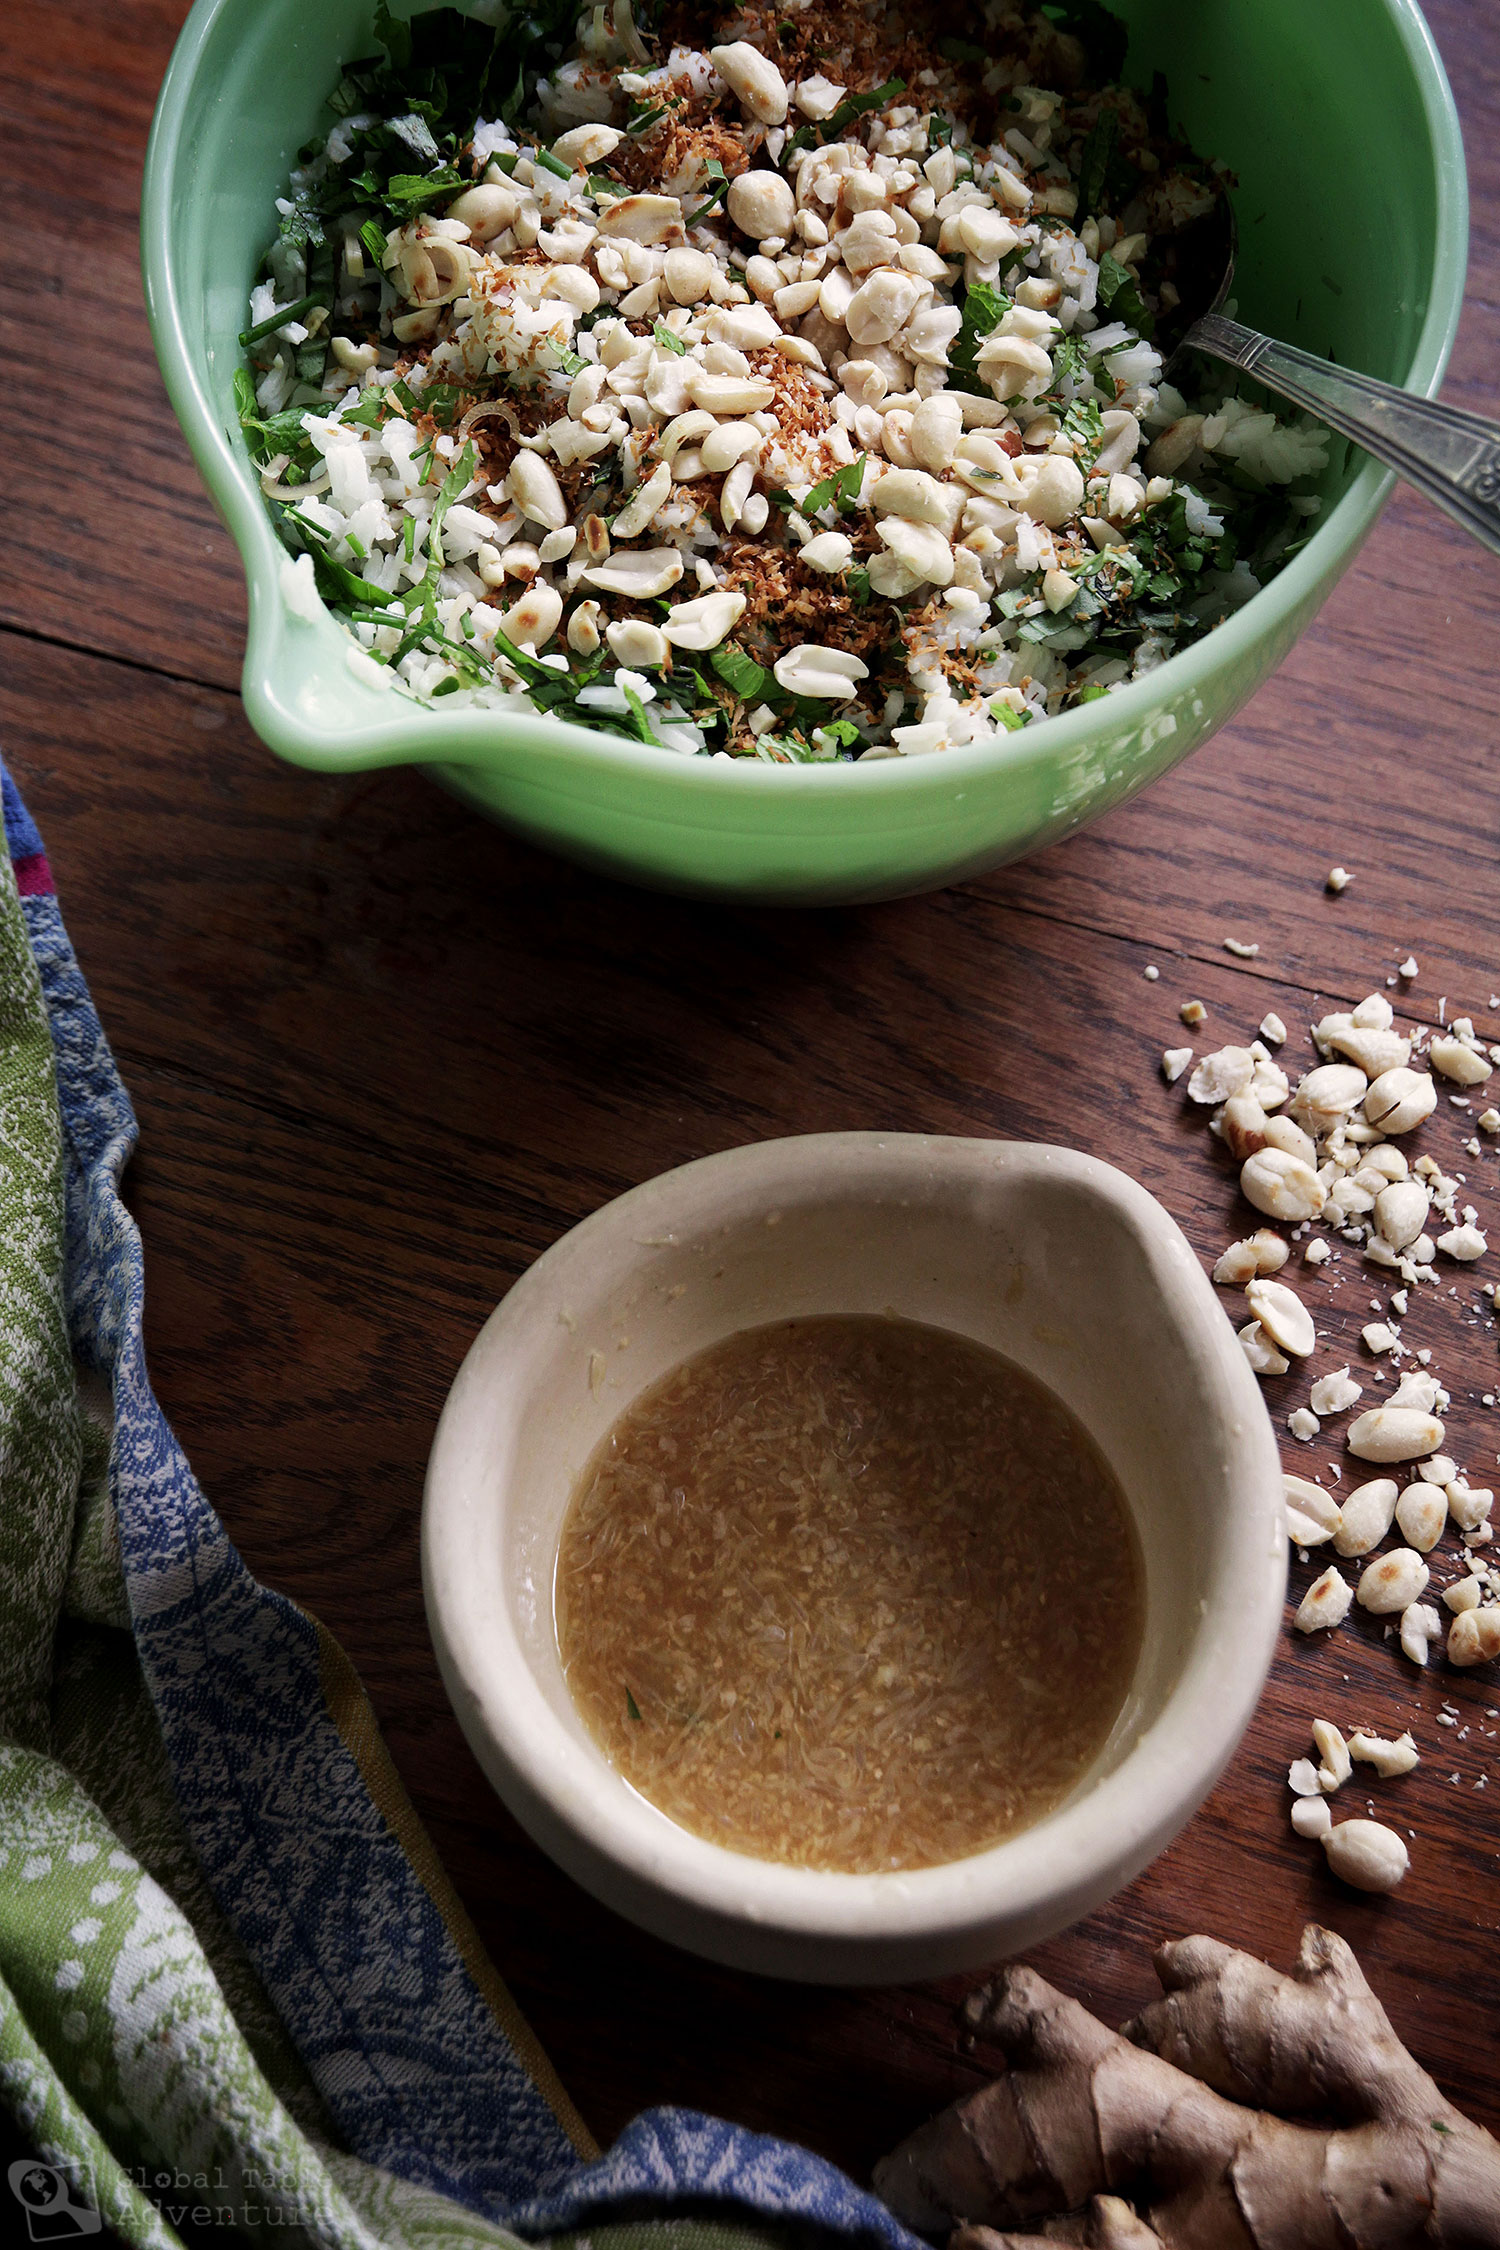
5. I purposefully did not choose the most shocking recipes (i.e. recipes that would make people gawk instead of invest their time in  meaningful exploration). Instead I created a culinary bridge with culturally relevant recipes that used ingredients most are familiar with. Want a new way to make potatoes that also helps teach you how people eat around the world? I have that. Same for rice. Same for pasta. Veggies. Fruit.

Why didn’t I just travel the world instead of cooking it?

It comes down to finances and time. But I have traveled.

When I was almost 11 another family took me in and raised me. I went from sleeping in the living room to my own bedroom with a walk in closet. I spent my adolescence in France and Luxembourg and saw 12 countries by the age of 19.

During those years I experienced the food first hand. Saw the sights. Met the people. Made friends.

Was it a richer cultural experience than what my mother offered me as a young girl or, even later, when I chose to bring the world to my kitchen?

It certainly was a different experience. While it’s fantastic to be in the real place and experience the real thing, there is real value to what my mother offered.

When money and time don’t allow I’ll take cooking the world (and memories of the attempt) over nothing any day.

If trying food from other countries isn’t an act of white supremacy, what is it?

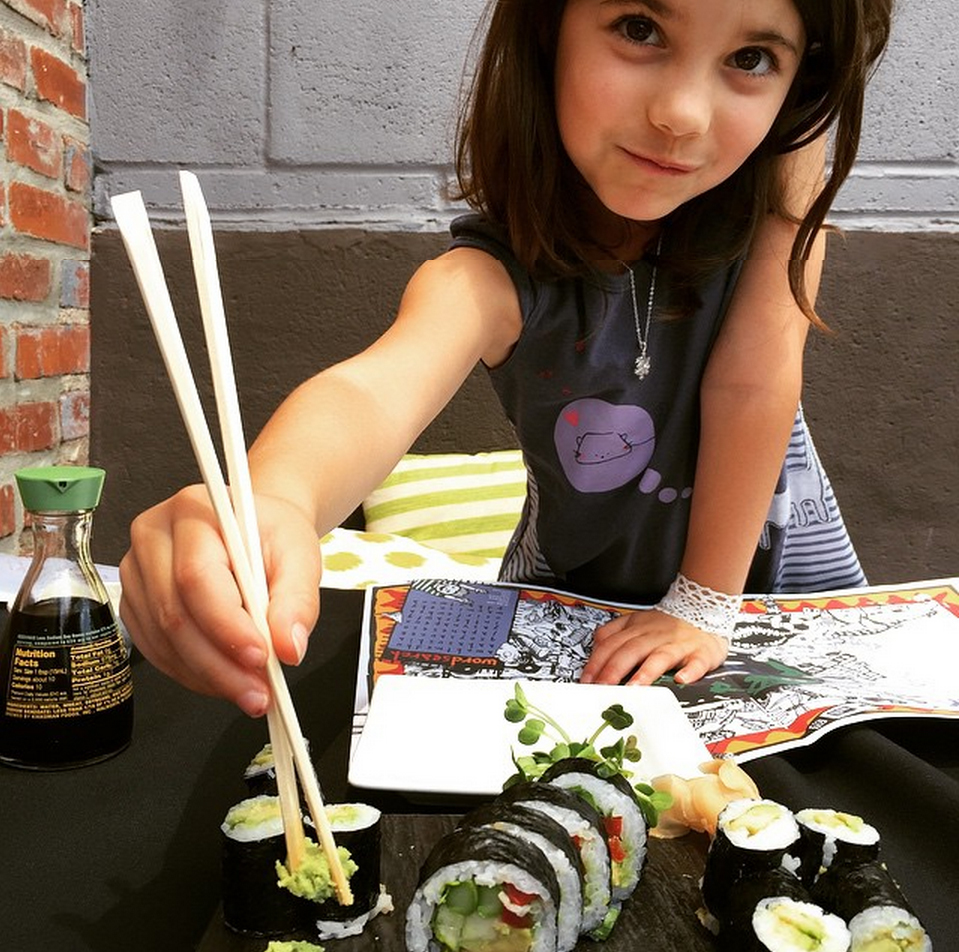
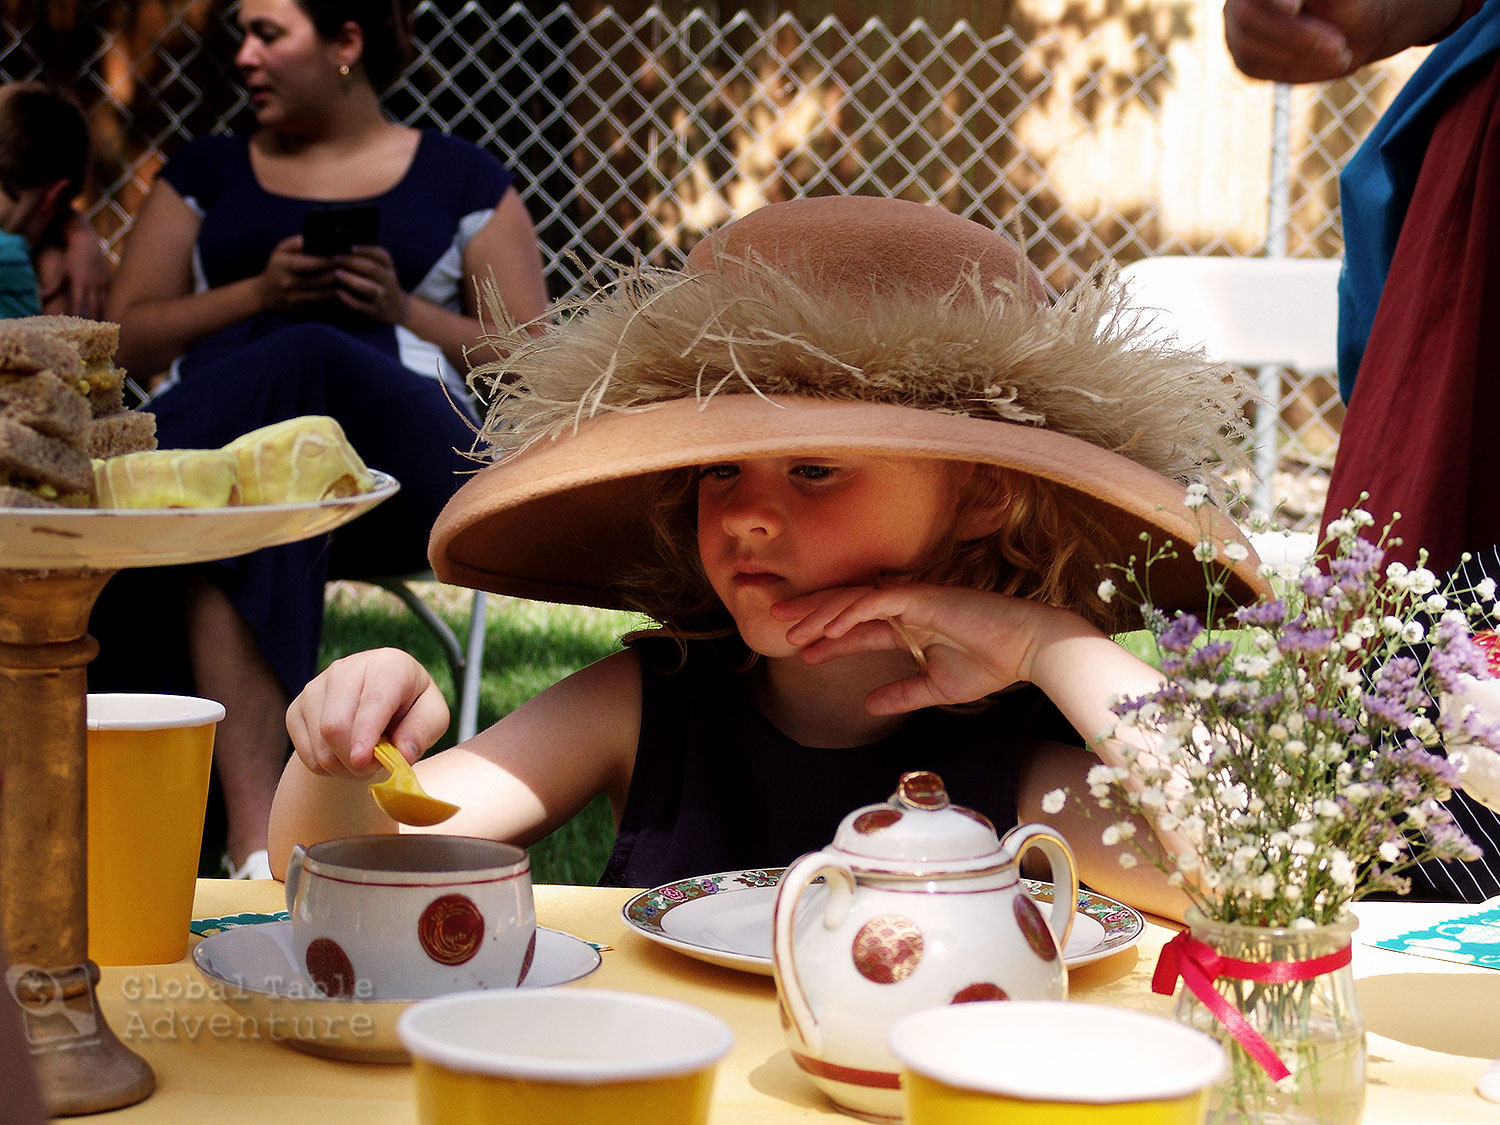
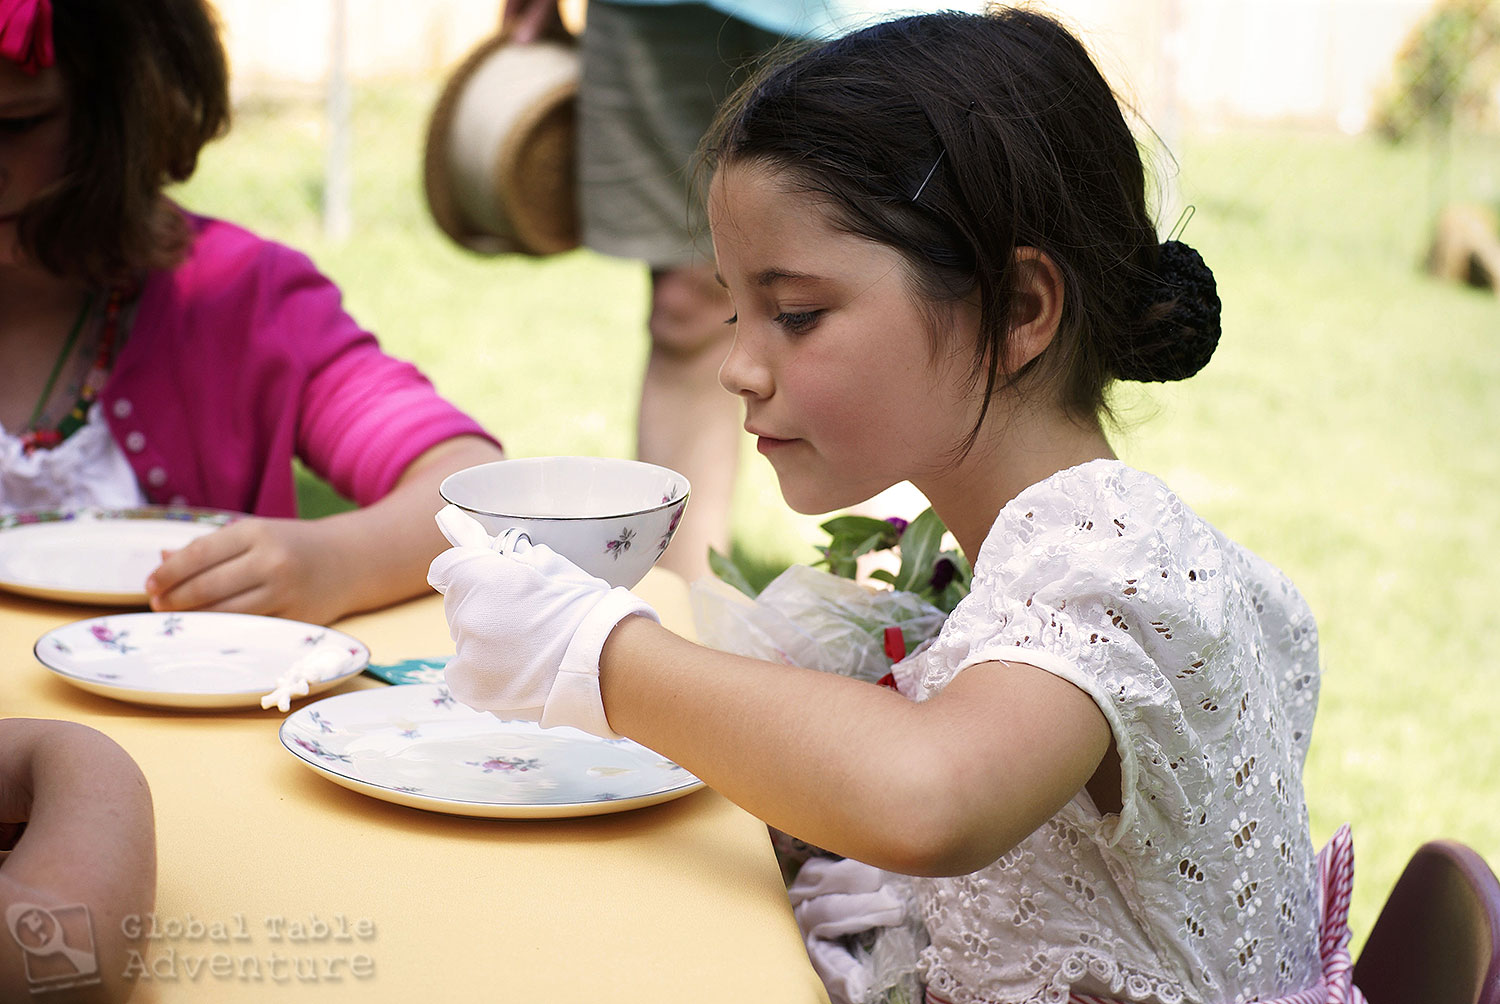
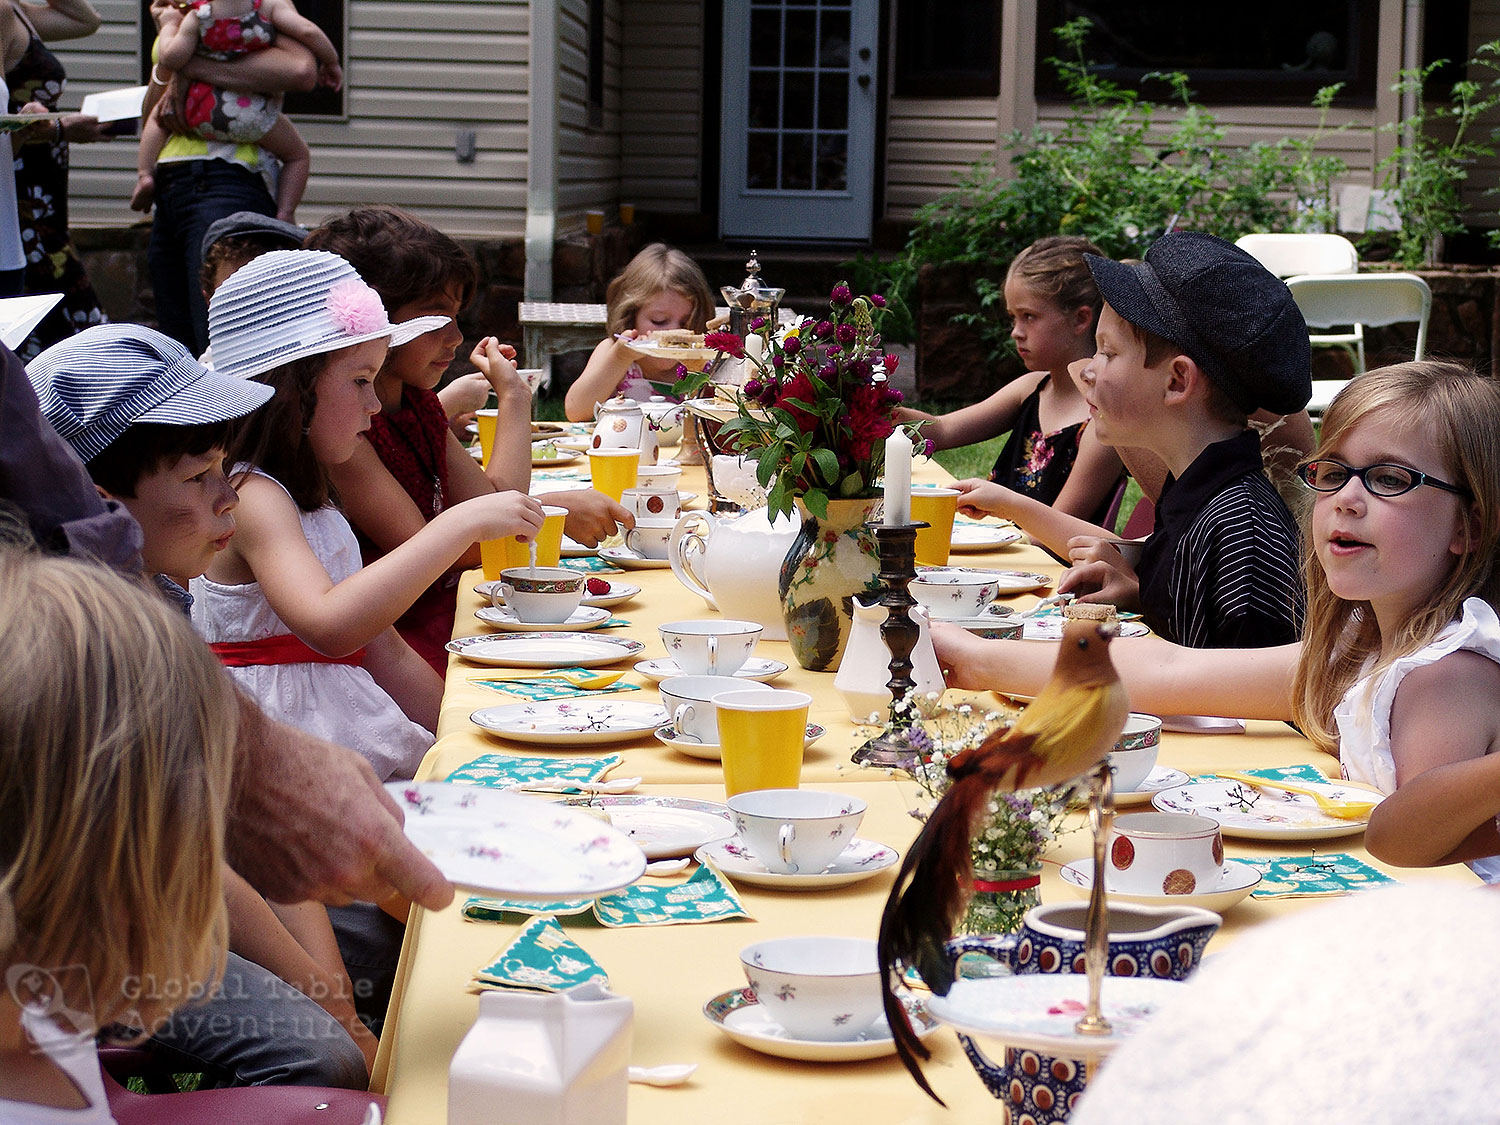
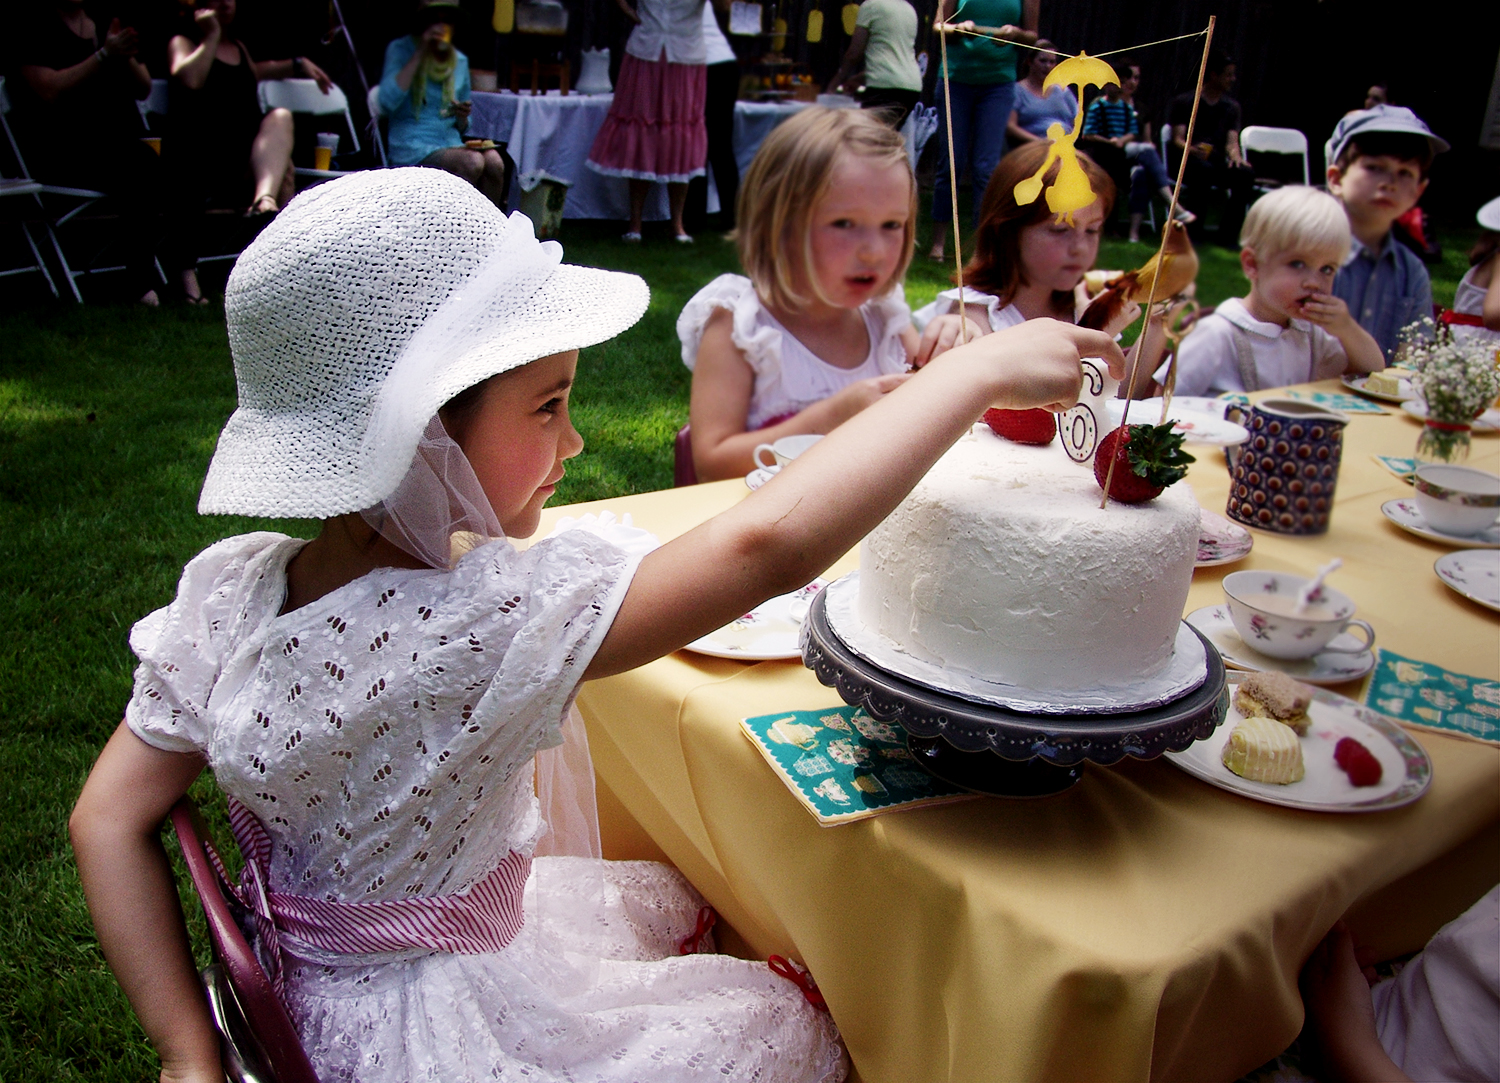
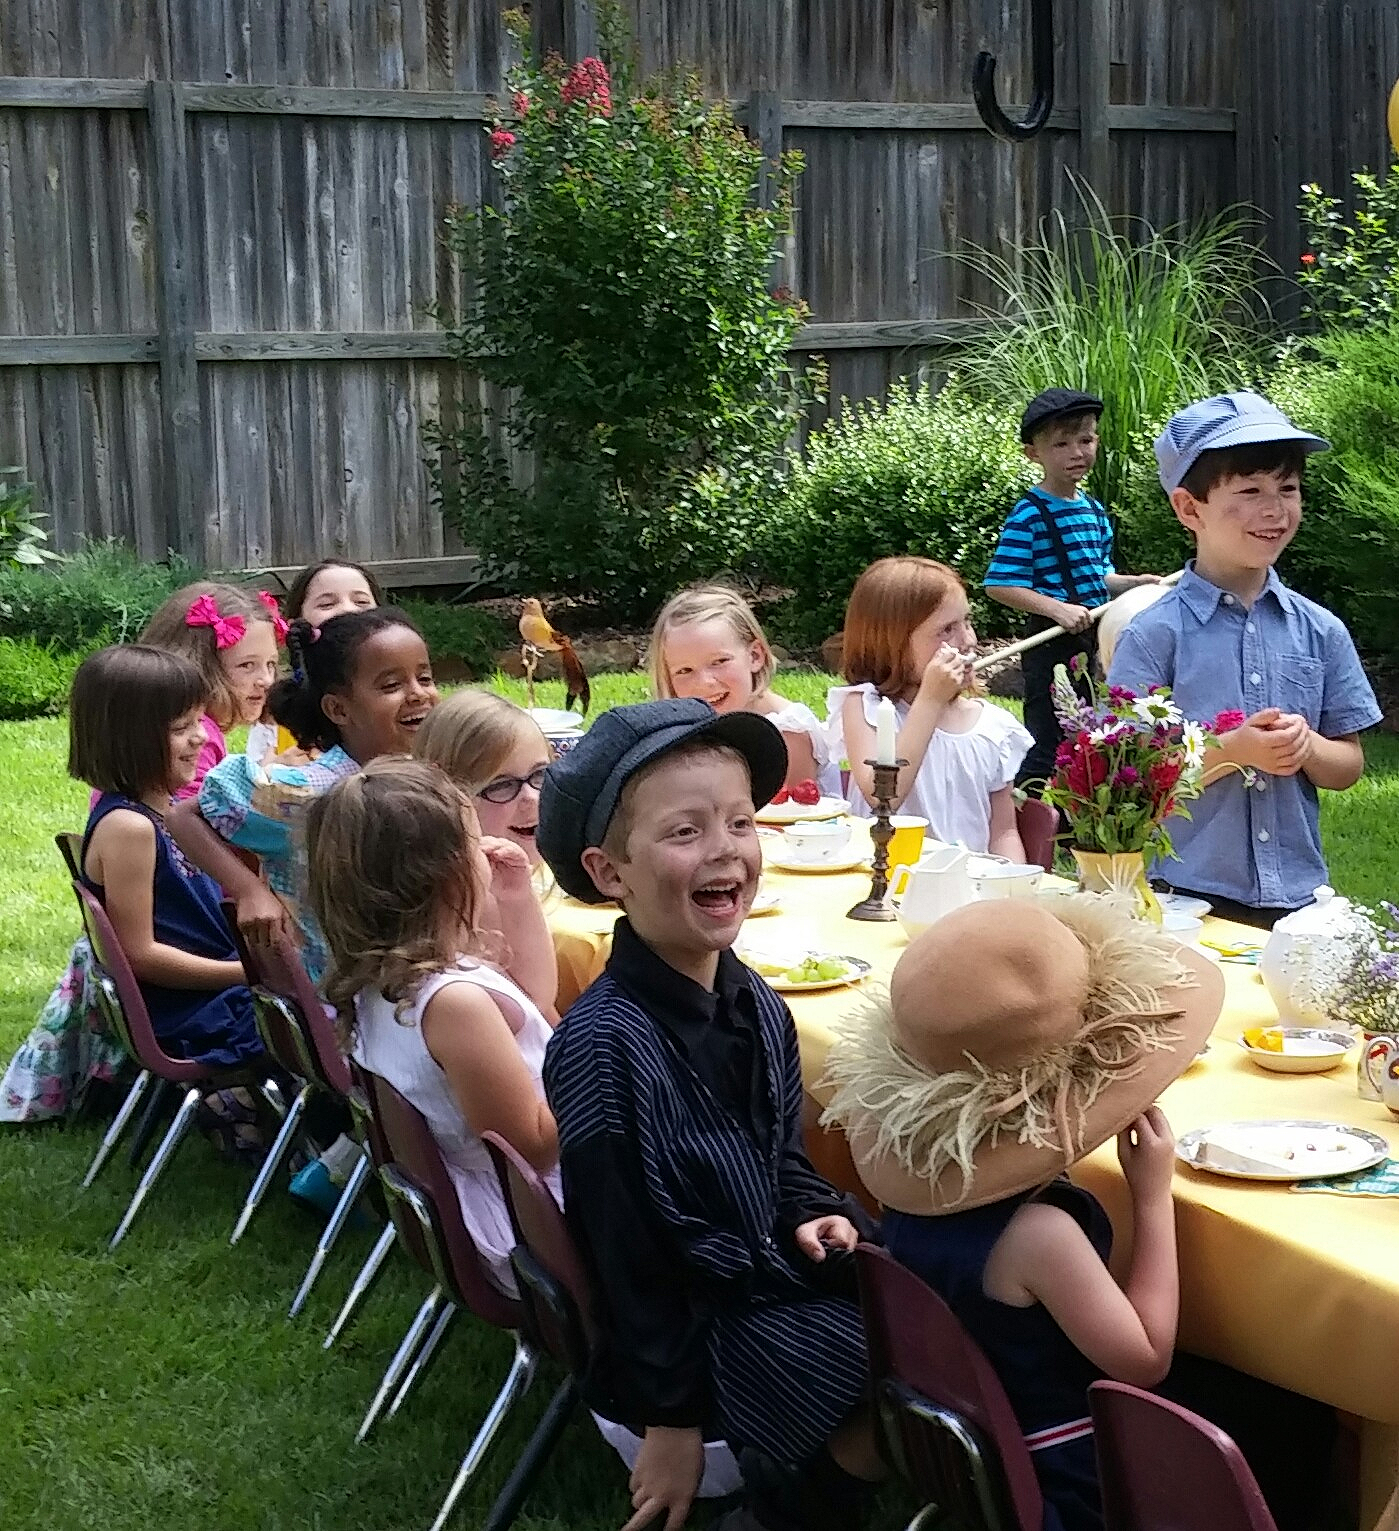
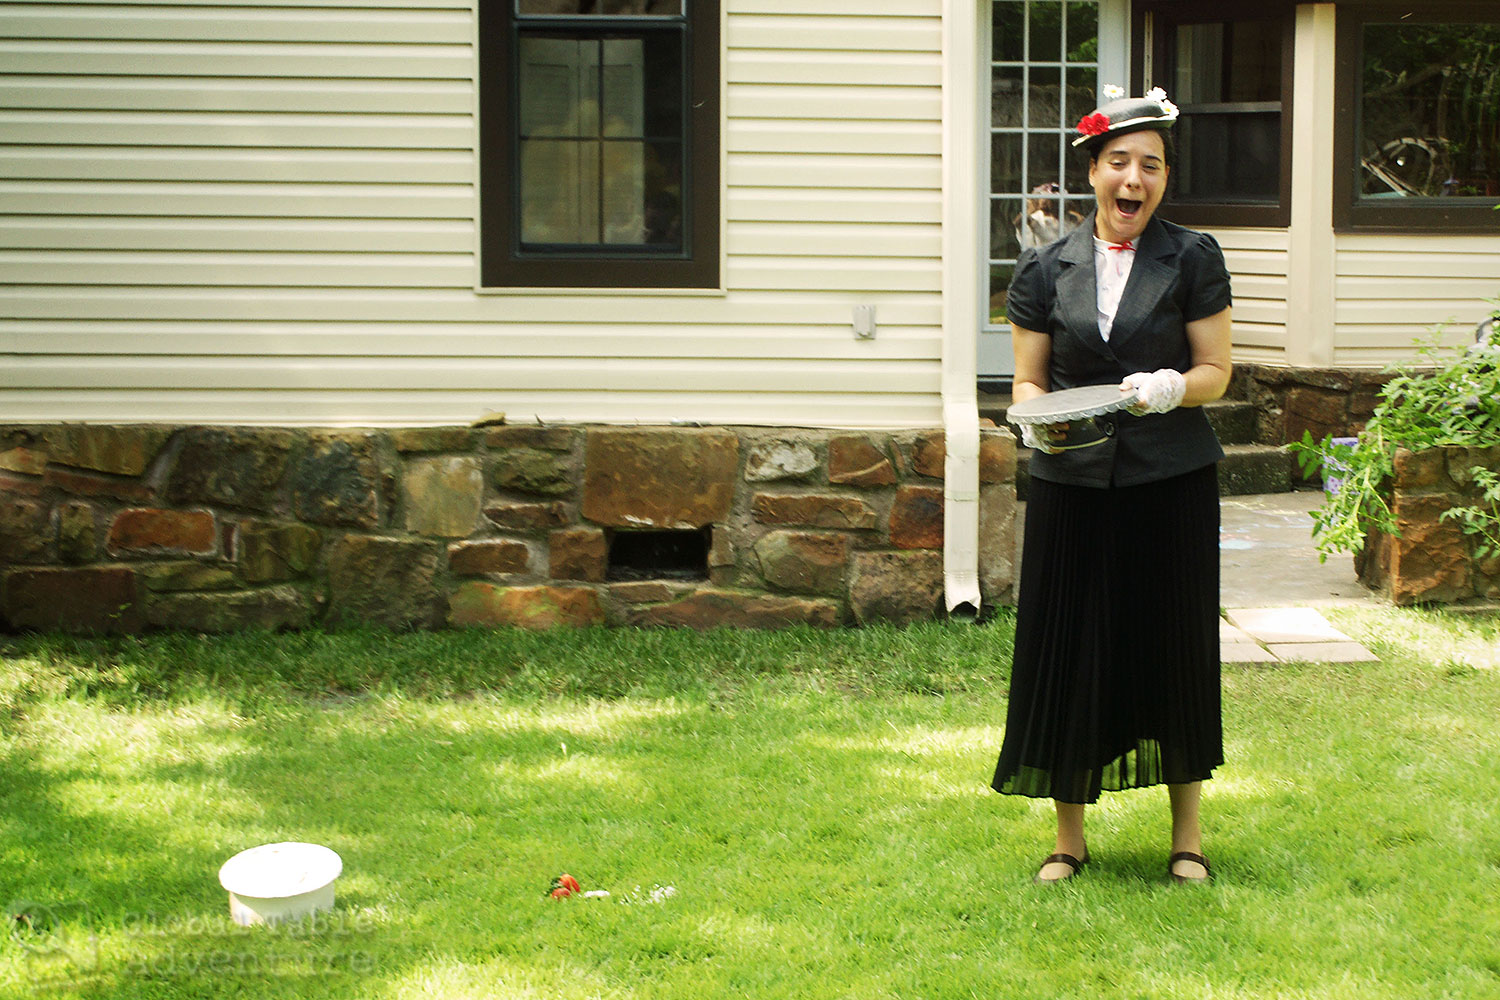
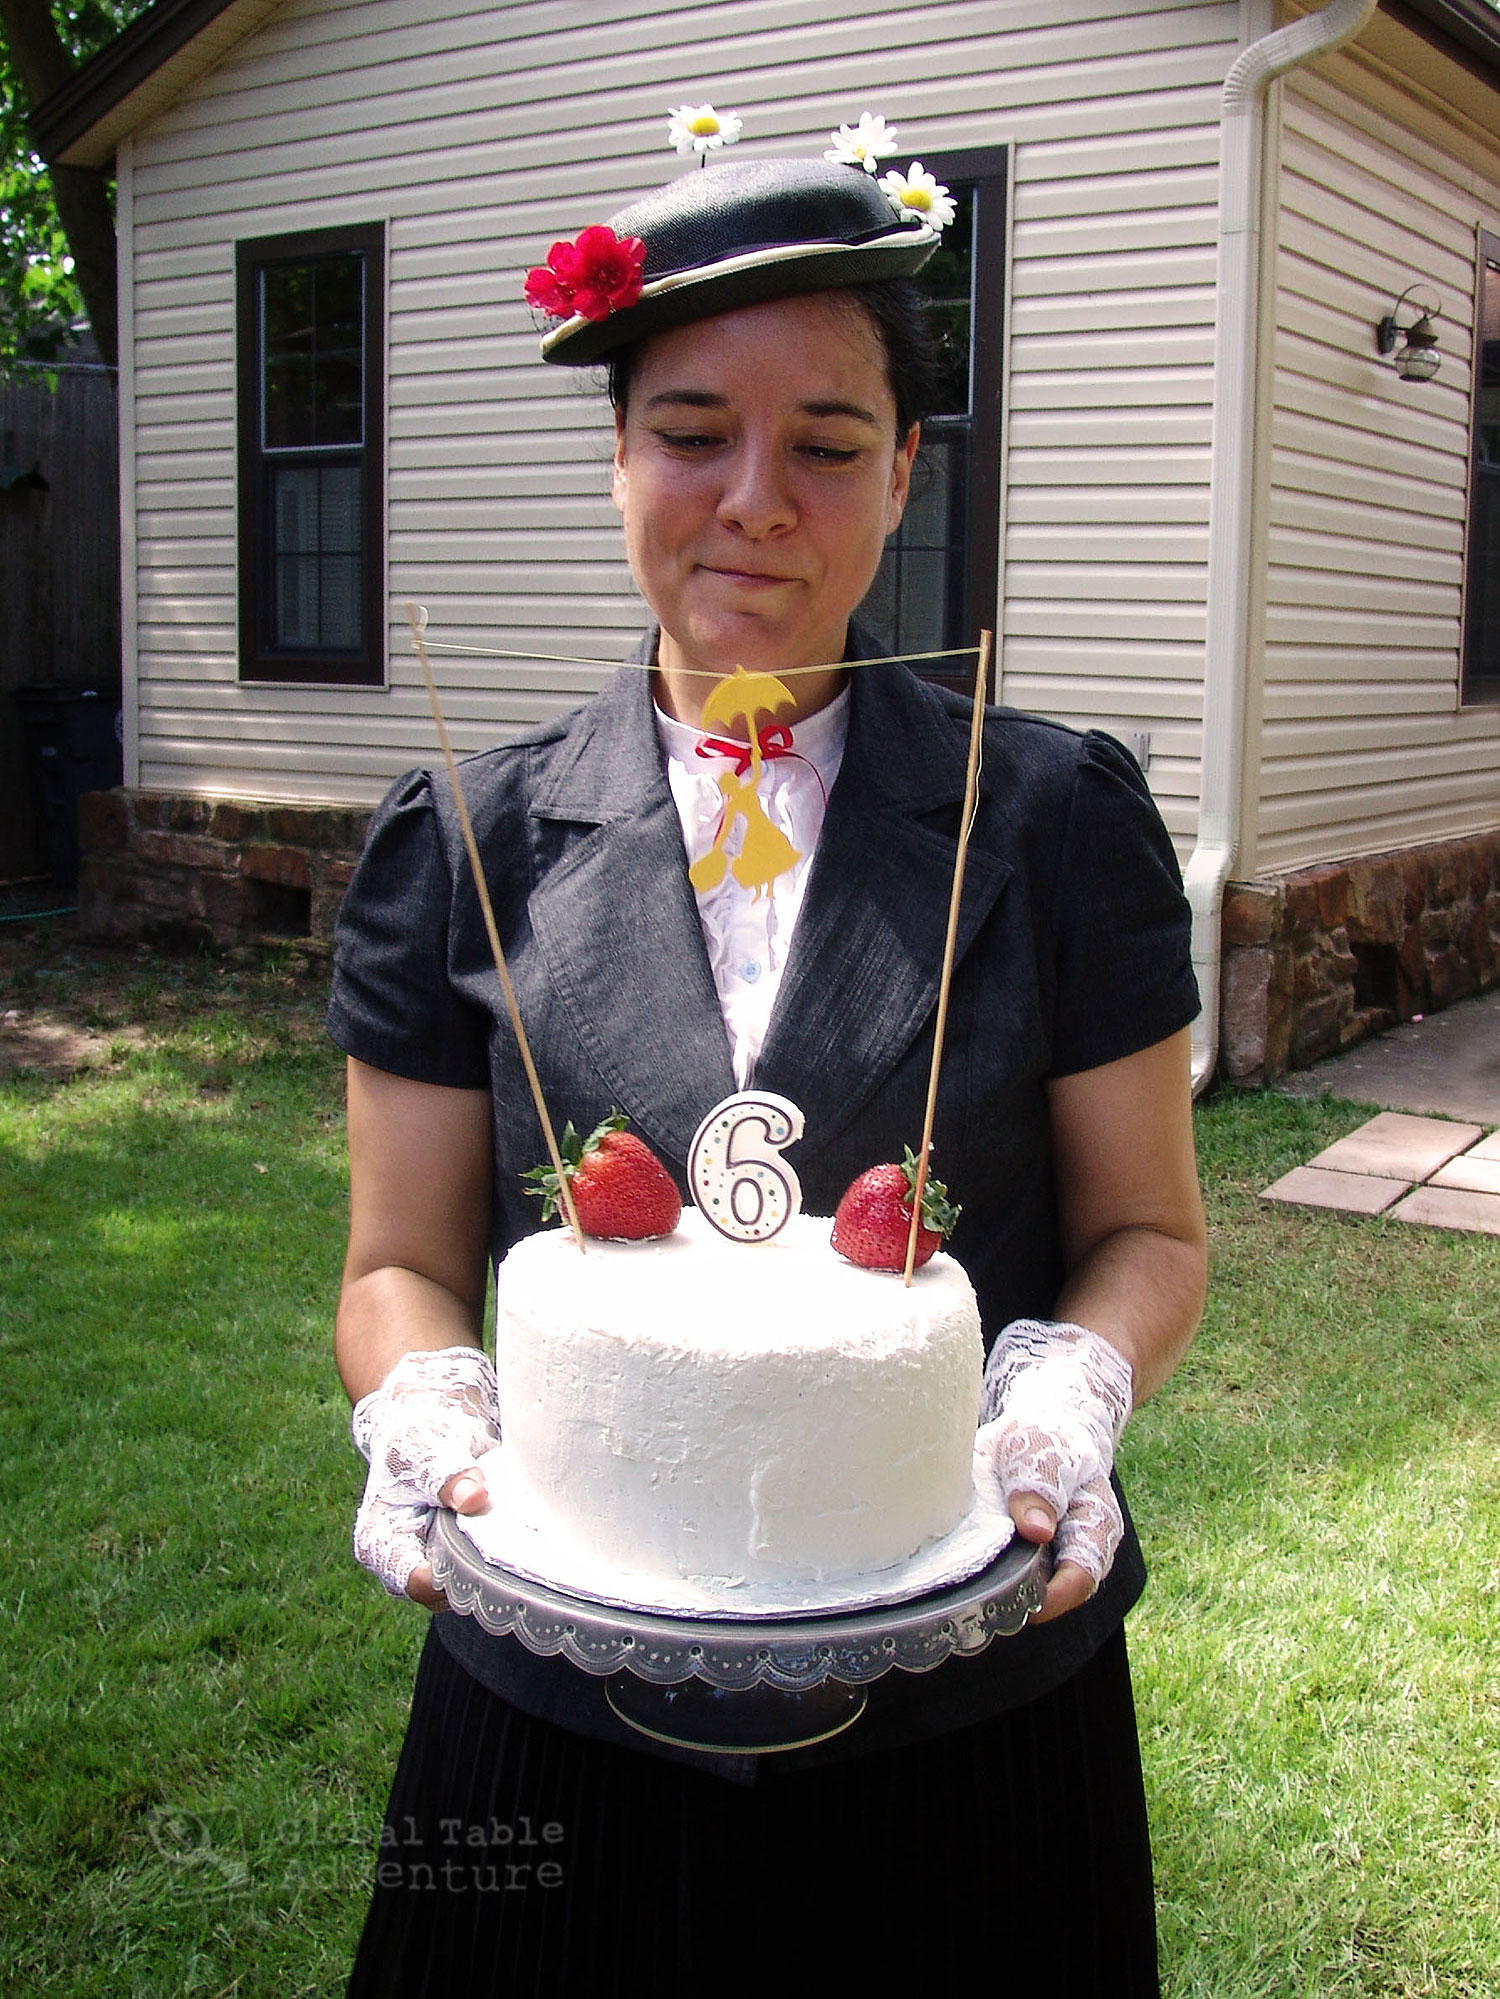
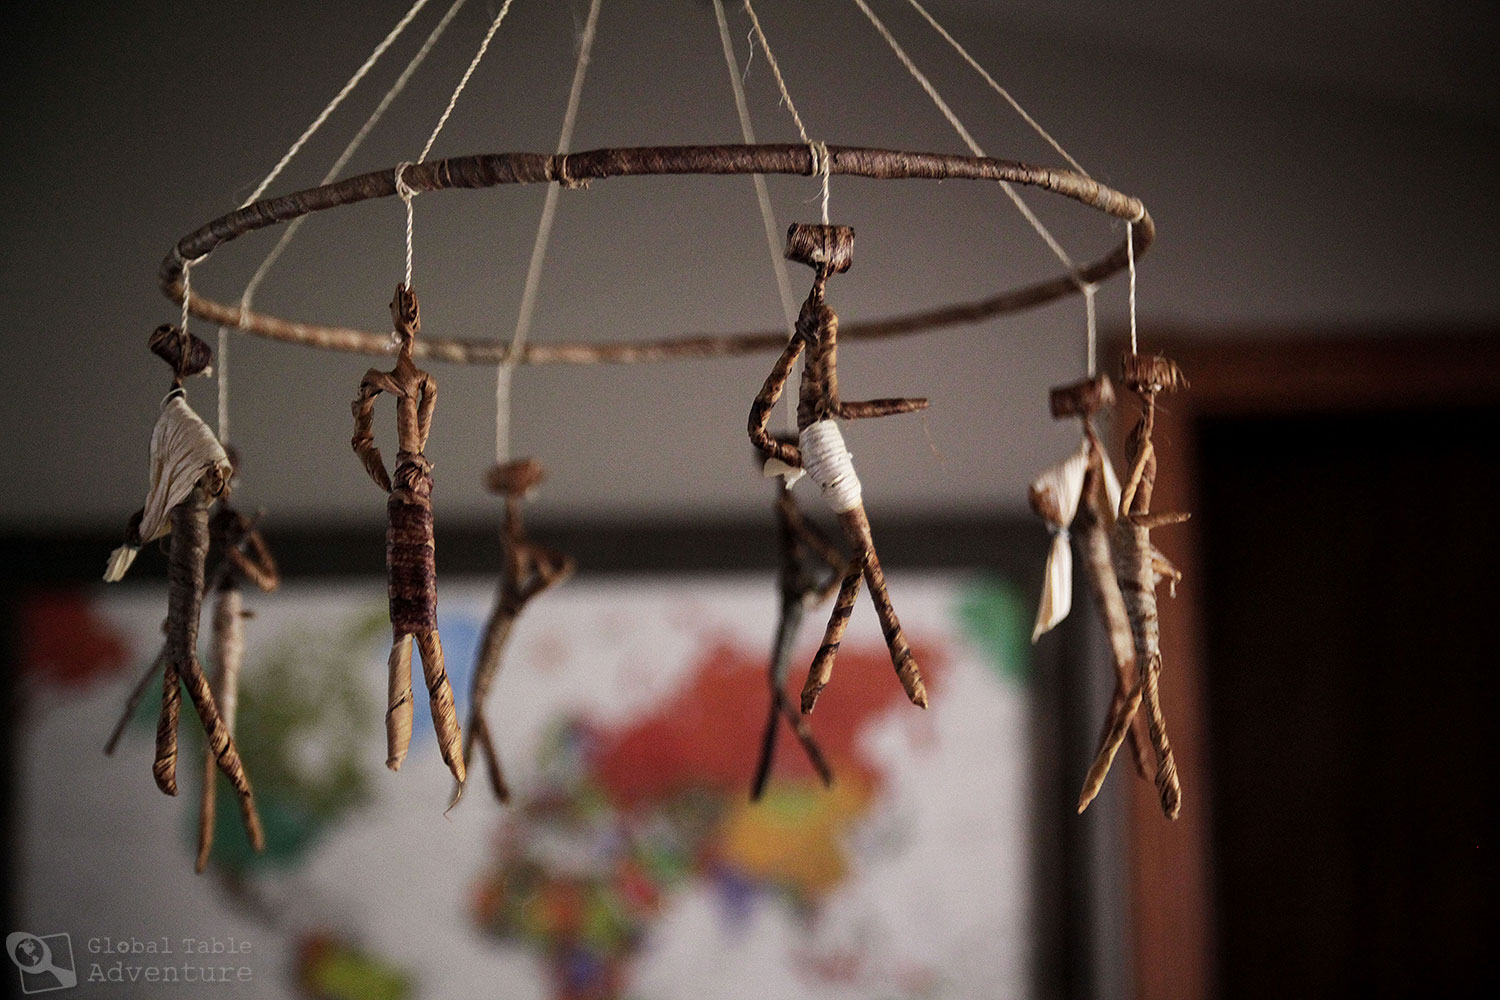
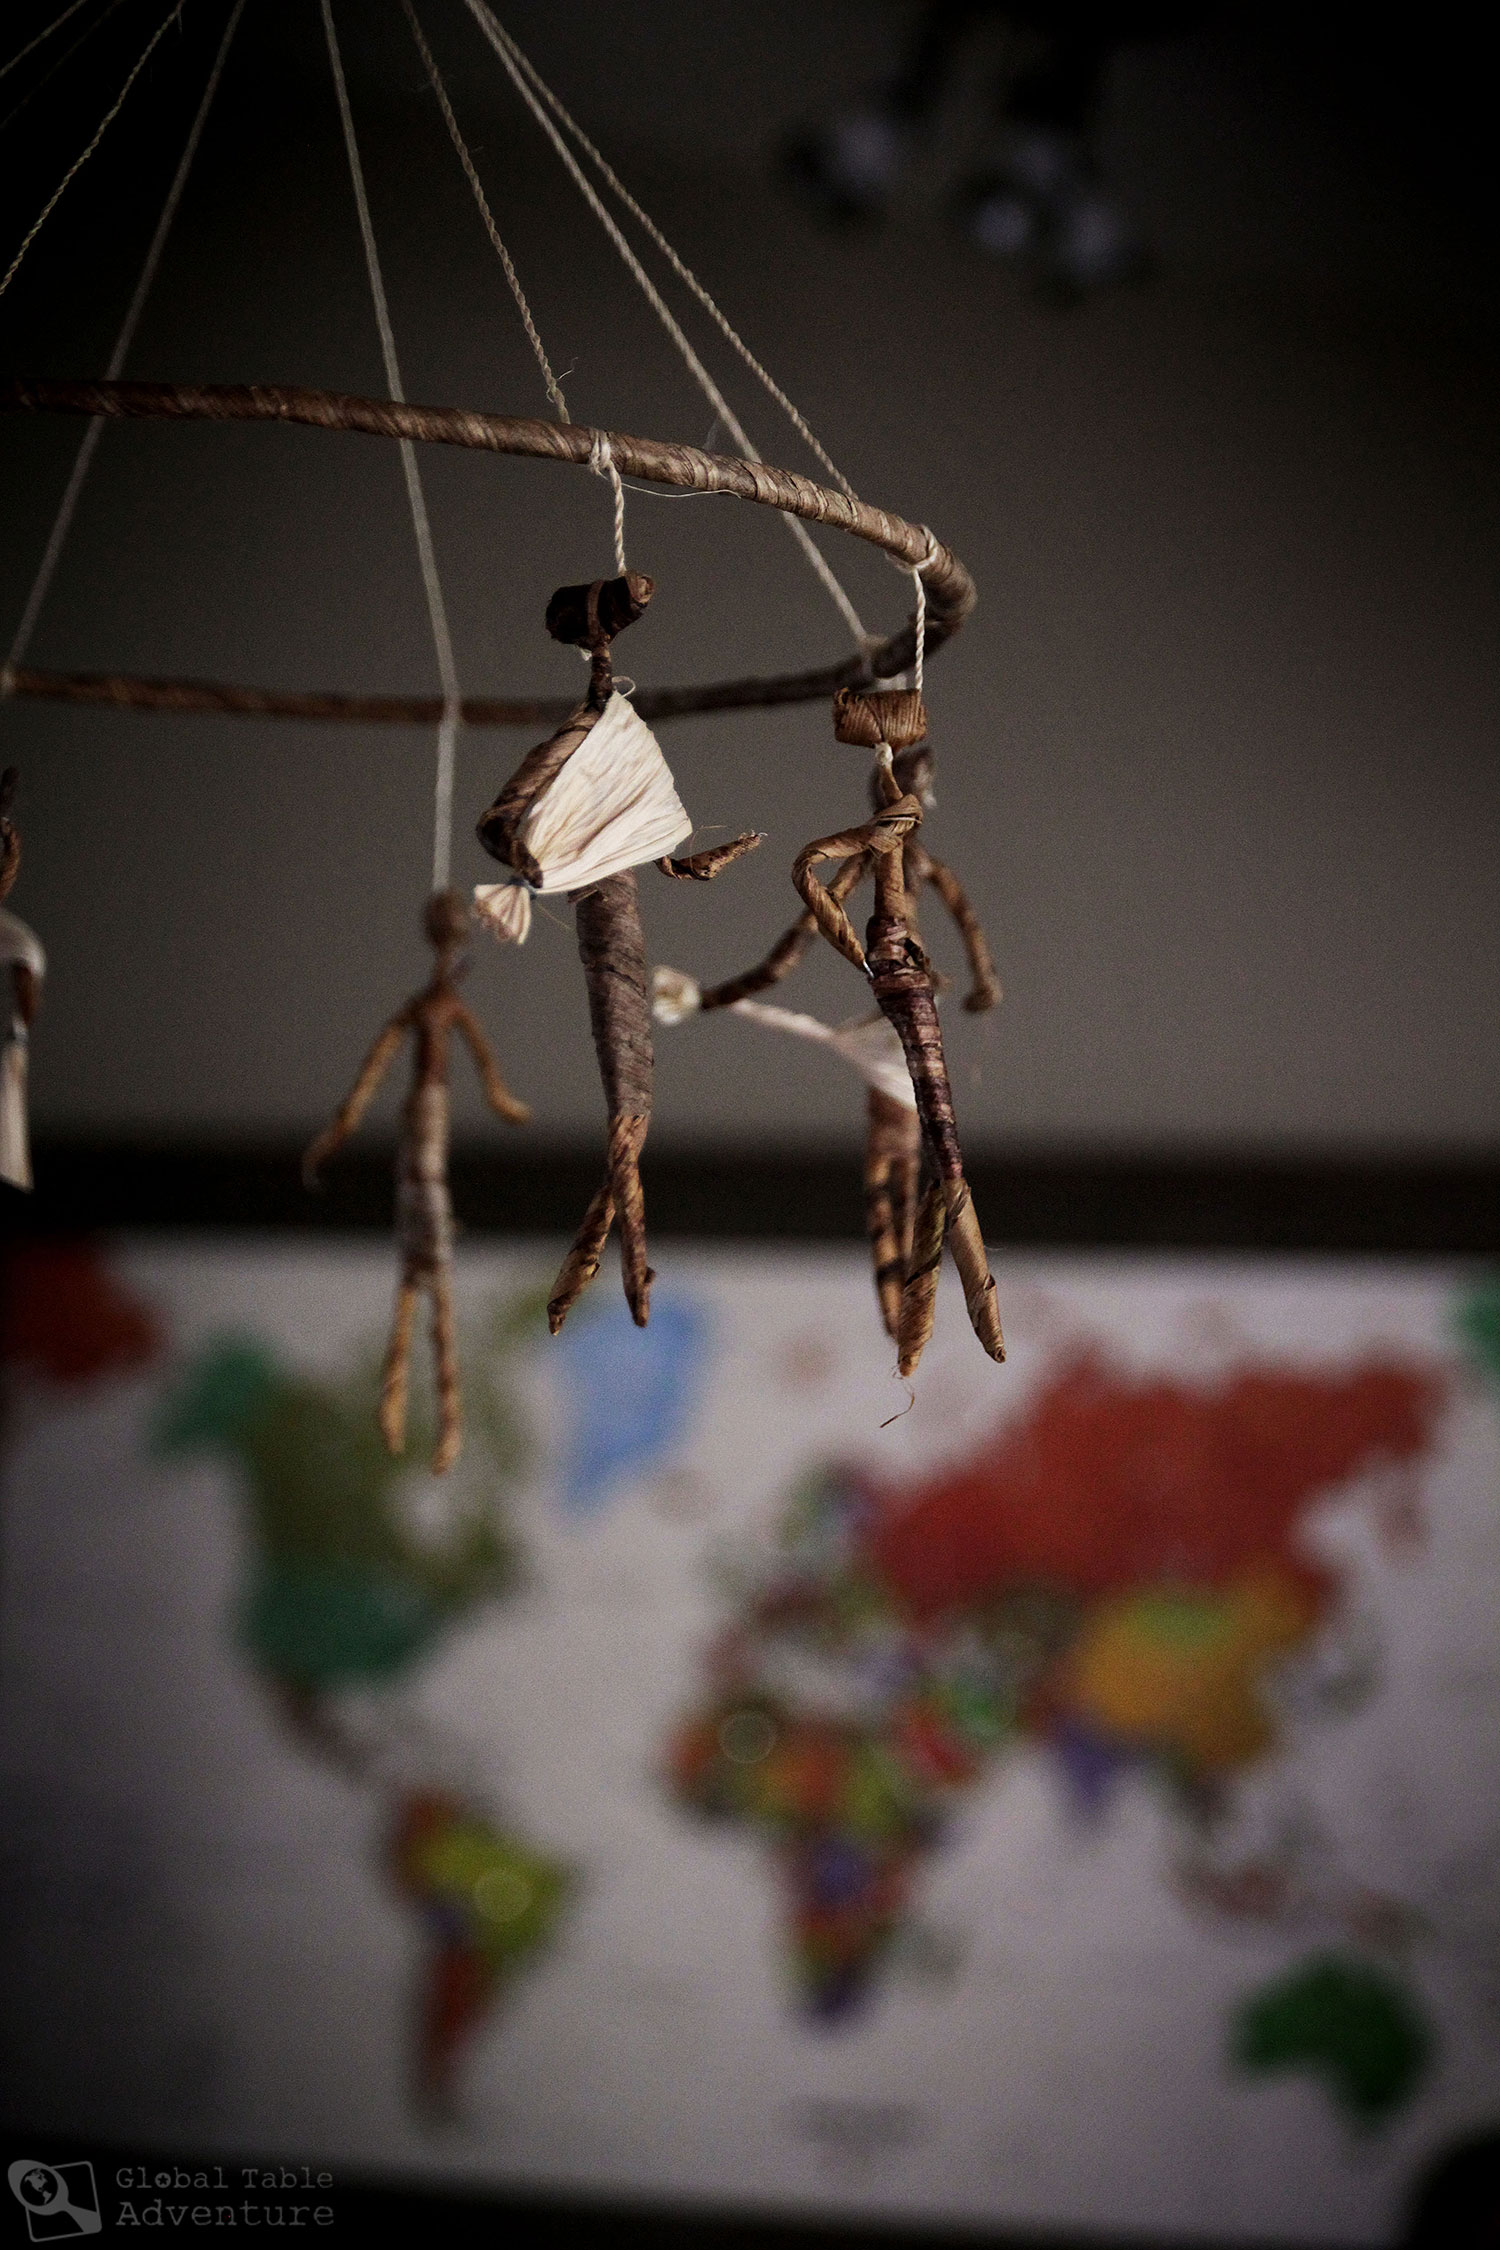
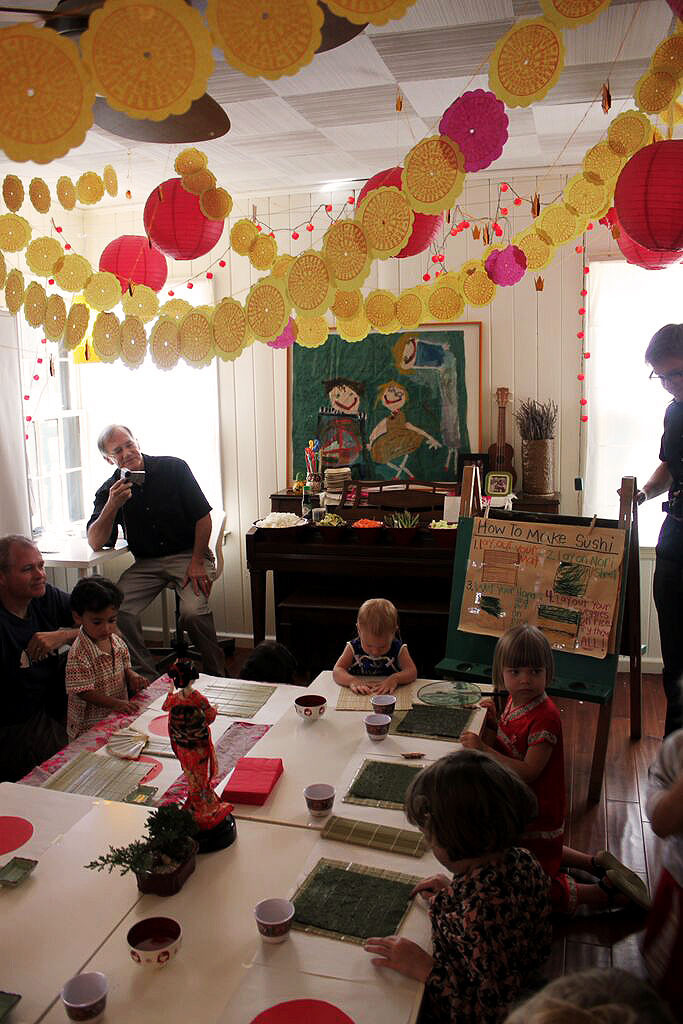
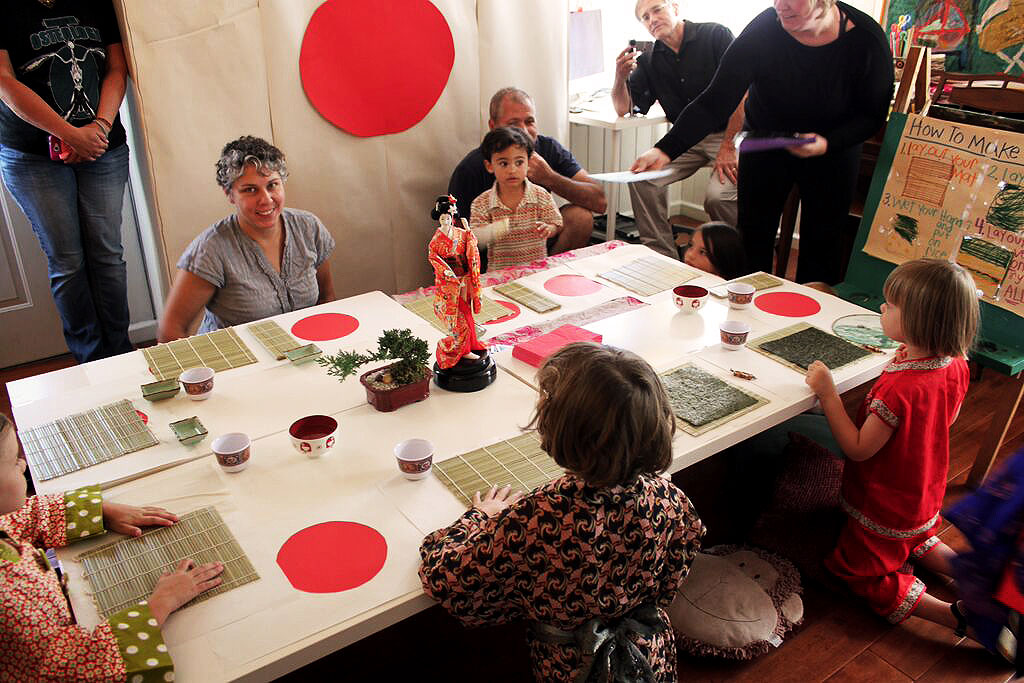
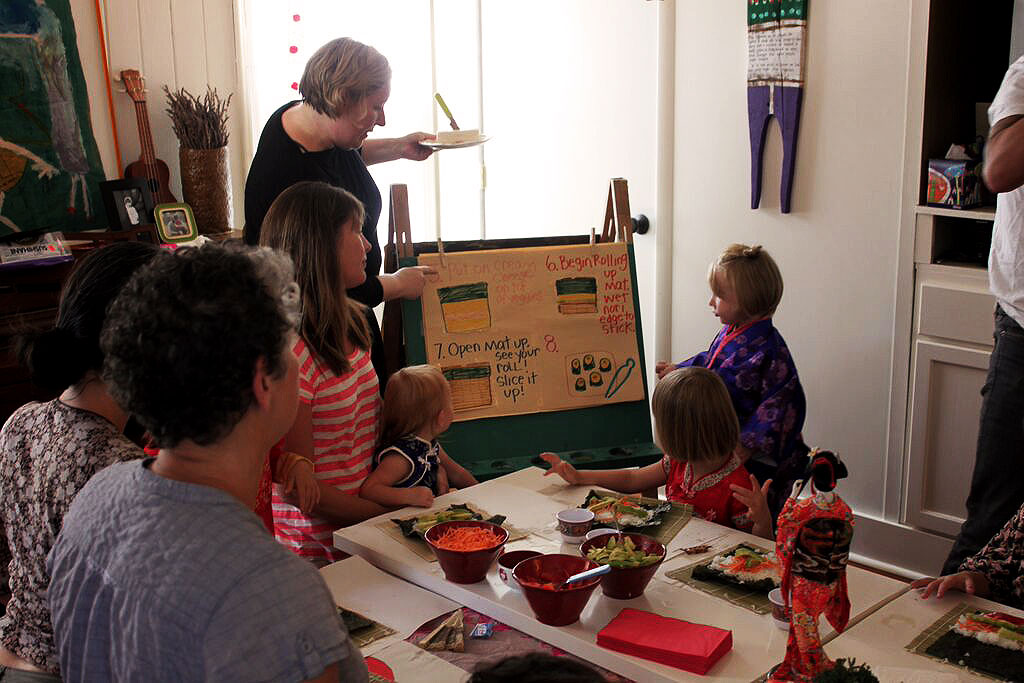
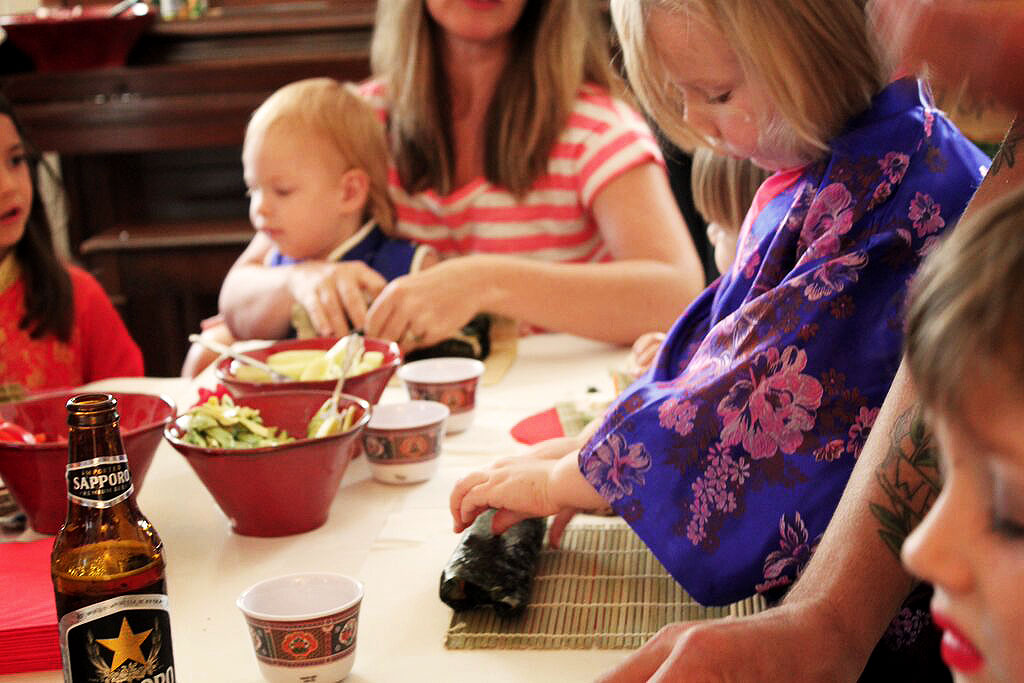
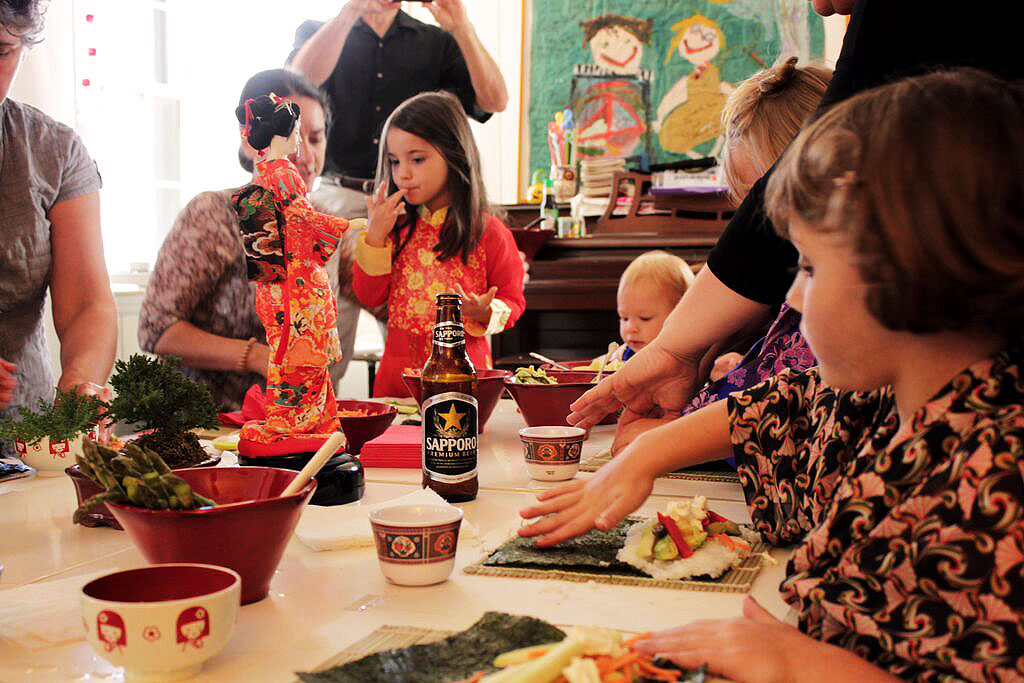
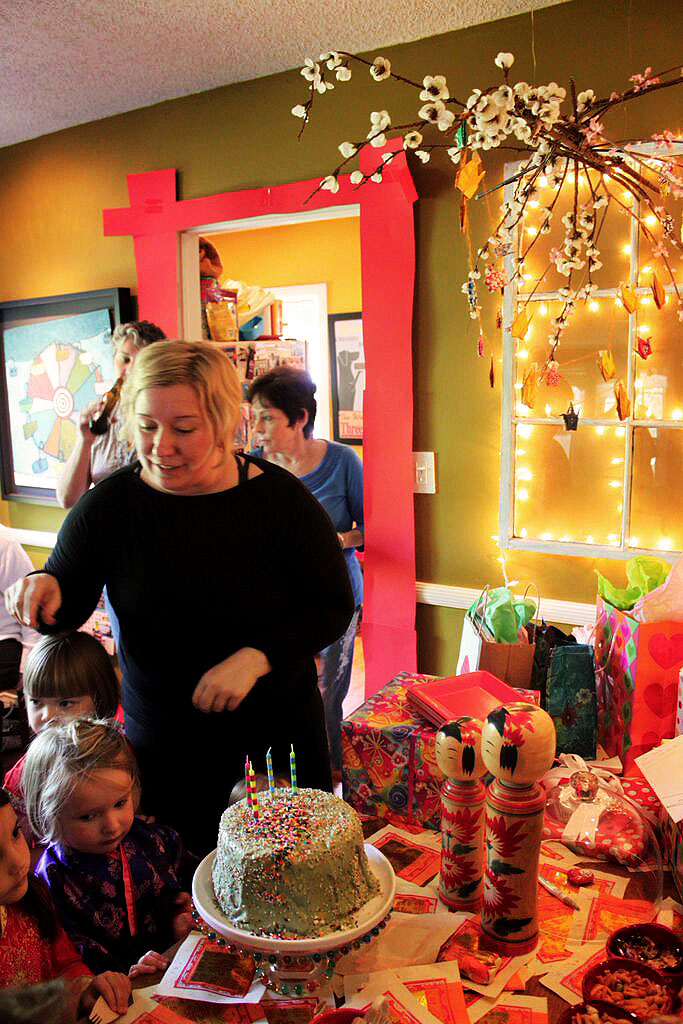
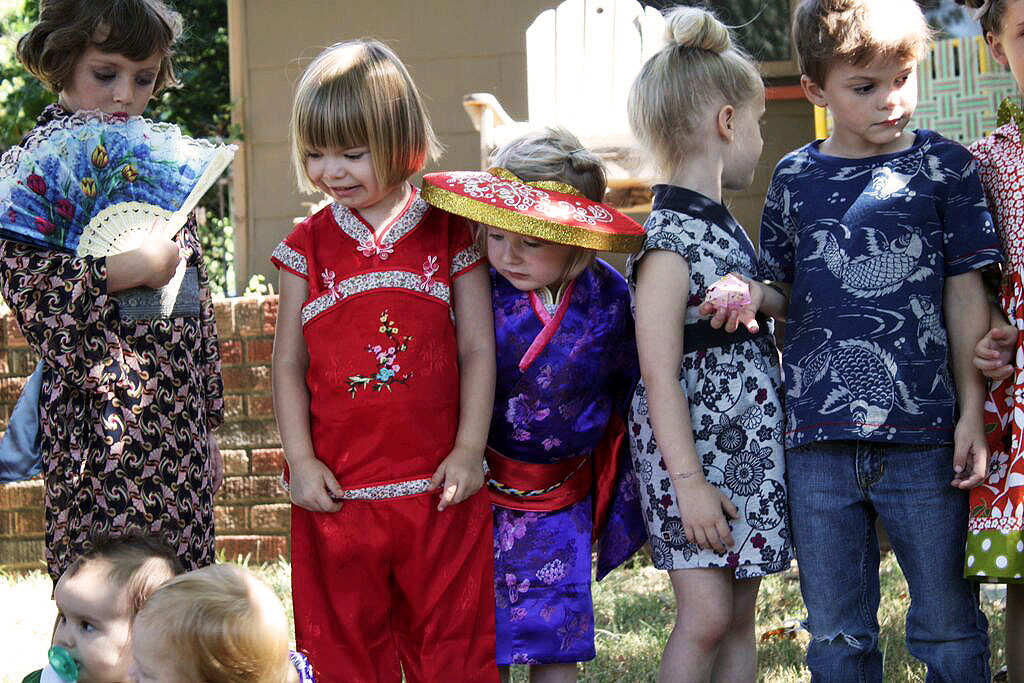
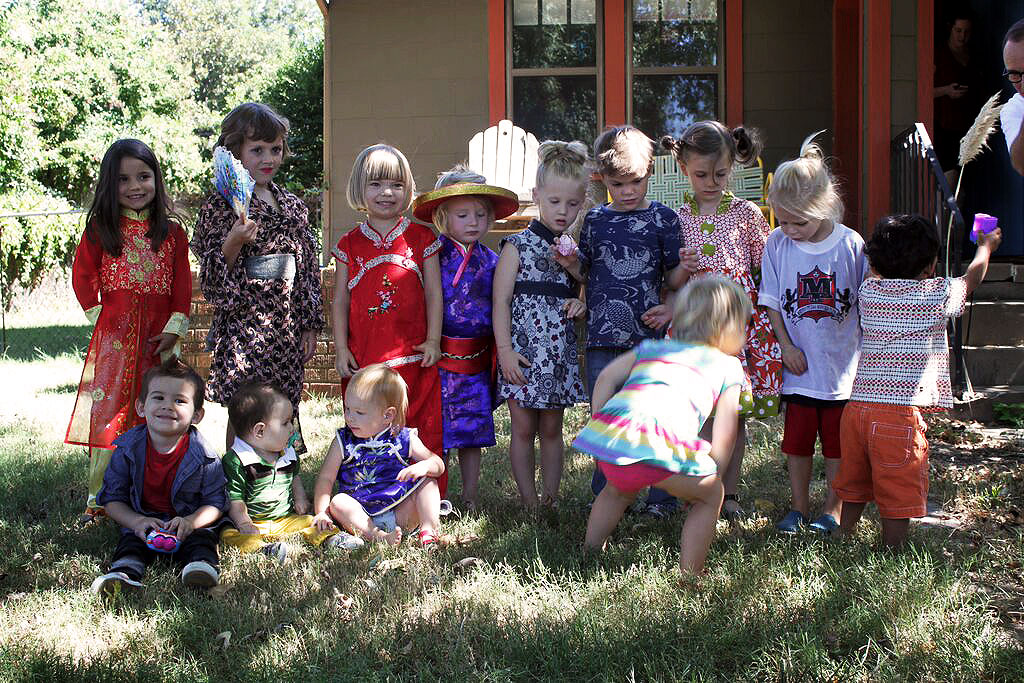
I believe exploring international food builds bridges. My daughter is now 6 years old and understands that we are all connected. She knows that food doesn’t just appear on the table out of thin air, but that every recipe has a story and cultural ties. She regularly refers to the map hanging by our dinner table, making a point to ask about what part of the world inspires our meals.

Maybe there are people who eat food from other countries to assert their white supremacy.

But I’m not one of them. And I have yet to meet someone who is.

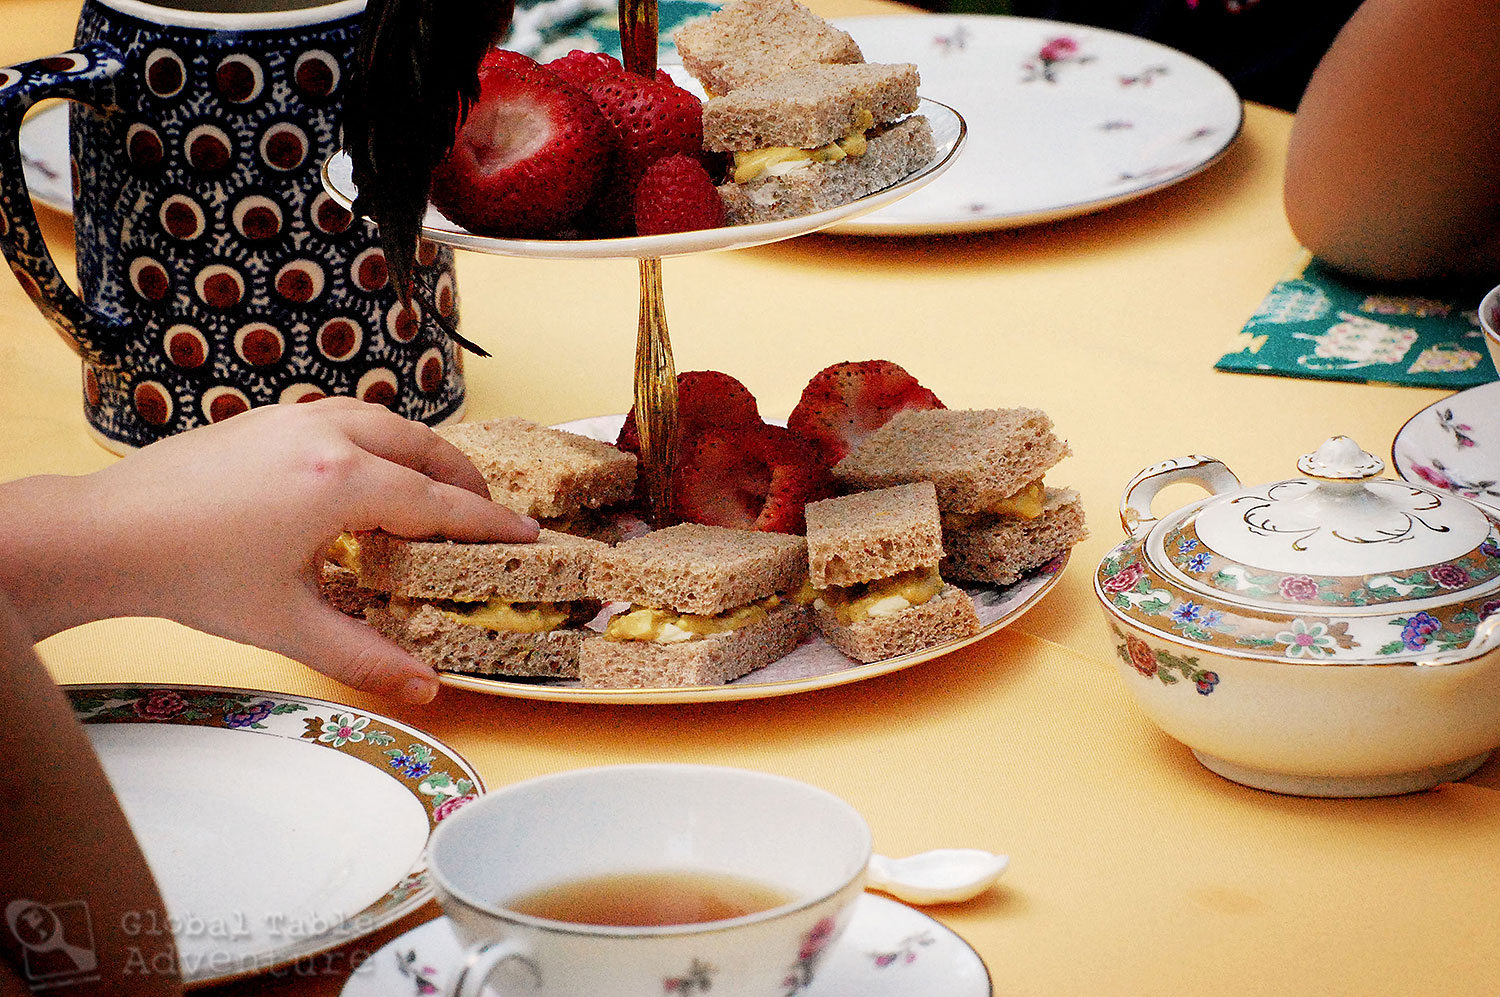
There are real benefits to exploring the world from our kitchens…

Let’s not lose sight of the good we can do with a pot and a spoon.

Speaking of which, I’d be happy to talk this over over dinner sometime.

We can make it a potluck.

Think you can’t handle spicy food? Think again.

"Die Gartenlaube (1887) b 437" by Various - Scan from the original work. Licensed under Public Domain via Wikimedia Commons - https://commons.wikimedia.org/wiki/File:Die_Gartenlaube_(1887)_b_437.jpg#/media/File:Die_Gartenlaube_(1887)_b_437.jpg

“Dog Days” Illustration from “Die Gartenlaube (1887) – a German newspaper.

I never thought I could learn to tolerate spicy food, let alone love it.

The very idea of enjoying a cup of hot salsa once seemed as unlikely as camping at the North Pole.

But recently – somewhere between spooning hot chili sauce on my rice during dinner and eating a piece of ‘scorpion cheddar’ from the sample bin at Whole Foods (complete with warning label “eat at your own risk”) – I began to ponder my path towards eating food high on the Scoville scale.

Spice shop photo by Emna Mizouni.

Spice shop in Douz, Tunisia. Photo by Emna Mizouni.

What is the Scoville Scale?

Think of it as a game of Mercy… for your mouth. The Scoville scale was developed in 1912 by a man of the same name – Wilbur Scoville. At first sugar water is given to trained testers. Then, little by little, the hot part of the pepper (a.k.a. capsinoid extract) is added to the water until the testers feel the heat.

  • If a lot of extract has to be added before testers notice the heat then it’s a mild pepper.
  • If hardly any extract has to be added before testers notice the heat then it’s a hot pepper.

Thanks, Wilbur!

Wilbur Scoville (1910)

Wilbur Scoville (1910)

For reference: Bell peppers have no heat, while a pepper called the Carolina Reaper tops the charts at 2,200,000 Scoville heat units.

That Scorpion cheddar I nibbled?

It’s way hotter than a Habanero. For a few years it was rated the hottest pepper in the world by Guinness World Records at 1,463,700 Scoville heat units. Today it rates just below the Carolina Reaper.

It made me cough, but I went back for more.

Hope for highly sensitive palates

Ava-eats-Laos

Unlike my daughter, pictured above, I didn’t grow up eating spicy food. Mom’s cooking had great flavor but the spiciest dish we ever ate was chicken paprika – mostly mild thanks to the cooling effects of sour cream. Living in Europe as a teenager did little to change things; France and Luxembourg are not known for their use of chili peppers.

So it stands to reason that when I began cooking a meal from every country in the world during my early 30’s I had a relatively sensitive palate. Back then I swore a scant 1/4 teaspoon of cayenne pepper in a large batch of food was enough to make me sweat. Given my age, I had good reason to think it’d always be that way.

Heck, according to the New York Times:

For the uninitiated, a relatively mild hot pepper can seem intolerably strong and truly hot peppers may even cause blistering of the lips and palate. (Source)

But I was wrong.

HOW TO BUILD YOUR TOLERANCE FOR SPICY FOODS

Every continent has something to teach us about learning to love spicy food. Here 7 of my favorite lessons learned while cooking the world.

1. Start by celebrating raw “heat.”

Europe

Nordic Around the World Lunch

While Europeans are not known for their use of chili peppers, they are known for using raw “heat” in their food. Take these classic European combinations, for example:

Building raw heat is a great place to start for sensitive palates because the “burn” is mild at best (and doesn’t inflict actual pain the way chili peppers can).

If you find these ingredients too pungent (a.k.a. stinky), slice them extra thin and remove some of their bite by adding them to a glass of cold water for 30 minutes. As for spicy mustard, a thin spread goes a long way!

2. Use your nose

Eastern Asia

"Compare Hikimi Wasabi Color And Taste" by MIURA, Yuji - Own work. Licensed under CC BY-SA 4.0 via Wikimedia Commons - https://commons.wikimedia.org/wiki/File:Compare_Hikimi_Wasabi_Color_And_Taste.jpg#/media/File:Compare_Hikimi_Wasabi_Color_And_Taste.jpg

“Compare Hikimi Wasabi Color And Taste” Photo by Yuji Miura.

PRO TIP: If chili peppers hurt your taste buds, try the green mound of wasabi sitting next to your sushi.

The burning sensation from wasabi (a.k.a. Japanese Horseradish) is a short-lived flare up. The “pain” concentrates in your nasal passage (making your eyes water and nose burn more than your mouth).

Best of all?

The effect fades in 5-10 seconds.

enjoying-wasabi

Over the last several years I tripled my wasabi intake and learned to enjoy the ephemeral pain… not in a sadistic way, but rather in the way that every melody benefits from a little crescendo. Even my six-year old daughter goes heavy on the wasabi because she now trusts that the pain will end.

And soon.

3. Grow your tolerance bite by bite

Western Asia

"ARS-habanero" by Stephen Ausmus - This image was released by the Agricultural Research Service, the research agency of the United States Department of Agriculture, with the ID D812-5 (next).This tag does not indicate the copyright status of the attached work. A normal copyright tag is still required. See Commons:Licensing for more information.English | français | македонски | +/−. Licensed under Public Domain via Wikimedia Commons - https://commons.wikimedia.org/wiki/File:ARS-habanero.jpg#/media/File:ARS-habanero.jpg

“ARS Habanero” Photo by Stephen Ausmus.

I once saw a grown man eat a couple of whole Habanero peppers on a dare. His face turned red and sweat pooled on his forehead. Then he got sick to his stomach.

I don’t get that all or nothing mentality.

Taking enormous spoonfuls of spicy curries will backfire if you have a sensitive palate – likely turning you off spicy food indefinitely. Take a cue from Bhutan: even though spicy peppers are so commonplace to be considered a main course (see ema datshi for example), hot peppers are not one of baby’s first foods.

Instead mothers help their babies grow accustomed to the heat by serving them foods in spicy sauces… but here’s the key: They “baby bird” the food into their kid’s mouth.

Bhutanese eat chilli raw or cooked, minced or roasted, but no Bhutanese dish is complete without ema. And young toddlers are initiated in the art of chilli eating early on. Parents pick meat or vegetables from the chilli dish, suck it to moderate the heat, and then feed their child, who breaks into a sweat but quickly adapts.

Ema:The fiery Bhutanese food (by Wangdi and Yeshi)

Here’s the win: The amazing flavor remains … but with tolerable heat levels.

TRY IT AT HOME: Dig a hunk vegetable or meat from your curry and tap it on the edge of your bowl. Let the offending sauce drip off or consider dunking the hunk into a small bowl of water to rinse it further.

4. Chill out!

Middle East/Asia, North Africa & the Americas

sudan.north.food.recipe.img_0300

Ok. So you’ve bitten into something a little spicier than you’d like. Your eyes are watering and you’re certain your irritated taste buds will never recover.

Here’s the good news: Just about any spicy dish can be tamed with a heaping dollop of plain yogurt (or perhaps one of these yogurt based recipes). Over the four years it took to cook the world, yogurt was my go-to way to help lessen the pain of a good spice burn. Not only is yogurt cold but it contains a protein called capsein that helps neutralize the kick from the capscaisin in your food.

PRO TIP: Keep plain yogurt on hand when serving spicy food

Thanks to this tip, my daughter was able to enjoy a very spicy Ethiopian dish called doro wat (she’s vegetarian so she limited her tasting to the hard-boiled eggs and a bit of the screaming-hot sauce. Every bite was followed (hastily) by a spoonful of yogurt.

Sour cream and crema in Latin America works the same way, for the record.

5. Embrace the habit

Southern Africa

As I cooked meals south of the Sahara I noticed the pervasiveness of spicy food.. in everything. Well, maybe not everything. But hot peppers made their way into most meals – from groundnut soup to several recipes including piri piri sauce.

Here’s the 411: The more spice you eat, the more accustomed to it you’ll get.

After four years and 195+ countries I have a much higher tolerance for spicy food. While I still don’t like eating foods so hot that I can’t taste anything, that threshold is higher now. If I were to stop eating spicy food for 4 years I guarantee I’d be back to square one.

TRY IT AT HOME: Going forward add one spicy dish to your weekly menu every week. That means on week 2 you’re eating 2 spicy dishes, on week 5 you’re eating 5!

Eating spicy food is a skill you must hone, no different than playing the piano or practicing calculus.

Use it or lose it.

6. Find the right pepper for the job

South America

There’s no reason to jump straight into eating Carolina Reapers.  In the beginning I ate a lot of recipes with Poblano peppers – they were plenty spicy for me. Gradually I moved through the Scoville ranks – the occasional Jalapeno, Anaheim, or red Fresno all helped me build tolerance. In any recipe calling for a hotter pepper, feel free to substitute something more mild.

PRO TIP: If you’re not sure what pepper to choose, ask the grocery clerk. Most good stores will have a produce specialist on hand to help you.

7. Sweeten the pot

North America & Oceania & beyond

Ever hear of adding chocolate to a pot of chili? What about sweet and spicy barbecue sauce on a rack of homemade ribs? Throughout North America you’ll find sugar being used to balance the heat in spicy dishes. If you accidentally go overboard, try adding some to your dish. It’ll help.

In Oceania and India I’ve seen fruit used in curries – another great way to sweeten the dish and give your smarting taste buds some relief.

PRO TIP: Sugar or fruit takes the edge off of spicy food

Ready, set, go!

You’re now equipped to embark on a mission to try more spicy foods. With these tips, you’ll be well on your way to learning to love spicy food… with minimal pain to your tastebuds.

Of course, these are just the tricks and tips I’ve learned over the years; let me know in the comments if you have additional ideas!

A Very British “Mary Poppins” Birthday Party

Mary Poppins Birthday Party: Floating Invitation

Why stay home for your child’s birthday party when you can “journey” to 17 Cherry Tree Lane with a very magical Mary Poppins Tea Party? I began reading Mary Poppins to my daughter earlier this year and we soon found ourselves delighted by the adventures. It wasn’t long before Ava asked me if she could have a Mary Poppins themed birthday party.

The more we read of the 1024 page story, the more ideas we got. Here are the highlights of my daughter’s Mary Poppins Birthday party.

Set the Tone with Floating Invitations

Mary Poppins is associated with unexpected, magical adventures. To set the tone, I made “floating” invitations a few weeks before the party.

To make it look like your child is floating, simply rub oil on the cement with an old face cloth, feathering the edges to make it look like a shadow. Have your child stand about a foot behind the oil stain. Take a photo – they’ll look like they’re floating. This works best on a very cloudy day because there will be no competing shadows to ruin the effect.

Mary Poppins Birthday Party: Floating Invitation

Make it a Costume Party

Everyone loves an excuse to dress up! We invited Ava’s friends to wear a costume inspired by the movie, book, or tea parties in general. They did not disappoint!

There were several Chimney Sweeps…

Mary Poppins Birthday Party: Chimney Sweep Costume

Mary Poppins Birthday Party: Chimney Sweet Costume

An adorable Bert in red stripes…Mary Poppins Birthday Party: Bert Costume

And, as is to be expected, several Mary Poppins!

Mary Poppins Birthday Party: Costumes

Mary Poppins Birthday Party: Costumes

We assembled Ava’s costumes from items found at second hand shops, yard sales, and the craft store.

Look – Ava lost her front tooth between the time we took the invitation photo and party day!

So sweet!

Mary Poppins Birthday Party

A few red ribbons made her dress unmistakably Mary.

Mary Poppins costume

Fancy outfits and umbrellas were everywhere…

Mary Poppins Birthday Party: Costumes

Mary Poppins Costume Party

Mary Poppins Birthday Party: Decor

Pro Tip for Children’s Costume Parties: Make sure everyone is included

We provided several dress up hats and gloves for kiddos to use during the party, which worked out great for those children who either forgot their costume or wanted to try on other fancy items.  We simply laid them out on a bench – the kids took it from there!

Mary Poppins Birthday Party: Costumes

A musical needs… music!

Create atmosphere with a Mary Poppins playlist borrowed from the movie and Broadway show. Tunes add upbeat energy and get all the kids excited! If you don’t want to buy songs, try creating a Mary Poppins playlist on the free version of Pandora. You’ll have other songs mixed in and the occasional ad, but it also folds in unexpected favorites, like the Original London Cast Recordings!

Much better than radio silence. 

Start the Party with Art

Mary Poppins Sidewalk Chalk

Art is a great way to keep the children entertained while everyone arrives.  We invited each child create their own sidewalk chalk art on our back patio – just like Bert does in the book and movie. This simple activity filled about 30 minutes and ensured no children were left out of the games and tea party to come.

Mary Poppins Sidewalk Chalk

Create Floating Keepsake Photos

Another idea to occupy the children as they arrive is to create keepsake photos. We weren’t able to fit this in as it was quite sunny the day of Ava’s party… but if you have a covered driveway you might be able to do this regardless of weather. If it doesn’t work out, you can always give your guests a copy of your child’s floating photo as part of their thank you/goodie bag – kids love having photos of their friends.

As the children arrive have a photographer snap their photos. By rubbing oil onto a spot in the sidewalk and having children stand about a foot away with an umbrella, the false shadow makes the kids look like they are floating – just like Mary Poppins. A treasure for sure!

Play a Sweet Party Game

Mary Poppins Birthday Party: Spoonful of Sugar Game

Once all the children have arrived and the artwork is done, we brought together the children for a competitive game of “A Spoonful of Sugar.” Pro tip: my husband (a.k.a. Bert) led this game while I got the food ready for the tea party!

To Play: You’ll need 3 small tables or 1 table and 2 chairs. Have the children form 2 lines. Put a bowl full of sugar in front of each line. Across the lawn from them put a table with 2 small empty bowls or cups. Have the children use spoons to fill their bowls. Whoever fills theirs first wins!

Spoonful of Sugar Game

Tea party on the lawn

Mary Poppins Birthday Party: Decor

Now that all the kids got their giggles out with art and games, it was finally time for the tea party!

I was planning on a picnic-style tea party but when 24 children RSVP’d yes, I knew I had to rethink my strategy. To optimize room in my back yard, a good friend suggested I rent kids tables and chairs (for parents and children). This kept everyone comfortable (and with delivery the rentals still cost 1/2 as much as renting a location).

Thank goodness for the experience of friends!

Mary Poppins Birthday Party: Decor

The decor was pretty simple: To start, Keith hung an umbrella over the center of the table using fishing line. It bobbed and weaved in the breeze, looking like Mary Poppins might descend at any moment! This detail was the talk of the party.

There were also a cluster of gold balloons and one large red one. I wrote “Mary Poppins” on the red one with gold paint pen. This detail referenced the chapter when the whole neighborhood goes floating around the park with balloons… and, naturally, Mary Poppins’s is red and the largest of all.

Ava chose gold tablecloths to mimic the gold tablecloth in the floating tea party scene of the movie. I found turquoise napkins with tea pots on them to complement the look.

Spoonful of Sugar

On each napkin we placed party spoons – and of course each spoon held a homemade sugar cube (extra sugar cubes were kept in sugar bowls nearby).

To make sugar cubes, simply stir a couple of teaspoons of water into a cup or so of granulated sugar. Add food coloring if desired. Stir until the mixture resembles damp sand. Press into small chocolate molds, carefully tip out, and let dry.

A few jars of purple and white flowers and candlesticks completed the fancy look.

Mary Poppins Tea Party: Decor

For serving, I used lots of china from my Great Aunt and my husband’s grandmother, as well as a few pieces from the second hand shops.

The buffet table was outfitted with homemade felt and glitter umbrellas and illustrations from the books on yellow card stock for decor – modge podge sealed the images in!

Mary Poppins Birthday Party: Decorations and Details

Mary Poppins Birthday Party: Homemade Umbrellas

A Very British Tea Party Menu

Mary Poppins Birthday Party: Buffet Decorations

We served the kiddos a proper British Tea menu – including curried coronation tea sandwiches (using eggs instead of chicken for my vegetarian daughter), some gingerbread stars (more on that later), Victoria Sponge Cake with fresh berries, Uncle Albert’s Lemon Cakes (petit fours purchased from Whole Foods… because even I can’t make everything), Iced Tea with spoonfuls of sugar, and Lime Juice Cordial (a.k.a. Limeade).

Official Mary Poppins Menu - Global Table Adventure

Mary Poppins Birthday Party: Authentic Menu

The kids were intensely focused on pouring and enjoying their tea. It was real china after all!

Mary Poppins Birthday Party: Authentic Menu

Mary Poppins Birthday Party: Authentic Menu

Mary Poppins Birthday Party: Authentic Menu

Mary Poppins Birthday Party: Authentic Menu

The Cake

Mary Poppins Cake Topper

I served a Victoria Sponge Cake because that is Mary Poppins’s favorite cake (she turns a plum cake into a sponge at Mr. Turvy’s house in Mary Poppins Comes Back).

Instead of the traditional unadorned sides, I completely covered the cake layers with sweetened whipped cream thickened with a couple teaspoons of gelatin. This stabilized whipped cream tastes exactly like whipped cream but slices better (and doesn’t weep in the heat). I used strawberry preserves on one half and lemon curd on the other. I also froze the decorated cake overnight so that my slices would be razor sharp.

They thawed in minutes. It was 85F, after all.

Mary Poppins Birthday Party: A slice of Victoria Sponge Cake

For the adults, I make an extra layer, split it in two, then filled it in the traditional way. After freezing it sliced up perfectly!

Mary Poppins Birthday Party Menu

For a cake topper, I traced an outline of Mary Poppins onto a piece of yellow cardstock and cut it out. I used a needle and thread to string it up on some thin dowels.

Mary Poppins Cake Topper

A touch of magic: Floating Tables

Mary Poppins Floating Table Trick

It’s not a Mary Poppins party without a touch of magic. I remembered seeing a floating table at a magic show last year and immediately thought of the tea party scene in Mary Poppins, where Jane, Michael, Uncle Albert, and Mary Poppins all float to the ceiling because they’re laughing too much.

Mary Poppins Birthday Party: Making the table float

I soon learned floating tables are quite expensive, so I made a deal with a local magician’s store. He rented me one of his tables for $50 (which included training me how to do the trick).

While the kids enjoyed their tea, I asked the children if they thought Mary Poppins knew about our party. They said yes… and I said, let’s test the theory. I then invited the children to begin laughing – just to see if they could get the table to float. If we can, I told them, that means Mary Poppins sees our party and is smiling wherever she is.

This trick instantly brought a sense of wonder and awe to the tea party.

One parent caught Ava’s reaction!

Mary Poppins Magic Show

And of course the children had to come over and help me “make it work.”

Mary Poppins: Floating Table Trick Mary Poppins: Floating Table Trick

Gingerbread Stars

mary-poppins-birthday-party-36

Stars are a huge theme in the Mary Poppins book series. The children paint the sky, go to a circus in the sky (the constellation “creatures” are the performers), and Mary Poppins takes the children to purchase gingerbread stars. Ava had the brilliant idea to hang gingerbread stars from a rope, just like we did back when we cooked the Netherlands! The kids got to try to eat them without hands.

This was the “wrap up” activity for the party.

Instructions: Cut Gingerbread dough into a star. Use a straw to make a hole at the top of each star before cooking. Bake, then let cool completely. Tie lengths of string to the cookies. Store this way, ready to go for the party so you don’t have as much to do on the day of the party! When ready to play, hang the stars and let the children try to eat them – no hands!

Mary Poppins Birthday Party: Gingerbread Stars

This. Was. Hysterical.

Mary Poppins Birthday Party: Gingerbread Stars Game

Mary Poppins Birthday Party: Gingerbread Stars Game

Eventually, they all got their cookie.

Chomp…

Mary Poppins Birthday Party: Gingerbread Stars Game

Chomp…

Mary Poppins Birthday Party: Gingerbread Stars Game

Chomp..

Mary Poppins Birthday Party: Gingerbread Stars Game

The Party Favors

Mary Poppins Birthday Party: Decorations and Details

I kept the favor bags simple. The children got a tea bag for their own tea party, chocolate “tuppence,” and a candy cane (because in the books they ride candy canes like horses). The goodie bag also included a thank you note from Ava (“Thank you for coming to my party because parties are fun!”) and the sparkly photo of her and her flying umbrella featured at the top of this post.

Every child also got a DIY White Umbrella that they could take home and paint. These worked out to be less than $3 per child. Best of all, they are designed to be decorated with fabric markers or paint… so each child can personalize their own.

Mary Poppins Birthday Party: Decorations and Details

Here’s how one of the boys decorated his – with sharpie tie dye…

Mary Poppins Birthday Party: Decorate your own umbrella

Super colorful and fun!

Practically Perfect in Every Way

Nothing is completely perfect in life. As wonderful as this party was…. there was… shall we say… a few moments of drama.

(Just keeping it real!)

I had to share the best…

Behold, the slippery cake stand.

Dropping the Cake

Oh no!

Dropping the Cake

I love how, in an attempt to stop the fall, I flung the cake even farther away.

I also love my toothless gasp.

Thank goodness the cake was frozen.

Unbelievably, there was hardly any damage.

Five minutes in the kitchen with several kind-hearted mothers and the cake was doctored up – as good as new.

Let’s try this again…

Mary Poppins Birthday Cake

Happy Birthday Miss Ava.

Mama loves you!

Mary Poppins Birthday Party: Mary Costume

Suggested Materials:

Mary Poppins: 80th Anniversary Collection by P.L. Travers.
Mary Poppins 50th Anniversary Edition, with Julie Andrews & Dick Van Dyke.
Sing-Along Songs: Supercalifragilisticexpialidocious – I Love to Laugh.

Special Thanks:

Most of the photos in this post were taken by Ingrid Williams, a dear friend and photographer, as well as scattered contributions from friends Dana, Ryan, and Chrissie. They freed me up to float tables and drop cakes at leisure. Thank you all!

Ugandan Rolex | Breakfast Wrap

Ugandan Rolex Recipe

Uganda’s “Rolex” is breakfast luxury that can be purchased on any street corner. Whipped egg is the gold setting. Precious studs of tomato and purple onion glitter across the surface like garnet and amethyst, while fine strands of cabbage sparkle like peridot. The completed jewel is nestled safely in a soft chapati wrap.

Ridiculous? Maybe.

But shouldn’t every day food be as precious as a “real” Rolex?

What is a Ugandan Rolex?

Rolex is classic Ugandan street food. The similarity to the luxury watch brand is happenstance: Once upon a time the vendors who made this treat called out “Rolled Eggs” – nothing more. The basic idea is eggs cooked with cabbage, onion, tomato, and sometimes peppers, which is then wrapped in chapati. But, as the words careened off their tongue, “Rolled Eggs” sounded more like “Rolex” to visitors. Gradually the (quite fun) misinterpretation stuck.

How do you make a Rolex?

To prepare a Rolex in the true Ugandan spirit, a few steps must be followed.

First, make your way to Uganda…

"Lake Viktoria 2009-08-26 14-01-23" by Simisa (talk · contribs) - Own work Simisa (talk · contribs). Licensed under CC BY-SA 3.0 via Wikimedia Commons - https://commons.wikimedia.org/wiki/File:Lake_Viktoria_2009-08-26_14-01-23.JPG#/media/File:Lake_Viktoria_2009-08-26_14-01-23.JPG

Lake Victoria. Photo by Simisa.

… and find a welcoming village in which to set up your food cart.

"Ugandpic3" by CFM-Uganda - Own work. Licensed under CC BY-SA 3.0 via Wikimedia Commons - https://commons.wikimedia.org/wiki/File:Ugandpic3.jpg#/media/File:Ugandpic3.jpg"Ugandpic3" by CFM-Uganda - Own work. Licensed under CC BY-SA 3.0 via Wikimedia Commons - https://commons.wikimedia.org/wiki/File:Ugandpic3.jpg#/media/File:Ugandpic3.jpg

Child in Uganda. Photo by CFM-Uganda.

Then set up your station.

mug or cup  must be used to mix the ingredients together.

Ugandan Rolex Recipe

A standard to over-sized mug easily holds all the ingredients for a 2-egg Rolex. The high sides make whipping the mixture together a splash-free activity.  No wonder all the street vendors use one!

Second, the egg mixture must be poured onto a hot, well-oiled pan and spread out with the same spoon used to whip the eggs.

Ugandan Rolex Recipe

Again, this is all about thinking like a street vendor: No use getting another utensil dirty!

Once the first side is cooked, flip the eggs over. They should be lightly browned.

ugandan-rolex-recipe-01

The bottom side will brown less – but you’ll be able to see those pretty ingredients…

ugandan-rolex-recipe-02

As they cook, the hot eggs steam and soften the harsh crunch of cabbage and onion, while also stewing the tomatoes. A good dash of salt brings the flavors together into a craveable bite of Uganda.

Here’s the next pro tip from Uganda:

While the eggs are still in the pan, top them with a large chapati (you can use my recipe if you want). The steam coming off the eggs will soften the chapati and make it easier to roll.

Finally, many Rolex are wrapped in newspaper for serving.

Ugandan Rolex Recipe

Not all Ugandans do this – fancier street vendors slide them into cellophane baggies – though some claim the newsprint provides great flavor.

Say what you will about ingesting newsprint, there’s rustic charm to the practice. It soaks up any stray cooking oil or juices …

Ugandan Rolex Recipe

… and it keeps tiny hands from burning.

Rolex Recipe from Uganda

Ava wasn’t keen on eating newsprint, so she quickly removed hers.

Eating Uganda's Rolex

Ugandan Rolex Recipe

Her final assessment?

Yum.

Yum.

Yum.

For the record, I agree.

How to serve a Ugandan Rolex

Here’s a great video showing a Rolex being made in Uganda.

And here’s one with the newsprint…

Delicious!

(Side note: notice how the whipped eggs come out? It would seem Ugandan eggs are more of a white gold than yellow!)

Ugandan Rolex
Votes: 4
Rating: 4.25
You:
Rate this recipe!
Print Recipe
Rolex is classic Ugandan street food. The similarity to the luxury watch brand is happenstance: Once upon a time the vendors who made this treat called out "Rolled Eggs" - nothing more. The basic idea is eggs cooked with cabbage, onion, tomato, and sometimes peppers, which is then wrapped in chapati. But, as the words careened off their tongue, "Rolled Eggs" sounded more like "Rolex" to visitors. Gradually the (quite fun) misinterpretation stuck.
Servings Prep Time
1 person 10 minutes
Cook Time
5-7 minutes
Servings Prep Time
1 person 10 minutes
Cook Time
5-7 minutes
Ingredients
  • 2 eggs
  • 1/4 cup green cabbage (thinly sliced)
  • 1/4 cup tomatoes (seeds removed and finely diced)
  • 1 Tbsp red onions (minced)
  • salt
  • vegetable oil
  • 1 large chapati
  • hot chili pepper (optional for topping)
Servings: person
Units:
Instructions
  1. Crack eggs into a large mug. Add the cabbage, tomato, red onion, and salt. Stir together with a spoon until well combined.
  2. Preheat a large skillet over medium-high heat. Oil well. Nonstick pans make the job even easier.
  3. Add the eggs and spread out into a flat circle with the back of your spoon. Let cook until mostly set and the bottom is browned.
  4. Flip and cook another couple of minutes. Top with chapati to heat it up.
  5. Remove from pan and, when cool enough to handle, roll it up! Enjoy your bite of Uganda.
Recipe Notes

Options: Right before serving consider adding hot peppers or more sliced tomatoes.

5 creative ways to bring the world into your kitchens

These are 5 stories of ordinary people who brought the world into their kitchens in fun, creative ways. Their culinary adventures have spiced up dinnertime, taught them something new, and connected them to the world at large.

I hope you find their stories as inspiring as I have.

1. Charlie’s Odyssey

eat-the-world

Charlie is a 10th grader. His class recently read The Odyssey and the teacher challenged each student to take on their own odysseys. Charlie decided to learn about food on different continents by trying several new recipes. He sent along pictures of the Pope’s Fettuccine and Horiatiki (Greek Village Salad) he tried (with an extra fancy glass of grape juice, of course).

Well done, Charlie!

eat-the-world-2

2. A birthday ritual on the riverbank

Susan has used our Afghani recipes and articles to celebrate her friend’s birthday… for three years in a row!

Here’s Susan’s story:

When I first found your food adventure blog it was time to plan a birthday party for a friend who travels to India several times a year. […] Afghanistan became the menu for her outdoor party. We sat near the river on bedspreads that looked Afghani, ate from platters that were set on large fabric swatches [ covering a mini-trampoline ] to create a low table. Garments from India were offered to guests and we shared a Memory Meal together. […] That Afghani menu with warm Noni Bread is going into its 3rd year as a Birthday extravaganza.

A gift to treasure!

 3. Culinary Chronicles

eating-food-from-around-the-world

Cynthia’s 6th and 7th grade English classes used our Map Room to select countries for a spring journal assignment called “Culinary Chronicles.” Each student tried a recipe from somewhere in the world and recorded their experience in five journal entries.

Journal entries included writing about their shopping and cooking experiences, process photos, and interviews with family members who tried the food. As you can see from the map, their culinary experiments tracked the entire globe!

class-project

class-project2

Here are some of Cynthia’s reflections on the classwork:

Highlights for me were getting an insider’s peek into my students’ family life and kitchen.  Students expressed excitement over providing their family a reason for coming together.  Some had never been given an excuse to try and make anything for consumption before.  […]  I giggled at all the kitchen mishaps that occurred because I have experienced them all at one point or another – breaking things, mismeasuring ingredients, getting home from the store without a key ingredient, not reading the entire recipe before staring, etc.  Students were relieved that they were not alone!

Great job, kids!

4. Cooking for a cause

Sherri, her daughter, and a couple of her friends, used our Vegetarian Momo recipe last month to make 400 dumplings! Hunger wasn’t their motive: they sold them and made $700 for earthquake relief in Nepal.

Wowzers.

This. is. amazing.

making-momos

5. A Bookish Tasting Menu

Cheryl and a group of her friends in Wichita read my memoir for their book club. Inspired to try some international recipes, they created a tasting menu for their discussion… using recipes from nine countries – Algeria, France, Hungary, Albania, Greece, Ireland, Lithuania, Pakistan, and Argentina (click through to see recipes and posts for each region)!

book club buffet

book club menu ideas

Cheryl says:

We read your book and decided to cook several of the countries at our book club. We didn’t have any guidelines, just went for it! It was so fun for each of us to go around and share what our experience was like to cook that particular country, finding the ingredients, will they make it again, etc! Karen, who made the artisan bread shared how easy it was to make it, and how rewarding it was and how aromatic her kitchen was! The bread was fantastic! The book also opened up to us your blog and website…what an amazing resource! We all plan to utilize it to get out of our cooking comfort zones 🙂

book club international book club meal

So cool! Cheers to their beautiful friendship and the meal that fed it!

This is your adventure

Somewhere along the way I learned that, by cooking the world with my family and sharing the recipes online, I was feeding a global movement of people looking to learn about other cultures and connect to the world at large. These five stories are but a handful your adventures.  You inspire me. Keep cooking and loving your world – along the way you’ll make memories to last a lifetime.

xxoo
Sasha

Raspberry Hibiscus Paletas

Raspberry Hibiscus Paletas

What if summer’s best moments could be frozen in time?

Picking berries…

Running barefoot through tall grass…

Dancing in sun and water alike…

The smallest nibble of Paletas delivers a slush of ripe berries, sunshine, and laughter – about as close as I’ve ever gotten to capturing the glitter of the season… a frozen treat straight from Latin America and as precious as these Mexican garnets…

A beautiful, 1.4 cm, translucent, raspberry-red, compound grossular garnet is very aesthetically set on the matrix plate and is surrounded by smaller garnets and lustrous, translucent, tannish-yellow vesuvianite crystals on this fine piece from the mid-1990s finds at the well-known Lake Jaco deposit of Mexico. Classic combination material from the Robert Whitmore Collection # 3832.

A raspberry-red, compound grossular garnet, surrounded by smaller garnets and tannish-yellow vesuvianite crystals. Found at the Lake Jaco deposit, Mexico. Rob Lavinsky / iRocks.com


… but with much more color.

Seriously. These are lovelier than any gemstone…

Raspberry Hibiscus Paletas

The story behind these paletas is a simple one: I was looking for something my daughter could share with her classmates for her birthday celebration.

Keith and I wanted to bring something nutritious and festive. She wanted something sweet and summery (she’s a July 4th baby after all). Meanwhile, some of her classmates are lactose intolerant and gluten-free.

The happy solution came in the form of raspberry hibiscus paletas… a Latin-American recipe adapted from Paletas: Authentic Recipes for Mexican Ice Pops, Shaved Ice & Aguas Frescas.

Raspberry Hibiscus Paletas Recipe

You don’t need much.

Freshly brewed hibiscus tea.

A mound of crimson raspberries tossed with just enough sugar to take out the pucker.

Raspberry Hibiscus Paletas Recipe

Traditionally, paletas are frozen in popsicle form (palos means “stick”).

Photo by Arnold Gatilao.

Photo by Arnold Gatilao.

I considered making popsicles in paper cups, but didn’t have room in my skinny freezer to store them all. Four stores and several online searches later, I found Zipzicles.

A classroom’s-worth of these thin ice pops easily fits in my freezer.

Raspberry Hibiscus Paletas Recipe

The process is simple enough: blend all the ingredients and strain the seeds out. Then we used a funnel to add the liquid to the narrow bags and zipped them shut.

Freeze overnight.

While you wait you can sleep under a Mexican sky.

Guanajuato, Mexico at night. Photo by Thomas Castelazo.

Guanajuato, Mexico at night. Photo by Thomas Castelazo.

Ava carried the treats to school in a tub filled with ice.

Look how proud she is.

Raspberry Hibiscus Paletas Recipe

I brought mini banana muffins, too – just in case. But only two classmates chose the muffins.

That says it all, don’t you think?

zipzicle2

Raspberry Hibiscus Paletas Recipe

Your turn.

I’d like to offer you a chance to make some frozen ice pops with your loved ones. Thanks to Zipzicles, one reader will win a Summer Prize Pack.

Summer Prize Pack

3 x 36 Zipzicle® ice pop pouches
(that’s a total of 108 pouches, just like the ones I used)
2 x 4-packs of colorful Zipzicle Neoprene Sleeves (to keep tiny fingers from freezing)

zipzicle

Enter to Win: (A Winner has been selected)

Leave a comment and tell me what flavor you’d like to put in your Zipzicle. Would you go with fresh fruit and tea, or banana with coconut milk, or perhaps a boozy grown up version?

A winner will be chosen randomly and announced by June 24, 2015.

Good luck!

UPDATE:  Congratulations, Cindi W! Enjoy making frozen treats with your Zipzicles Summer Prize Pack!

Raspberry Hibiscus Paletas
Votes: 2
Rating: 4.5
You:
Rate this recipe!
Print Recipe
Paletas are wonderful Latin American treats. Our raspberry hibiscus paletas is high in antioxidants and vitamin C, and remains a tad tart (I like a bit of pucker in my berry desserts). However, if you have a sweet tooth try adding up to one additional cup of sugar - tasting bit-by-bit so as to not accidentally overdo it. As written, the recipe makes approximately 7 1/2 cups after straining and easily fills 18 Zipzicles.
Servings Prep Time
18 people 20 minutes
Cook Time Passive Time
5 minutes 8 hours
Servings Prep Time
18 people 20 minutes
Cook Time Passive Time
5 minutes 8 hours
Ingredients
  • 30 oz raspberries (5 cups)
  • 4 cups hibiscus tea (brewed, extra-strength)
  • 1 cup sugar (or more, as desired)
Servings: people
Units:
Instructions
  1. Brew the tea nice and strong. For this recipe, I use 6 tea bags. Add the sugar to the hot tea, stirring until dissolved.
  2. Add the raspberries and warm tea to the blender. Process together with the berries until smooth.
  3. Strain out the seeds. Pour remaining liquid to Zipzicles (or other molds) using a funnel.
  4. Freeze in a thin layer overnight (if you stack them on top of each other the freezing process may take twice as long).
Recipe Notes

In a hurry? Simply macerate the berries in the sugar and tea, leaving the seeds and several lumps. This is quite traditional as well.

Grilled lunch with a taste of Argentina

lunch-from-argentina

When I flip open my grill it’s rarely to flip burgers; My vegetarian 5-year old inspires me to think beyond hamburgers and hot dogs in the summer.

petrified-forest

The Petrified Forest, Arizona. After 225 million years and lots of volcanic ash, this massive tree truck is now a rock… up close the rings sparkle.

Argentina is known for her amazing meats, but beyond that she’s earned a special place in my heart for this acorn squash salad. The charred gourd stuffed with peppery arugula and aged goat cheese first entered my awareness through the campfire cooking of Francis Mallmann. His recipe entails roasting an entire pumpkin buried under the embers of a campfire.

My recipe is simplified for the home chef – an acorn squash is easier to manage and cooks twice as fast. Ever since we first made it on this blog, some version of the salad has been in our regular rotation. We even made it on our recent camping trip to Sedona, the Grand Canyon, and the Petrified Forest.

Tips

Don’t restrict yourself to making a meal that’s 100% foreign to you and your family – too much work can dampen motivation for international eating. Also: some people are more likely to try new things if they have other familiar items on the plate.

This lunch celebrates culinary diversity by accenting the plate with decidedly un-Argentine foods – grilled salmon and broccoli.

My daughter’s plate had tofu.

(Also not from Argentina.)


Ava's Around the World Lunches

Around the World Lunches

Around the World Lunches began when I shared a few of Ava’s globally-inspired lunches on Instagram and Facebook. The response was immediate: Turns out a lot of people are looking for ideas.

Check out our other Around the World lunches – perfect for school or work.

How obsessively cooking the world helped me face my past

kitchen-from-the-1930s-in-okc

Have you ever heard someone mutter “I just want to leave the past behind me”?

When I started this blog, I thought it was about three little things: teaching my picky husband to look at food as an adventure, not an attack; raising my daughter with international perspective; and satisfying my own wanderlust. But when I began writing my memoir, my editor challenged me to dig deeper. She said something like: “Cooking the world, week after week, isn’t exactly a normal thing to do.” She sent me away to think about what my obsessive behavior was really about.

The past kept coming up. The foster homes. The separation from  my mother. The search for an unconditional home.

I soon realized cooking the world was not simply about the food. It was about finding a sense of belonging.

But, no matter how many countries I cooked, I’d never find my place in this world if I didn’t make peace with my past.

Road-trip

We all have struggles. I very clearly kept them off of this blog and, for the most part, still do. But burying the past as a way of life is not the answer. It leads to misplaced shame and gives too much power to the events that once hurt us. It can be toxic to cultivating true inner peace.

I now realize that, when I air out the past, I allow my wounds to breathe and heal.

So, how did cooking the world help me face my past?

Cooking a meal from every country in the world is a simple enough concept. Going through more than 195 countries and territories, week after week, served as a walking meditation. There was power in each meal, drawing together my family, giving me grounding (and a sense that I belonged to the world family).

Each time I cooked another country, I began to see similarities to dishes I’d had over the years. One country’s love for apricots reminded me of my grandpa. Another country’s obsession with avocados reminded me of my mother. And on it went.

For the most part, I avoided writing about these connections. After all, wasn’t this blog supposed to be about other people?

Indeed it was. But the more we study others, the more we learn about ourselves.

A quest of this sort could be finished, but not really complete…not until I faced these revelations – many of which which were intensely emotional. For me, the deep introspection came with writing my memoir (no pressure!). So many have asked if the process of writing about my atypical upbringing was therapeutic – in a word, yes.

Cooking the world by itself was emotionally passive. Connecting it to my childhood with self-awareness was the final, necessary step to completing my quest.

What I learned? Facing the past heals.

Overcoming past challenges in order to live our most vibrant life is something that we can all benefit from. I want to share more of my story with you and help you identify how you can turn your Anguish into your Answer for a happy family and work life. No more hiding. No more shame. Just an honest life, free from the bonds of fear.

A CHANCE TO COME TOGETHER

If you’d like to explore some of these ideas with me, I’d love to meet with you. I’m thrilled to announce the extension of my book tour in the Midwest and NYC.

These aren’t just book signings. These are opportunities to hear more about my story and how you can turn your pain into your passion (especially the one in Kansas City). I’ve chosen to highlight these two events because they are going to be super fun – and are just around the corner – but there are more coming!

NEW YORK CITY

This Saturday (June 6th) I’ll be in New York City at the Global Family Reunion. This festival will break the world record for largest family reunion. During this fun-filled day, look for me on the storytelling stage where I’ll speak and host a book giveaway. Or bring your book and I can sign it! (Ticketed Event)

KANSAS CITY

On Saturday, June 13th and Sunday, June 14th, I’ll be in Kansas City at the Life Purpose Project speaking about how my childhood helped shape me into the woman I am today – and how we can all use our paths to forge our futures. There will be a workshop so that you can leave the event equipped with the resources you need to effect change in your life (Ticketed Event).

For more future appearances and other details, check out my events page

Malaysian Herbed Rice Salad | Nasi Ulam

Recipe for Malaysian Herbed Rice Salad | Nasi Ulam

Do packaged herbs ever go on strike at the back of your fridge? Now, thanks to Malaysian Herbed Rice Salad, bundles of herbs can finally go to work in a dish that everyone will love.

When herbs go on strike

I wonder how many partially used packages of fresh herbs lay wilting at the back of fridges across America. I’ve certainly been there. Even though I “store” my herbs in the garden, disgruntled leaves occasionally congregate behind the eggs and mustard (the few remaining upright stems looking like picket signs).

The problem? Outside of a putting basil in pesto or parsley in tabbouleh, it’s hard to use most fresh herbs up.

To give our herbs a chance, we need to rethink how we use them. A pinch here or there doesn’t really do the trick when it comes to adding flavor or using them up. Standing them in a jar of fresh water helps tremendously (sometimes adding a couple of weeks of life to them).

Another idea is to find a recipe that makes good use of the herbs.

Recipe for Malaysian Herbed Rice Salad | Nasi Ulam

Malaysian Herbed Rice Salad

Malaysia teaches that we have to use herbs with as much confidence as we use lettuce – by the handful.  Only then will we get that burst of garden freshness we all crave come springtime and into the summer.

There are many versions of Malaysian Herbed Rice Salad. Here’s the basic formula: Room temperature rice + lots of fresh herbs + seasoning = easy summertime eating.

Recipe for Malaysian Herbed Rice Salad | Nasi Ulam

What herbs you add is fairly flexible except for the most rigid traditionalists. Choose between cilantro, culantro, and rau ram; between basil and Thai basil; and between chives and green onion.

The benefits of making an herb salad start before the first bite: Slicing into the greenery blooms their scent into every nook and cranny. Shut your eyes and you might think you’ve wandered into a sprawling, secret garden. The bouquet is a whimsy of basil, mint, limes, lemongrass, basil, cilantro, chives, and kaffir lime leaves… A crush of garlic, ginger, fish sauce, peanuts, and toasted coconut seals the deal.

Recipe for Malaysian Herbed Rice Salad | Nasi Ulam

Herbed Rice Salad makes a great back yard supper, particularly nice with tomato wedges or a couple of hard-boiled eggs. If you’d like to sweat after the sun goes down, add thinly sliced Thai bird chili peppers.

Traditional Malaysian Herbed Rice Salad recipes include dried shrimp but since Ava is vegetarian we’ve kept them off the ingredients list. Substitute some salt for the fish sauce if desired.

Oh and …

About a week after I made this salad, I opened the fridge and pulled the leftover herbs form their mason jar of water… They were still perky thanks to the water and I was able to make a second batch. This time I didn’t measure. There was significantly more mint and basil… I only had one lime… but the rice salad was still wonderful.

And I didn’t lose any herbs to the fridge.

Aces.

Enjoy with an equally stunning view… like this one in Malaysia:

"KotaKinabalu Sabah CityMosque-08" by Photo by CEphoto, Uwe Aranas / CC-BY-SA-3.0. Licensed under CC BY-SA 3.0 via Wikimedia Commons - http://commons.wikimedia.org/wiki/File:KotaKinabalu_Sabah_CityMosque-08.jpg#/media/File:KotaKinabalu_Sabah_CityMosque-08.jpg

“Kota Kinabalu Sabah City Mosque” by Photo by CEphoto.

Malaysian Herbed Rice Salad | Nasi Ulam
Votes: 2
Rating: 4.5
You:
Rate this recipe!
Print Recipe
Malaysia teaches that we have to use herbs with as much confidence as we use lettuce – by the handful. Only then will we get that burst of garden freshness we all crave come springtime and into the summer. There are many versions of Malaysian Herbed Rice Salad. Here’s the basic formula: Room temperature rice + lots of fresh herbs + seasoning = easy summertime eating.
Servings Prep Time
4 people 20 minutes
Cook Time
16 minutes
Servings Prep Time
4 people 20 minutes
Cook Time
16 minutes
Ingredients
For the Rice
  • 1 1/2 cups long grain rice
  • 3 cups water
  • 1 teaspoon salt
For the herbs
  • 1/3 cup thai basil (thinly sliced) - about 1/2 bunch
  • 1/3 cup mint (thinly sliced) - about 1/2 bunch
  • 1/8 cup chives (minced) - OR -
  • green onions
  • 1/8 cup fresh cilantro (thinly sliced) - OR -
  • rau răm
  • culantro
  • 3-4 kaffir lime leaves
  • 1 stalk lemongrass , tough leaves removed and only tender bottom part sliced thinly - about 1/8-1/4 cup
  • 1/4 cup peanuts (crushed)
  • 1/8 cup coconut (toasted) - OR -
  • keresik
For the dressing
  • 1 teaspoon garlic (crushed)
  • 1 teaspoon ginger (grated)
  • 1/8 cup fish sauce
  • 2 limes , juiced
  • Thai bird chili peppers , as desired
Servings: people
Units:
Instructions
Prepare the rice
  1. Bring water to a boil. Add salt and rice. Return to a boil, cover and reduce heat to low so as to maintain simmer. Cook gently for about 16 minutes. Remove heat and let steam for 5 minutes. Fluff with a fork and let cool to room temperature.
For the herbs
  1. Clean all herbs and pat dry. Slice and add to bowl. Set aside.
For the dressing
  1. Add all ingredients to a small bowl and stir to combine. Use chili peppers for heat, if desired.
To assemble the salad
  1. Toss all ingredients together when rice has cooled. Add dressing to taste. The salad tastes even better after 30 minutes - however you'll want to taste it and adjust the seasonings as it can mellow over time.
Recipe Notes

Make sure to add the fresh herbs to room temperature rice - anything warmer will blacken the herbs.

Serve with fried chicken and sambal or hard-boiled eggs and tomatoes.

Imagination born from a Kenyan Storytelling Chandelier

Kenyan Story Telling Mobile/Chandelier

The stories we share during mealtimes nourish us as much as the food we eat. But sometimes we need a little jump start to get conversation flowing. Kenyans use banana leaves to create artwork that not only evoke ancient folk tales but that inspire the telling of new stories.

I found our Kenyan storytelling chandelier at a garden festival called Springfest here in Tulsa. My daughter and I almost breezed right past the booth. The rain had just started coming down in earnest: Ava was dancing in puddles with a friend and I was hunkered beneath my umbrella, feeling grumbly about my wet socks.

But then those dancing figures caught my eye.

Tulsa SpringFest 2015

Turns out the chandelier was made by a group of women in Kenya. Proceeds of our sale went back to helping their village. The vendor told me there was a story behind each figure and when I asked her what they were, she coyly responded that it was up to us to tell it.

While most might use this sort of art over an infant’s crib as a mobile, when the vendor invoked the notion of using the figures for storytelling I knew that the piece belonged over our dining table. Thus the down to earth mobile became our chandelier – more than a conversation starter, these whimsical figures inspire stories for all ages.

african-mobile-03

Serving up imagination for breakfast, lunch, and dinner

Mealtimes have changed in subtle ways since we hung up our story telling chandelier. It’s hard to quantify exactly what is different. Our minds are turned outwards from the minutia of our days – work, school, sleep, work, school, sleep – to possibility. Certainly, sometimes we forget the figures are there… but every once in a while the banana leaf chandelier catches on the spring breeze and begins twirling (Did you see it on Instagram?!). As it spins, our eyes are drawn upwards to those figures and the storytelling begins.

The figures are plain and, like a free-spirited sketch, they let the imagination do its part by filling in facial features and other details to suit the latest story.  Through my daughter’s imagination they have been sisters in the sky, constellations, and women whose injuries turn into good (a wounded foot turns sprouts a flower to rest on). Sometimes they’re hunters, sometimes they’re the hunted.

I see our stories growing more complex as time goes on, maturing alongside Ava.  This much I know: We’ll share stories about the past. And we’ll imagine a lively future. Always with our Kenyan Storytelling Chandelier.

african-mobile-02

How banana leaf art is made & where to get your own storytelling chandelier:

Banana leaf art is made when the leaves are green and flexible. They can be cut and bent into sculptures. It’s not easy, but the end result is fabulous. Some of them are dyed while others are natural in color, like mine.

I’ve scoured the web to find similar mobiles in case you are interested in bringing the art of storytelling to your mealtimes. I could only find one place – Africa Imports.  The prices are very low because this is a wholesale page but I called the number and they said you can still order from them even if you’re not a wholesaler. Also – they do give back to their artisans: “Africa Imports is not a big company, but we give a big percentage of our profits to help children in Africa. Right now, we guarantee that at least 2% of all of our sales will go to these orphanages and other charitable causes in Africa. As of October 2014, Africa Imports has donated a total of $502,816 to charitable causes in Africa. ” Read more about their giving.

Disclaimer: the link to Africa Imports is an affiliate link, so if you purchase one I will get a small commission (as well as a great deal of joy to know you’ll be enjoying a storytelling chandelier soon)!

I will update this page if I find further resources or if I’m able to reconnect with the vendor I met at Springfest. xxoo

British Victoria Sponge Cake

Victoria Sponge Cake Recipe

Imagine a cake good enough to eat upside down.

This Victoria Sponge Cake is 100% inspired by Mary Poppins – that lovable British nanny at the heart of  countless quirky adventures – and, yes, it’s that good.

Victoria Sponge Cake Recipe inspired by Mary Poppins

The recipe is mentioned in Mary Poppins: 80th Anniversary Collection, which I gave my daughter for Valentine’s Day.

A note on these books: P.L. Travers’s collection goes well beyond the parameters of the Disney movie – the floating tea party scene at the heart of the film can be found on page 42, barely cracking the spine of this 1024 page classic.

Every night at bedtime we settle into a new chapter, following the 5 Banks children on another adventure. They paint the sky, eat gingerbread stars, hang out with the constellations at a circus in space, and travel the world with a compass – and all that within the first few hundred pages. Mary Poppins not only never explains their adventures once they’re over, she insists she has no idea what the children are talking about. More than buttoned up, Mary Poppins is flat out strict, yet the children always have fun when she’s around.

Reading Mary Poppins together

It’s in Mary Poppins Comes Back (the second book in the series), that Mary Poppins makes it clear that sponge cake is her cake of choice. She loves it so much, in fact, Mary pronounces her approval while floating on her head at an upside down tea party with Jane, Michael, and a man named Mr Turvy:

Turning their heads, Jane and Michael were surprised to see that the voice came from Mary Poppins’ parrot-headed umbrella, which was at that moment Catherine-wheeling towards the cake. It landed head-downwards on the tin and in two seconds had cut a large hole in it with its beak.

“There!” squawked the parrot-head conceitedly, “Polly did it! Handsome Polly!” And a happy self-satisfied smile spread over its beak as it settled head-downwards on the floor beside Mary Poppins.

“Well, that’s very kind, very kind,” said Mr Turvy in his gloomy voice, as the dark crust of the cake became visible.

He took a knife out of his pocket and cut a slice. He started violently, and peered at the cake more closely. Then he looked reproachfully at Mary Poppins.

“This is your doing, Mary! Don’t deny it. That cake, when the tin was last open, was a plum cake and now –”

“Sponge is much more digestible,” said Mary Poppins, primly. “Eat slowly please. You’re not starving savages!” she snapped, passing a small slice to each Jane and Michael.

Poppins’s insistence on proper behavior is comedic brilliance by author P.L. Travers … after all doesn’t floating on your head negate any need for proper decorum?

Not in Mary Poppins’s world.

Mary-Poppins-Illustration

How to make Victoria Sponge Cake

Victoria Sponge Cake is named for Queen Victoria (1819-1901) who enjoyed a slice or two at teatime during the 19th century. This was the era when taking formal tea became the thing. Since the queen favored sponge, the dessert became synonymous with British teatime.  

The mild cake is meant to be soft and spongy, hence the name. All you’ll need are a few pantry staples: flour, butter, sugar, egg, and levener – this simple cake requires no extravagance (most recipes, but not all, avoid vanilla extract and lemon zest). A plain, trim slice effortlessly makes a splash among fancier desserts on the tea spread, just as the girl-next-door shines sweetly among a gaggle of divas in stilettos.

sponge-cake-recipe-12

In Britain, many recipes stipulate that the sugar, flour, butter and eggs should be the same weight, based on the weight of the eggs. I made this version by the cup for folks who don’t have a scale handy (or don’t feel like pulling one out). You’ll need 4 eggs.

Room temperature ingredients make the fluffiest cakes, as does creaming together the butter and sugar for a good five minutes.

sponge-cake-recipe-10

After creaming the butter and sugar together, alternate adding the eggs and flour to form a thick, luscious mix. A little milk makes it looser but not pourable.

sponge-cake-recipe-03

sponge-cake-recipe-11

Finally, pop the cakes into a 350F oven (for a perfectly flat cake, use baking strips).

Once baked and cooled, I followed tradition and placed a thick layer of strawberry preserves and whipped cream between the cake layers (lemon curd is fabulous, too). Another not-exactly-traditional approach is to swap out the whipped cream for a layer of buttercream.

sponge-cake-recipe-04

The top is left unadorned save a dusting of powdered sugar.

sponge-cake-recipe-05

sponge-cake-recipe-01

A few notes on the ingredients

sponge-cake-recipe-02

Superfine Sugar

Superfine sugar is best for this recipe as the fine granules incorporate more readily. To make superfine sugar, take one heaping cup sugar and blend for about 1 minute. Measure out 1 cup and use as instructed. There’ll be a little leftover. See above – the sugar on the right is my homemade superfine sugar (click the photo to zoom in and see the difference in the granules). Note that it is not the same as powdered sugar.

Flour

I’d planned to use cake flour in hopes of making a perfectly featherlight cake but there was a drought of cake flour at every grocery store in Tulsa this week. And by every grocery store, I mean four… because, let’s be honest, if I can’t find cake flour in four grocery stores I’m done looking.

I wondered if perhaps, as the grocer at Whole Foods indicated, the glut of best-selling cake mixes and gluten free products has – quite possibly – permanently taken the small shelf space cake flour once occupied. After all, the poorest selling products get the boot. In which case we all better learn how to make cake without cake flour.

The good news? Victoria Sponge Cake is also fabulous with all-purpose flour and requires no special trips to the market.

Which leaves you more time for reading and eating!

And that, I’d say, is a win-win.

Suggested Reading:

Mary Poppins: 80th Anniversary Collection, Book 2 – Mary Poppins Comes Back – Chapter 4 – “Topsy Turvy.” by P.L. Travers.

British Victorian Sponge Cake
Votes: 9
Rating: 4.22
You:
Rate this recipe!
Print Recipe
Victoria Sponge Cake is named for Queen Victoria (1819-1901) who enjoyed a slice or two at teatime during the 19th century. It is also a favorite of the fictional character, Mary Poppins. The mild cake is meant to be soft and spongy, hence the name.
Servings Prep Time
1 layer cake (two 8" rounds) 25 minutes
Cook Time Passive Time
25 minutes 1.5 hours
Servings Prep Time
1 layer cake (two 8" rounds) 25 minutes
Cook Time Passive Time
25 minutes 1.5 hours
Ingredients
For the cake:
  • 1 cup unsalted butter (softened)
  • 1 cup superfine sugar
  • 2 cups all-purpose flour
  • 2 teaspoons baking powder
  • 1 pinch salt
  • 4 eggs (room temperature)
  • 2 Tbsp milk
For filling & decorating
  • 6-8 ounces strawberry preserves - OR -
  • lemon curd
  • 8 fl oz heavy cream , whipped
  • powdered sugar (for dusting)
Servings: layer cake (two 8" rounds)
Units:
Instructions
For the cake:
  1. Preheat oven to 350F. Meanwhile, grease two 8-inch cake pans and line the bottoms with rounds of parchment paper.
  2. Beat butter and sugar together for several minutes until fluffy and white (using a stand mixer fitted with paddle attachment or hand mixer). Scrape sides occasionally.
  3. Whisk together the flour, baking powder, and salt in a small bowl.
  4. Add the eggs and flour to the butter mixture in alternating thirds on low. Add the milk to loosen a bit. Scrape as needed. When fully combined, divide between baking pans.
  5. Bake for 25 minutes or until light brown and the surface springs back when pressed gently with the fingertip. Let cool completely - about 1 1/2 hours
For decorating:
  1. On the bottom layer of cake: Spoon on strawberry preserves or lemon curd. Top with a generous layer of whipped cream, then the second layer of cake. Dust with powdered sugar and serve with hot tea.
Storage
  1. Cooled cake layers may be wrapped in plastic wrap and aluminum foil, then stored in the freezer for a month or two. Thaw at room temperature, then decorate as usual.
Recipe Notes

To make superfine sugar, take one heaping cup sugar and blend or process for about 1 minute. Measure out 1 cup and use as instructed. There may be a little leftover.

To avoid a domed cake, use baking strips.

A Japanese Sushi-rolling Birthday Party

DIY Japanese Sushi-rolling Birthday Party

A Japanese birthday party is a fabulous alternative to the standard princess or pirate birthday party. A couple of years ago my good friend and artist Annie Ferris had a Japanese-themed birthday party for her daughter and was kind enough to share the photos. The girls are 4 years old, proving there’s no age limit to having a fun and educational birthday party.

I love how Annie managed to throw together a totally immersive experience while maintaining a down-to-earth vibe. Here are some of my favorite features of her daughter’s Japanese Birthday Party.

Sushi Rolling station

DIY Japanese Sushi-rolling Birthday Party

Ava still asks to make homemade sushi and this party is one reason why.

How to set up a Sushi Rolling Station:

Set up several low tables – kids craft tables or coffee tables work well – and use cushions for seating. Not only is this set up very Japanese, but it’s also easier for wiggly little ones to manage.

At each child’s place you’ll need:

DIY Japanese Sushi-rolling Birthday Party

In the center of the table Annie provided:

  • a pile of napkins (she used plain red for Japan but how cute are these blue fish?)
  • several bowls with vegetables like asparagus, avocado, and cucumber for homemade veggie sushi (recipe)
  • a block of cream cheese
  • homemade sushi rice (recipe)
  • decorations (more on that in a moment)

Annie also featured an easel at one end of the room with step-by-step instructions for rolling the sushi. She drew the instructions in marker – four per sheet.

DIY Japanese Sushi-rolling Birthday Party

Annie and her daughter went through the instructions slowly, making sure everyone had completed each step before moving on. Even the youngest sushi roller was able to participate with great success.

DIY Japanese Sushi-rolling Birthday Party

Since this party was for little people, Annie provided a few plastic serrated lettuce knives for slicing the sushi. While the knives were quite safe, pressing the knife straight into the rolled sushi didn’t work – however if the rolls were tight and I glided the knife gently back and forth it did work.

DIY Japanese Sushi-rolling Birthday PartyA few bottles of Sapporo were on hand for the adults. Cheers to that!

Homemade “Wasabi” cake

It might look like a spicy ball of wasabi, but this was the sweetest treat of all! Green frosting and sprinkles made this little girl’s homemade vanilla cake stay on theme.

DIY Japanese Sushi-rolling Birthday PartyOther sweets were found in the children’s goodie bags – such as Pocky Sticks and hard candies – all found at the local Asian market.

3. Decorations

Scattered around the party were:

While I’ve provided links to online shopping, most of these items were found at the local Asian market.

DIY Japanese Sushi-rolling Birthday Party DIY Japanese Sushi-rolling Birthday Party

4. Costumes etc.

The invitations came in little Asian-style takeout boxes (they were polka dotted) – these can be found at many craft stores or online. Included with the invitations were instructions to come dressed in Japanese clothes.

The costumes were a big hit with the children! From the fans to the kimonos, I love them all. The girl in the black and white dress had her hair tied in a bow on top of her head – just amazing… and next to her – I love that boy’s fish t-shirt!

DIY Japanese Sushi-rolling Birthday PartyMy daughter, below left, found her costume at our local Asian market… complete with wooden clogs. After the party these items were a great addition to her dress up chest!

DIY Japanese Sushi-rolling Birthday PartyIf you’re considering having a Japanese birthday party, I hope you’ve found some inspiration thanks to Annie’s fabulous Sushi Rolling Party!

Oh, and if you’ve hosted an epic globally-inspired birthday party let me know – I’d love to hear all about it!