
 Makes 4 quarts
Stovetop popcorn is a must have if you’re looking to replicate an Ethiopian coffee ceremony. Sure, you could pop a bag in the microwave in less than three minutes, but… well… sometimes it’s more fun realizing how much you can do without special gadgets and gizmos. As far as who had more fun with this – me, Mr. Picky, or Miss Ava – it might have been me. I spent most of the time squealing while I waited for the first few to explode… I mean… pop.
Also? I ate the most.
Ingredients:
3 Tbsp vegetable oil
1/2 cup popcorn kernels
salt
Method:
Popcorn needs to be made in a large pot, so there’s room for all the kernels to pop into white, fluffy snack goodness.
It’s a lot like the heart – the bigger our hearts, the more room for all of 0ur emotions to … well… pop into white, fluffy bursts of life. With an open heart we experience so much more.
Never let your heart run out of room.
Or your popcorn.
Gather a large pot and lid. Ours was about 4 1/2 quarts. To find out how much your pot can handle, pour popcorn into the bottom of the pot…

Then measure how much coats the bottom of the pan in a smooth layer. In our case it was 1/2 cup.

Return the kernels to the pan and add about 3 Tbsp vegetable oil per 1/2 cup.

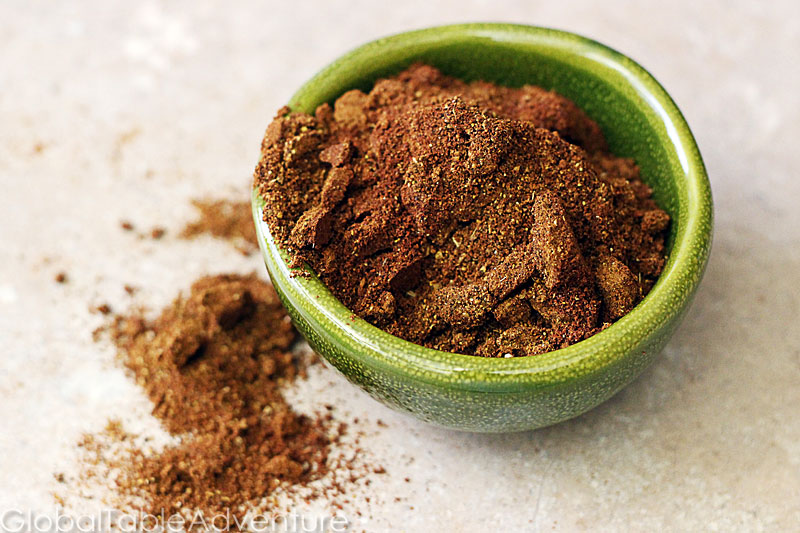
Sprinkle with salt and heat over medium heat.

Cover the pot … unless you want popcorn and hot grease to hit you in the face. Ouch.
That’s what happened when we took this picture.

Keep the pan shaking and moving once the kernels start popping. When 2-3 seconds go by without any popping, the popcorn is done. Remove from heat and eat immediately. Preferably with Ethiopian coffee and friends. Or while watching an Ethiopian movie.
Enjoy these little bursts of life.

| Servings |
| 34 quarts |
|
|
|
|
Stovetop popcorn is a must have if you’re looking to replicate an Ethiopian coffee ceremony. Sure, you could pop a bag in the microwave in less than three minutes, but… well… sometimes it’s more fun realizing how much you can do without special gadgets and gizmos. As far as who had more fun with this – me, Mr. Picky, or Miss Ava – it might have been me. I spent most of the time squealing while I waited for the first few to explode… I mean… pop.
|
- 3 Tbsp vegetable oil
- 1/2 cup popcorn kernels
- salt
- Gather a large pot and lid. Ours was about 4 1/2 quarts. To find out how much your pot can handle, pour popcorn into the bottom of the pot. Then measure how much coats the bottom of the pan in a smooth layer. (In our case it was 1/2 cup) Return the kernels to the pan and add about 3 Tbsp vegetable oil per 1/2 cup.
- Sprinkle with salt and heat over medium heat. Cover the pot.
- Keep the pan shaking and moving once the kernels start popping. When 2-3 seconds go by without any popping, the popcorn is done. Remove from heat and eat immediately.


