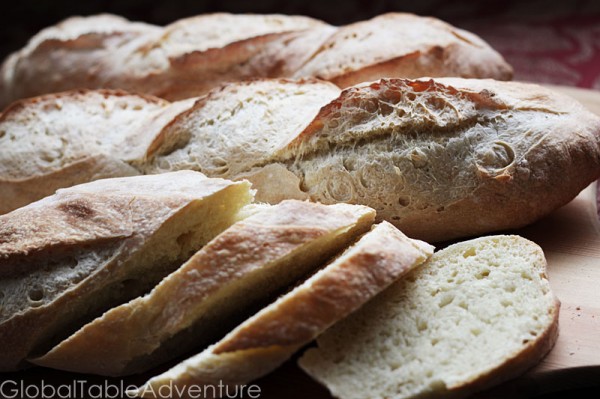
Makes about 3 loaves
My toes curled when I took my first bite of French bread – a baguette, still warm from the oven. Even years later – hundreds of baguettes later – I could not understand how my French friend, Julie, was able to restrict herself to one slice with dinner. Her entire family was that way – they’d had good bread their entire lives.
I was unable to be so moderate. Entire baguettes could disappear into my belly in an afternoon. I gained 15 pounds living in Paris, around the skinniest girls in the world. In college I wrote a hundred pages all about the history of artisan bread in France. I was obsessed.
The good news is I learned how to make pretty awesome bread at home. It takes 3 days, but each step is easy.
There are two things which make French bread so amazing.
1) Flavor: Mixing the yeast with a little flour and water ahead of time gives a big flavor boost. This is called a poolish or preferment. Slow and cool yeast development is the secret to good flavor.
2) Texture: Achieving a soft interior and thin, shattering crust. You do this by adding moisture while baking and using steady, high heat. A spray bottle and baking stone are the best we can do in our homes.
This recipe is an adaptation of a King Arthur Flour bread recipe. I’ve been tweaking it for years.
Ingredients:
Poolish:
2 cups flour
1 cup cool water
1/8 tsp active dry yeast
Dough:
3 cups flour
1 cup water
1 1/2 tsp salt
1 tsp yeast
Method (a.k.a. Diary):
Day 1
9:00 pm
I changed into my pj’s and was all settled in to read The Sweet Life in Paris before I remembered – oops! Time to make the poolish (starter).
To make the poolish: In a large bowl, thoroughly mix together 2 cups flour, 1 cup cool water, and 1/8 teaspoon yeast. Cover with a damp towel and let sit in a cool spot for 14-24 hours.
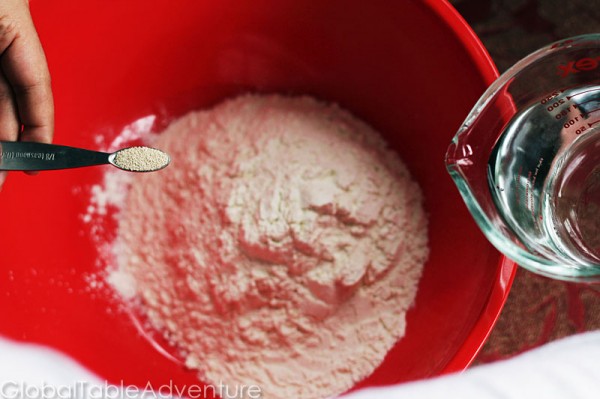
It’ll be thick and doughy.
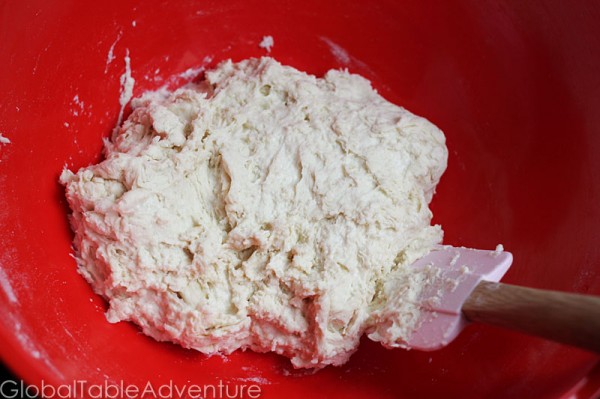
Keep cool! Try in the basement, by a drafty window, or over a bowl of ice.
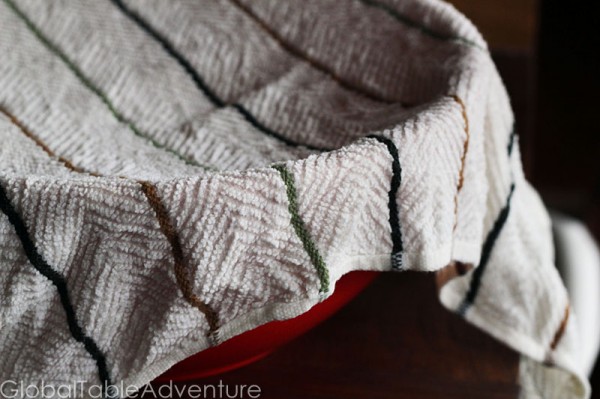
9:05 pm
I climbed back in bed and read until sleep overtook me. That was easy!
Day 2
Morning
Ran a few errands. Put the baby down for a nap. I took a peek at the poolish, but decided to garden a little before messing with it. Apparently you can’t actually plant anything new until you remove the leaves and weeds from last year.
Afternoon
Gave up on gardening for a little while.
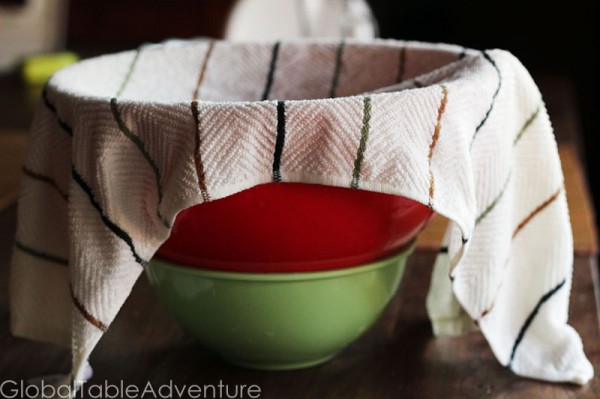
When the poolish is 2-3 times larger and full of bubbles, add 1 tsp yeast, 1 1/2 tsp salt, 3 cups flour and 1 cup water. Place in large bowl and cover with damp hand towel.
It looks so different from yesterday!
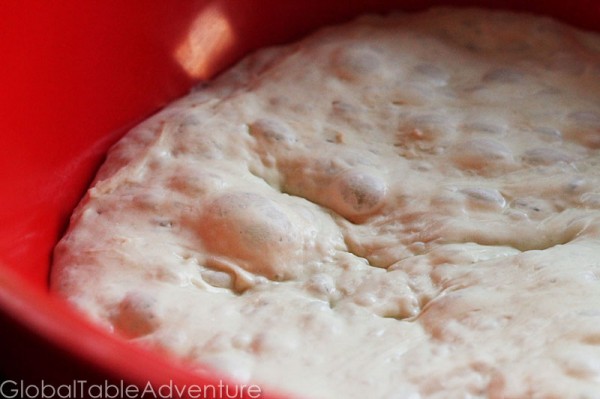
Let’s make a dough ball!
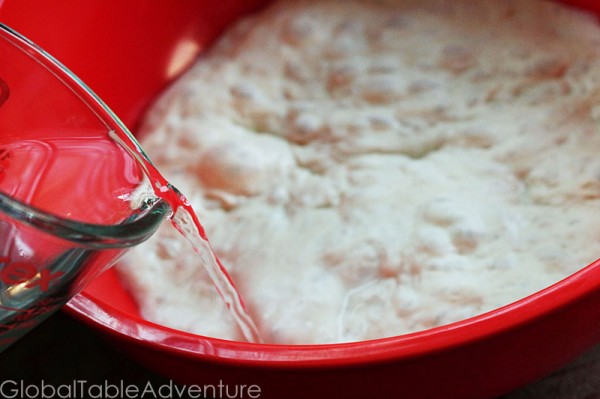
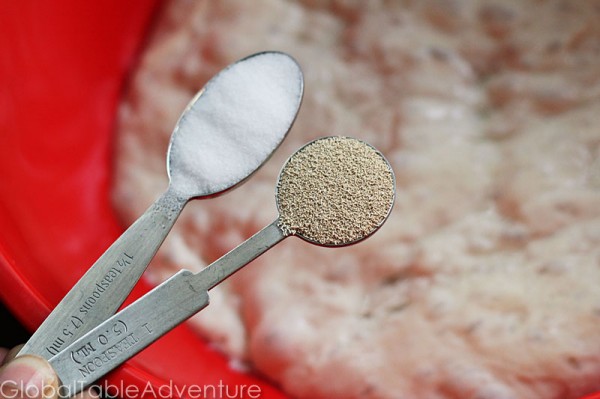
I like to mix it with my hands.
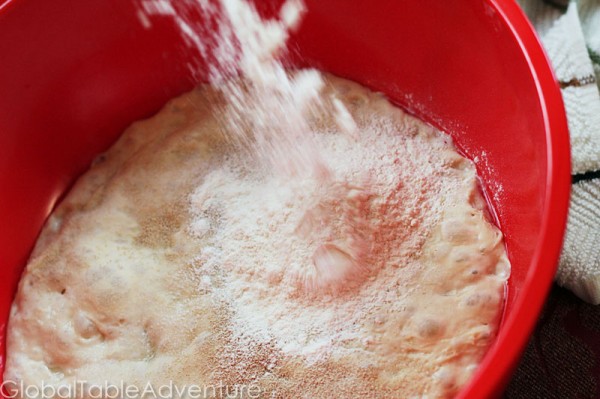
It’ll be really, really sticky.
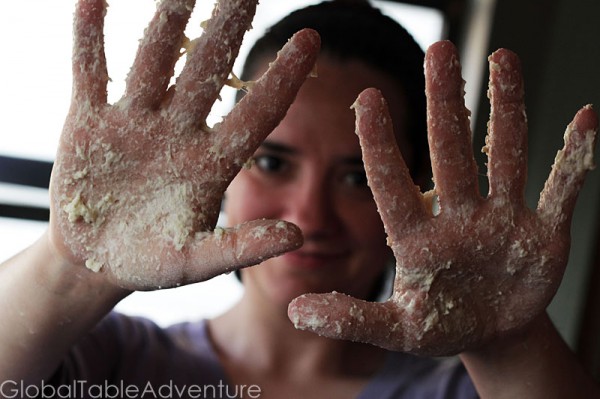
Don’t be scared.
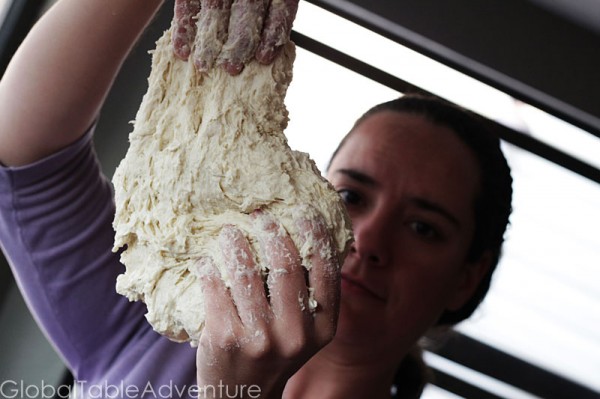
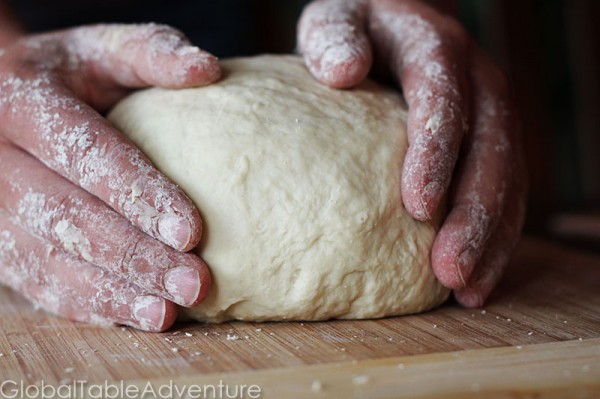
Flop it around a bit.
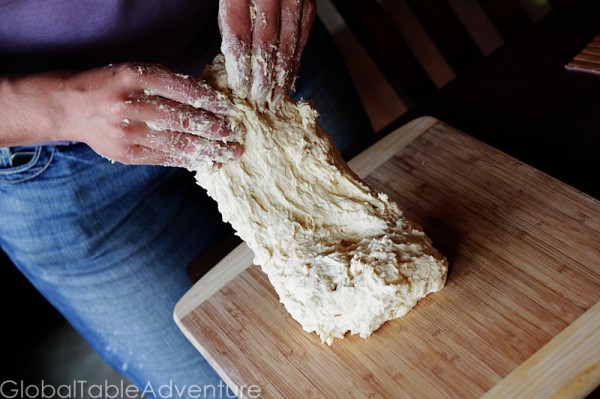
This is the “slap and fold method” which works great for wet doughs.
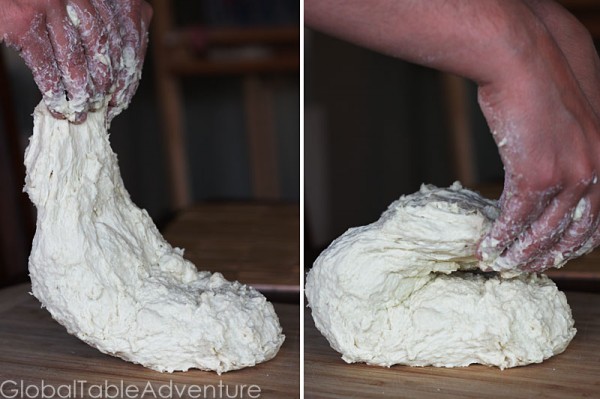
After a few folds, it won’t stick any more. After about ten folds, get most of the goo off your hands and see if it is still sticky. If it is, work in extra flour. You’re looking for a very soft, moist dough. But not sticky. If it is a rainy day – or humid – you will definitely need more flour.
Cover with a damp dish towel. Place over a bowl of ice if you don’t have a cool spot.
Evening
Had a relaxing night not thinking about bread. Ate grilled salmon, watched Bill Cosby, Himself. Laughed a lot when he was talking about parenting. Drank a little wine. Ran over to sniff the bread dough before heading to bed. Smelled great!
Day 3
Morning – about 9 am.
Woke up to miss Ava toddling into my room. We jumped on the bed for a few minutes. Next up – a few minutes of bread making.
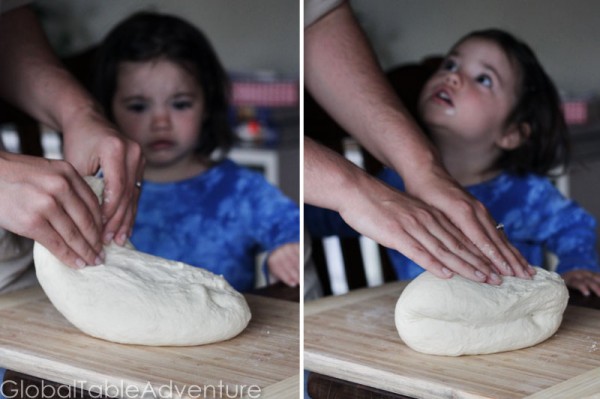
Take the dough out of the bowl, slap it around a few times, shape into a ball. Return to bowl, cover it back up with damp hand towel.
Here’s the dough after resting overnight.
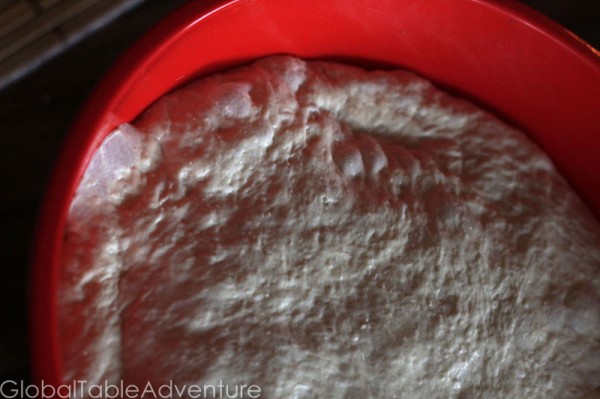
The dough is full of bubbles and giant.
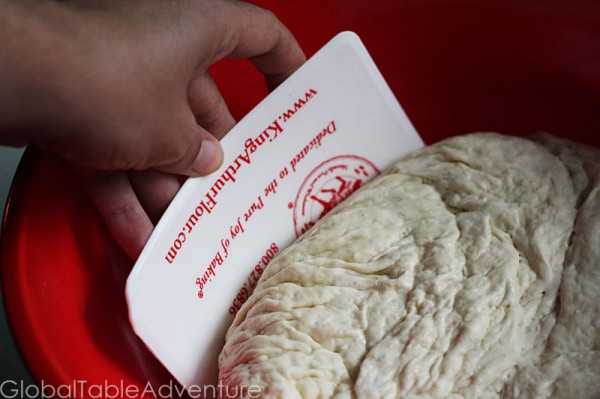
It should be airy and soft.
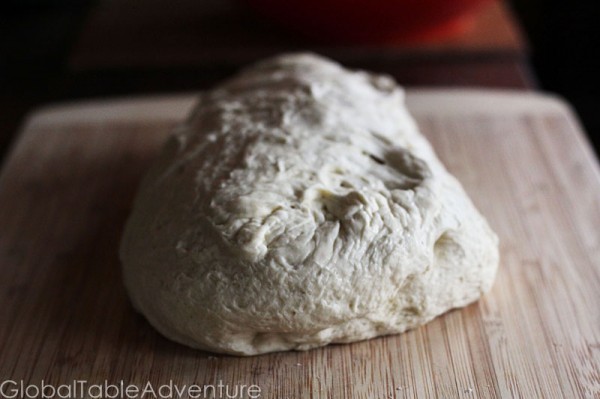
And should easily form a smooth ball. It’s already so different from yesterday – the gluten has developed. Slap it down and fold it a few times. Put it back on the bowl, covered with a damp towel, in a cool spot (or on a bowl of ice).
Next I ate breakfast. Went to baby dance class where we pretended to be elephants and turtles. There was much spinning and clapping.
Noon
After 3 hours the dough looks like this:
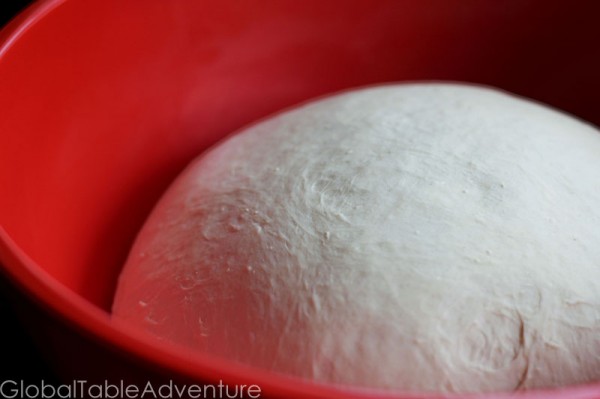
Turn it out of the bowl… there are tons of bubbles, Yay!
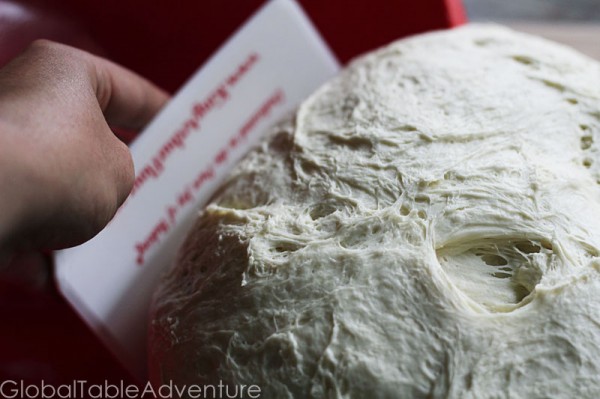
Cut the dough into 3 pieces and shape into logs. Let rest 20 minutes. Try not to disturb the holes. Be gentle at this point.
Put baking stone in oven and preheat to 450F.
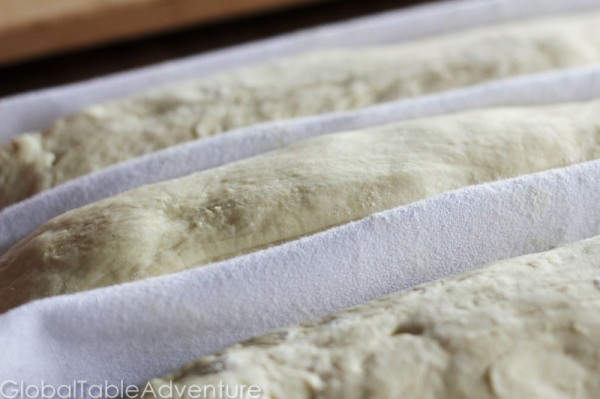
Slit with a razor, spray with water, and bake at 450F until cooked – about 20 minutes. Bake directly on stone or baking sheet.

Eat with French Onion Soup or Ratatouille.
Or all by itself with a view of the garden. Or weeds. Whatever the case may be.
This is your passport to Paris, enjoy!
| Servings | Prep Time |
| 3 loaves | 20 minutes |
| Cook Time | Passive Time |
| 20 minutes | 3 days |
|
|
|
There are two things which make French bread so amazing.
1) Flavor: Mixing the yeast with a little flour and water ahead of time gives a big flavor boost. This is called a poolish or preferment. Slow and cool yeast development is the secret to good flavor.
2) Texture: Achieving a soft interior and thin, shattering crust. You do this by adding moisture while baking and using steady, high heat. A spray bottle and baking stone are the best we can do in our homes.
This recipe is an adaptation of a King Arthur Flour bread recipe. I’ve been tweaking it for years.
|
- 2 cups all-purpose flour
- 1 cup water (cool)
- 1/8 tsp active dry yeast
- 3 cups flour
- 1 cup water (cool)
- 1 1/2 tsp salt
- 1 tsp instant-
- To make the poolish: In a large bowl, thoroughly mix together 2 cups flour, 1 cup cool water, and 1/8 teaspoon yeast. Cover with a damp towel and let sit in a cool spot for 14-24 hours.
- When the poolish is 2-3 times larger and full of bubbles, add 1 tsp yeast, 1 1/2 tsp salt, 3 cups flour and 1 cup water. Use the slap and fold method to form a dough ball. After a few folds, it won’t stick any more. After about ten folds, get most of the goo off your hands and see if it is still sticky. If it is, work in extra flour. You’re looking for a very soft, moist dough. But not sticky. If it is a rainy day – or humid – you will definitely need more flour. Place in large bowl and cover with damp hand towel. Place over a bowl of ice if you don’t have a cool spot.
- Take the dough out of the bowl, slap it around a few times, shape into a ball. It should be airy and soft. It’s already so different from yesterday – the gluten has developed. Return to bowl, cover it back up with damp hand towel for 3 hours.
- Cut the dough into 3 pieces and shape into logs. Let rest 20 minutes. Try not to disturb the holes. Be gentle at this point. Put baking stone in oven and preheat to 450F.
- Slit with a razor, spray with water, and bake at 450F until cooked – about 20 minutes. Bake directly on stone or baking sheet.


Pingback: Global Table Adventure | Recipe: Mauritian Chili Poppers (Gateaux Piments) (w/ poll)
Pingback: Global Table Adventure | About the food of Mauritius
Pingback: Artisan Bread Attempt 1 | The Li'l Things
Pingback: Global Table Adventure | Monday Meal Review: Zimbabwe
Pingback: 5 creative ways to bring the world into your kitchens | Global Table Adventure