I know very little about beer. So little, in fact, that I’ve been known to drink it on ice. While I’ve been told this is an epic sin, I can’t help myself. There’s nothing better after a hot, sweaty bike ride in the summer than beer on ice.
That being said, I thought our German Global Table was the perfect opportunity to take a stab at homebrewing. This is my step-by-step eperience making German Altbier. I am using the Brewer’s Best kit which can be purchased at High Gravity in Tulsa, Oklahoma (you can also order from them online). If you purchase their kit, you’ll get the full instructions and my procedure might help along the way. At the very least, you’ll learn what not to do. They also have classes.
This isn’t an ad, by the way. I bought my own kit. High Gravity did loan me a bucket though! Hurrah for that. Now… if I can just get over there to return it.
Day 1:
First lesson… Apparently one needs a giant pot to homebrew. it’s called a Brew Kettle (go figure) and it easily holds 2.5 gallons. I thought I’d pinch my pennies, so I didn’t buy one. I was sure I’d have a big enough pot.
Ahem.
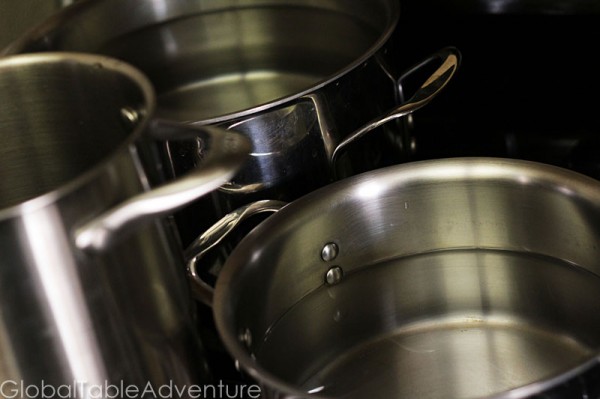
I have 1 pasta pot (1.5 gal), 1 smaller pot (1 gal), and, er, 1 asparagus pot (0.5 gal).
Note to self: never make beer in 3 small pots. What a pain in the neck.
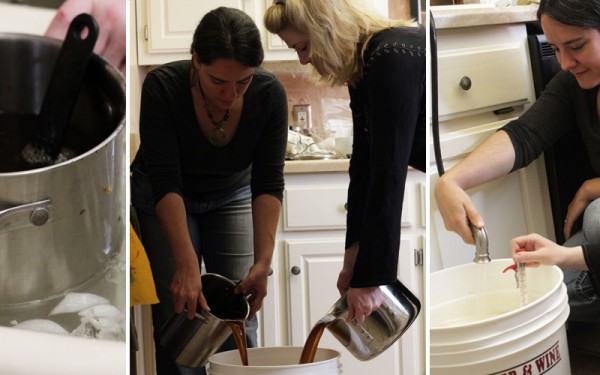
Anyway, fill your pot(s) with water and warm them up…
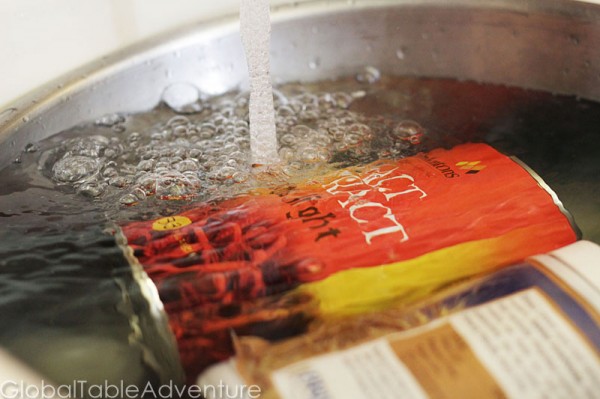
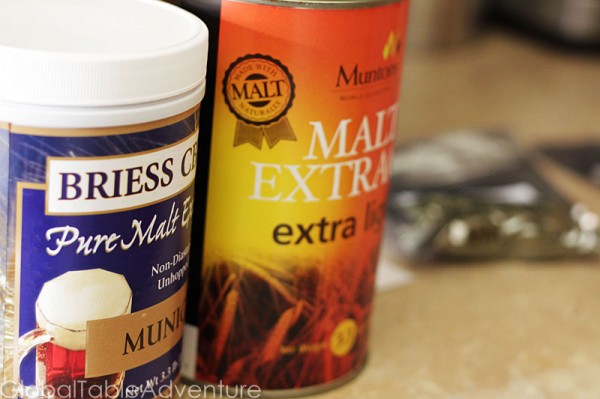
Meanwhile, soften both cans of malt in a large bowl of hot water. This will make it easier to pour out.
Lesson two: Sanitize everything you’ll be working with. That’s what Amanda tells me.
Which brings me to lesson three: the first time you homebrew, always have an experienced homebrewer on hand. It makes the whole process a lot easier and much more fun. Plus, you can get them to do most of the work. This is Amanda, getting ready to steep the grains (Brewer’s Best Step 3). Thanks, Amanda!
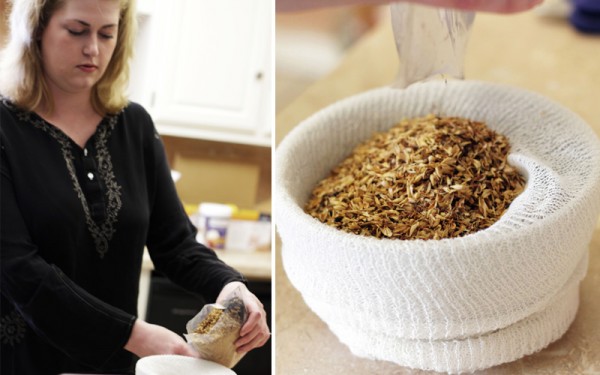
The temperature of the water should be 150-165F. If it’s too hot you’ll end up with bitter beer. And not in a good way … so don’t let it simmer.
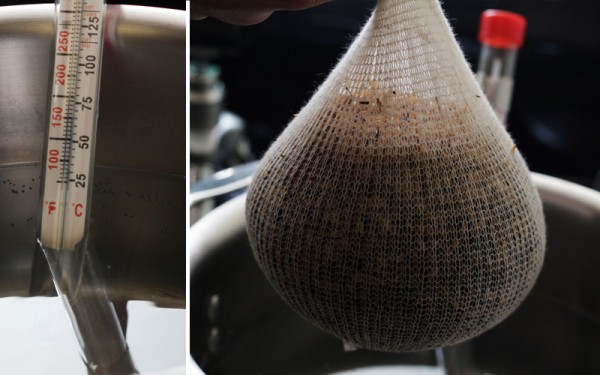
After 20 minutes, remove the grains, letting the liquid drain out. Don’t squeeze.
The water infused with grains now has a fancy new name: wort.
Not the most appetizing, if you ask me. Then again, neither is this picture…
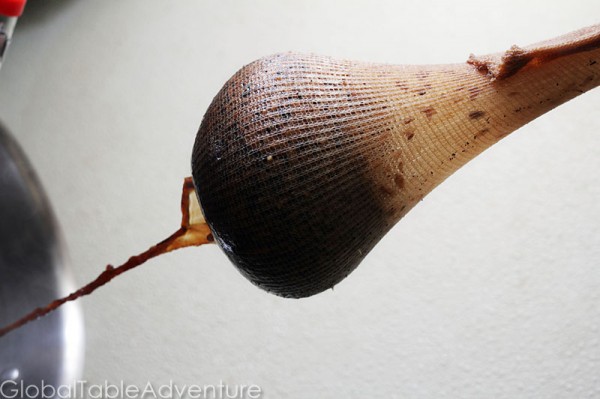
Next, bring the wort to a boil. Add both cans of softened malt. Return to a boil and stir thoroughly. Do not let it boil over.
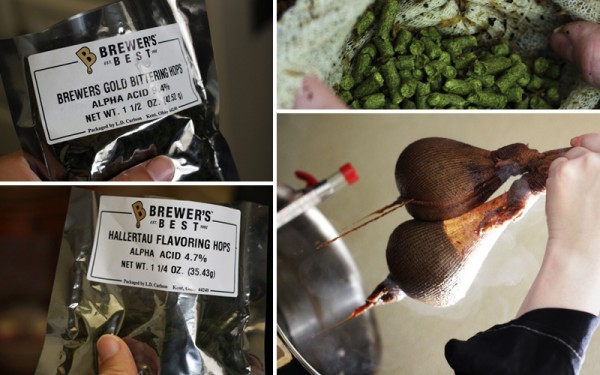
Add the bittering hops and boil for 35 minutes. Then add the flavoring hops and cook for 20 minutes. We put the hops in cheesecloth to make it easier to remove from the wort. Tip: reuse the cheesecloth from the grains (cutting it in half, to make two bags)
To be honest, Amanda did most of this. She’s a rockstar.
Here’s my contribution: hops looks a lot like bunny food. Num num.
Place the pots of liquid in an ice bath. You want to cool the wort down to 70F and then add it to your brew bucket. Add more water, until it reaches the 5 gallon mark. Take the temperature again and make sure it’s still around 70F.
Sprinkle the yeast over the top and stir with sanitized spoon.
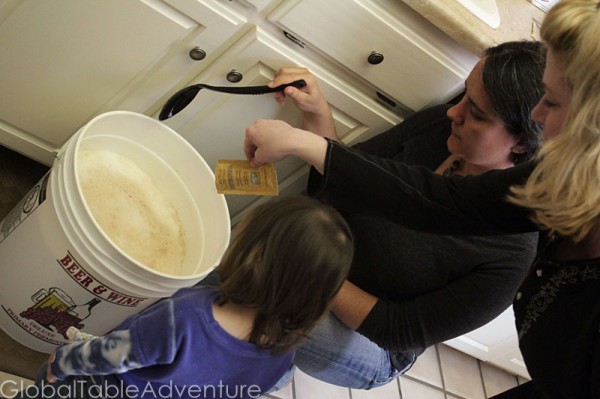
Ava wanted to help, so I let her stir.
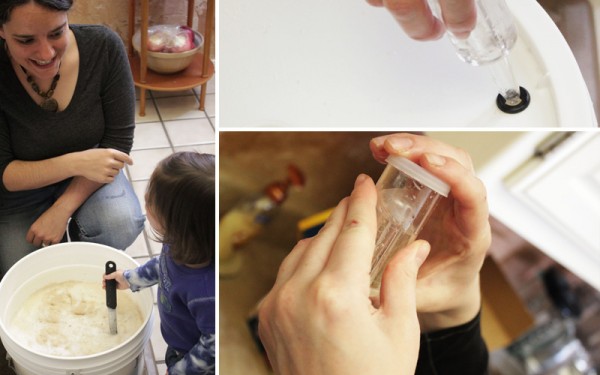
Next, cover the bucket, add water to the little plastic airlock and place in the hole. This doo-hickie bubbles and lets you know if the yeast is working.
Day 2-3
I have no idea where the beer is. Keith cleaned up the kitchen. Surely he didn’t throw it out? Will have to ask him if he’s seen it.
Day 4
Found the beer in the laundry room. I wait a few minutes for a sign of life in the beer bucket. It’s supposed to bubble.
Nothing.
Just when I am about to give up, five bubbles pop up. Nearly gives me a heart attack.
Days 5-10
Fret over the beer for no particular reason. Then, Ava pushes on the bucket several times, forcing bubbles to rocket out. Call Amanda in a panic. Apparently, all will be fine. Waiting is the name of the game.
Day 11
All this time the yeast has been working. We check the “gravity” now and later, right before bottling – which will tell us how much alcohol is in the beer.
Next, we move the beer to another bucket, to clarify it. You see, while the yeast works, it also makes gunk at the bottom of the bucket – gunk you won’t want to drink.
The easiest way to remove the gunk is to siphon the liquid from one bucket to another.
Amanda insisted I do it. I must have lost a bet.
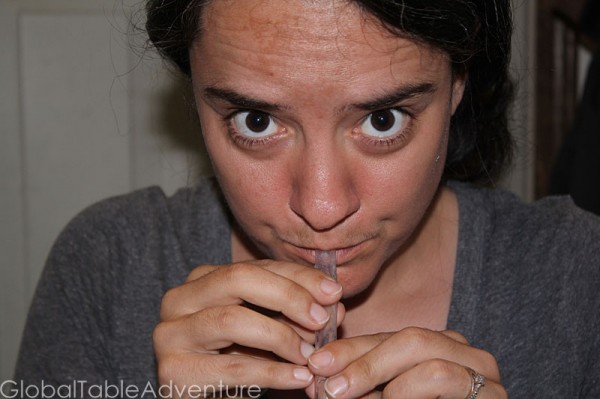
Sucking on the siphon gets the air moving and pulls liquid from one bucket (placed up high), to another bucket, preferably with a spigot (placed down low). It also gave me an accidental taste of the beer. Yummy.
Ava likes the bubbles.
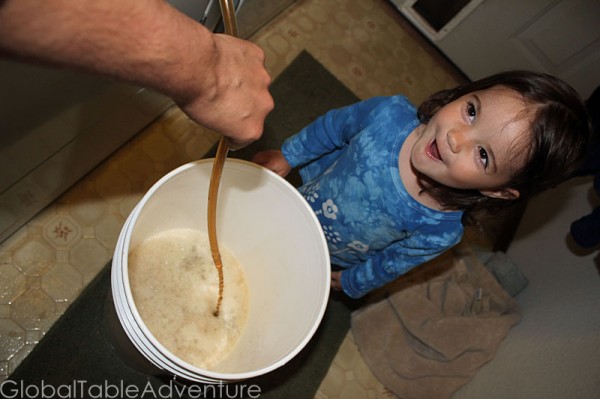
What’s left, after siphoning, you ask? Yeasty sludge. You can go ahead and wash out the yeasty sludge, unless you can think of something to do with it…
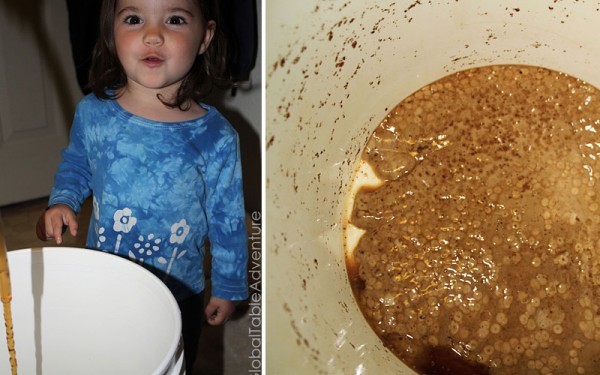
Cover up the fresh bucket of beer again and set it aside.
Day 12-21
Come down with the flu. Forget all about the beer.
Day 22
Morning: Finally got around to bottling the beer. Amanda is so sick she can’t come help. Darn.
First, all the bottles must be sanitized, inside and out.
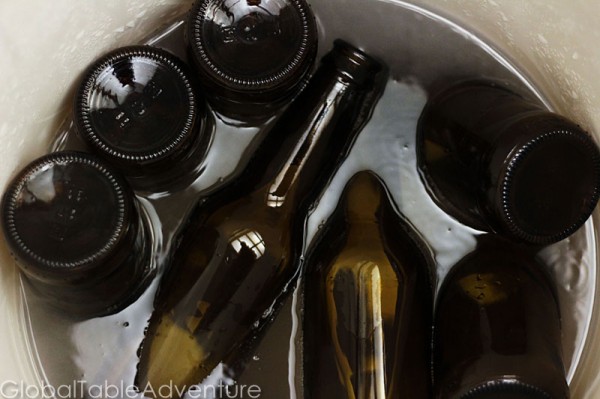
And the caps should be boiled for a few minutes.
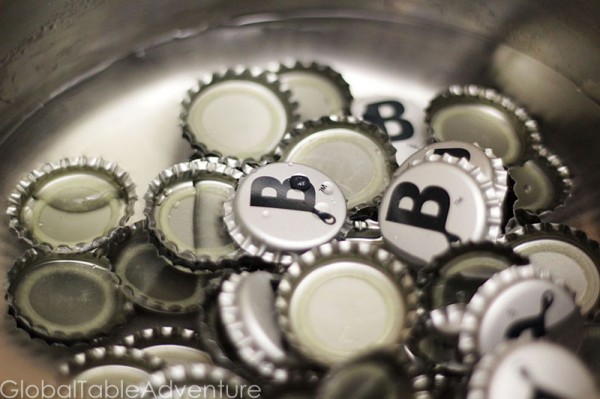
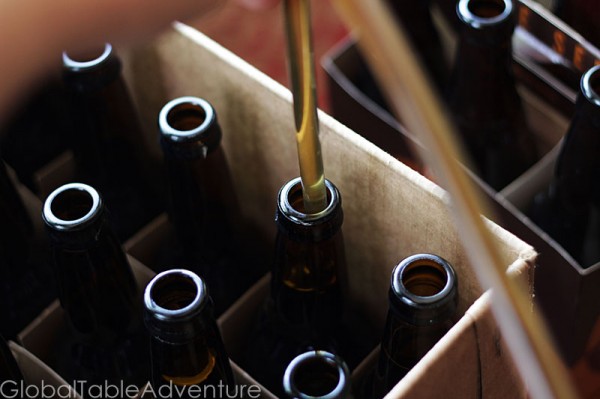
Then you need to add the priming sugar to the bucket. This will start the yeast eating again, to make carbonation. It is easier to distribute the sugar evenly if you heat it up with a 1/4 cup water until fully dissolved. Stir the sugar/beer mixture thoroughly and siphon into the sanitized bottles.
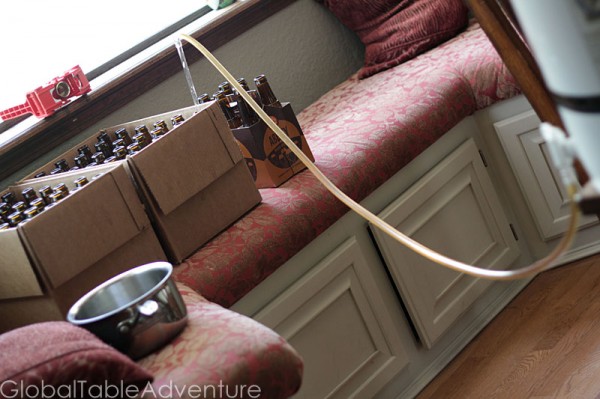
The tube at the end of the siphon is called a “bottle filling wand” – it magically let’s you fill the bottle to the exact right level. The right equipment is definitely a must when making beer. Luckily you can get it all for under $100. OR you can borrow it from a friend. Thanks, again, Amanda! (She even loaned me her bottles!).

Once you get everything capped, spend the afternoon whistfully staring at the pretty bottles.
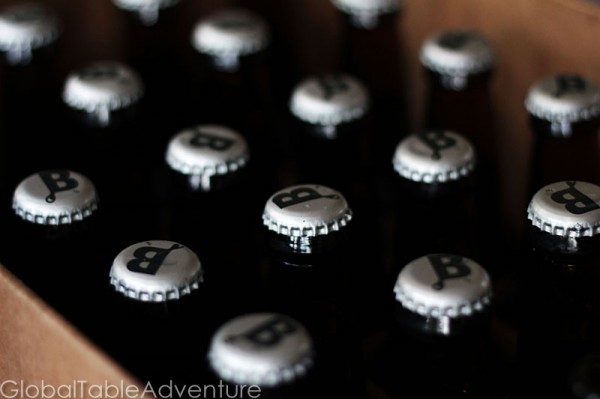
Up to 2 weeks later:
Enjoy on a hot day. The ice is up to you…
I’ll add a final photo when the beer finishes carbonating. I can’t wait!


8 Comments